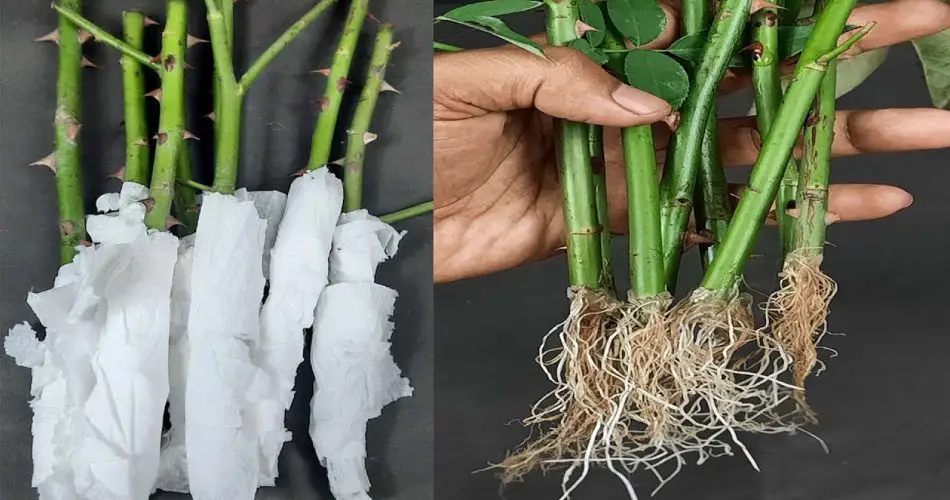
Growing roses from cuttings is a rewarding and affordable way to expand your rose garden. While traditional methods can take weeks to see results, there’s a new technique that promises to speed up the process and get you rooted rose cuttings in as little as 18 days! With this simple and effective method, you can have healthy, thriving rose plants in no time. Let’s dive into the steps and materials needed to get started.
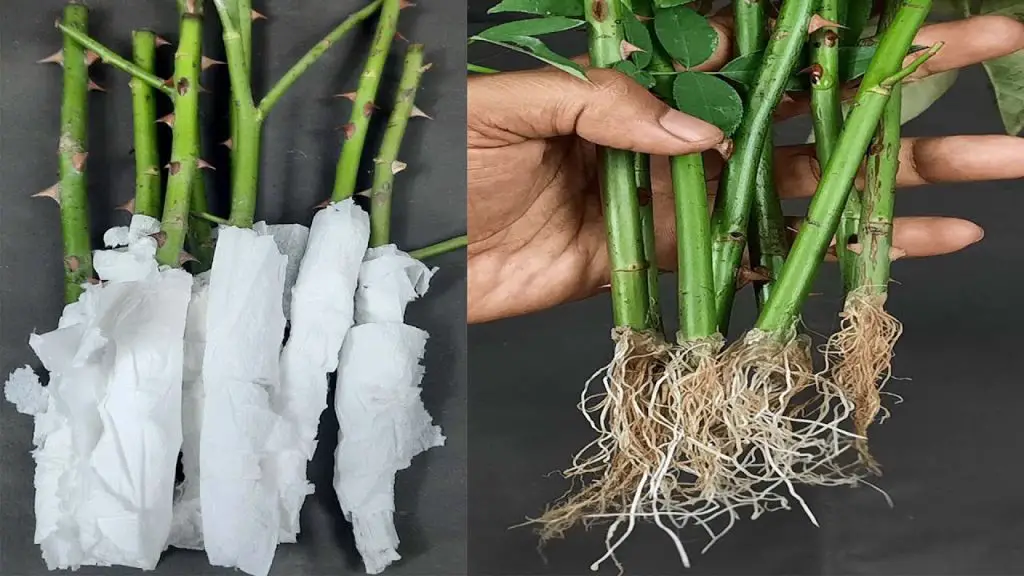
Why This Method Works
This new technique for propagating roses from cuttings involves a combination of natural rooting hormones, the right growing environment, and optimal moisture control. By following the right steps, you create the perfect conditions for the rose cutting to develop roots quickly. With the help of common household items, you can accelerate the rooting process without the need for expensive rooting gels or chemicals.
What You’ll Need:
- Healthy Rose Cutting (from a mature rose bush)
- Sharp Knife or Pruning Shears
- A Glass of Water
- Plastic Bottle or Plastic Wrap
- Cinnamon Powder or Honey (natural rooting hormones)
- Small Pot or Container
- Well-Draining Potting Mix
- Water (room temperature)
Step-by-Step Guide to Grow Roses from Cuttings in 18 Days
1. Prepare the Rose Cutting
- Choose a healthy rose stem from a mature bush. It should be about 6-8 inches long and have at least 2-3 leaves.
- Make sure the cutting is from a healthy, disease-free plant, preferably taken in the spring or early summer when the plant is actively growing.
- Trim the cutting just below a node (the small bump where leaves emerge from the stem). This is where the roots will form.
- Remove excess leaves, leaving just a few at the top to reduce moisture loss. You can also remove any thorns gently to avoid injury.
2. Apply Rooting Hormone (Optional)
- To speed up the rooting process, you can use cinnamon powder or honey, both of which have natural antifungal and rooting properties.
- Dip the base of the cutting into cinnamon or honey to promote root development and protect the cutting from disease.
- Tip: If you don’t have cinnamon or honey, you can skip this step and still have success, as rose cuttings can root naturally in water.
3. Prepare the Watering Method
- Fill a glass or small container with room-temperature water.
- Place the base of the rose cutting in the water, ensuring that only the cut end of the stem is submerged while the leaves remain above the waterline. Be careful not to let the leaves touch the water, as this could cause rot.
- Keep the glass in a warm, bright spot, but out of direct sunlight. Too much direct sunlight could harm the cutting.
4. Create a Mini Greenhouse Environment
- To promote quick rooting, you’ll need to create a humid environment for your cutting. This can be done by placing a plastic bottle or plastic wrap over the cutting. This step helps maintain the moisture around the cutting, encouraging root development.
- If using a plastic bottle, cut the bottle in half and place it over the cutting, ensuring it doesn’t touch the water. If using plastic wrap, loosely cover the cutting to allow airflow.
- Ensure there is ventilation to prevent mold growth, but keep the environment humid to stimulate rooting.
5. Monitor the Cutting
- After about 7-10 days, you should see small roots beginning to form. This is the exciting part! Change the water every few days to ensure it remains fresh and free from algae or bacteria.
- If you’re using plastic wrap or a bottle, remove it for a few minutes each day to let the cutting “breathe” and prevent condensation buildup.
6. Transplant the Rooted Cutting
- After 18 days, your rose cutting should have developed a healthy root system. Once the roots are about 2-3 inches long, it’s time to transplant the cutting into soil.
- Fill a small pot with well-draining potting mix. Make a hole in the soil and carefully plant the rooted cutting, ensuring the roots are well covered.
- Water the cutting lightly to help it settle into its new home.
- Place the pot in a bright, indirect light location to help the cutting acclimate and grow strong.
7. Care for Your New Rose Plant
- After transplanting, continue to keep the soil moist but not waterlogged. As the rose grows, you can reduce the humidity levels by gradually removing the plastic wrap or bottle.
- Once the cutting has established itself, it will begin to grow leaves and shoot new growth. You’ll notice it starting to resemble a healthy, mature rose bush.
- Tip: If you’re planting the rose outside, make sure to wait until the plant is strong enough to handle outdoor conditions. For indoor growing, ensure it gets plenty of bright, indirect light.
Why This Method Is So Effective
- Faster Rooting: The combination of water, humidity, and natural rooting hormones from cinnamon or honey helps speed up the rooting process.
- Simple and Inexpensive: You don’t need expensive rooting gels or complicated techniques to propagate roses. Everything you need can be found at home!
- No Soil Required Initially: You can propagate rose cuttings in water before transplanting them into soil, reducing the risk of overwatering or rot.
Additional Tips for Success
- Fresh Cuttings: Always use fresh rose cuttings from a healthy plant. Avoid using old or wilted stems, as they will be less likely to root.
- Humidity: Keep the humidity level high around the cutting to prevent drying out. If necessary, mist the leaves and cutting lightly with water.
- Patience: Rooting can take time. Even though the cutting might develop roots in 18 days, ensure the roots are strong before transplanting.
Conclusion
With this new, easy method for growing roses from cuttings, you can enjoy a high success rate and see results in just 18 days! Whether you’re a gardening enthusiast or a beginner, this technique will allow you to grow beautiful roses with minimal effort and cost. So, grab a cutting, follow the steps, and get ready to watch your rose garden flourish!
Happy gardening, and may your new rose plants bloom beautifully! 🌹🌱


