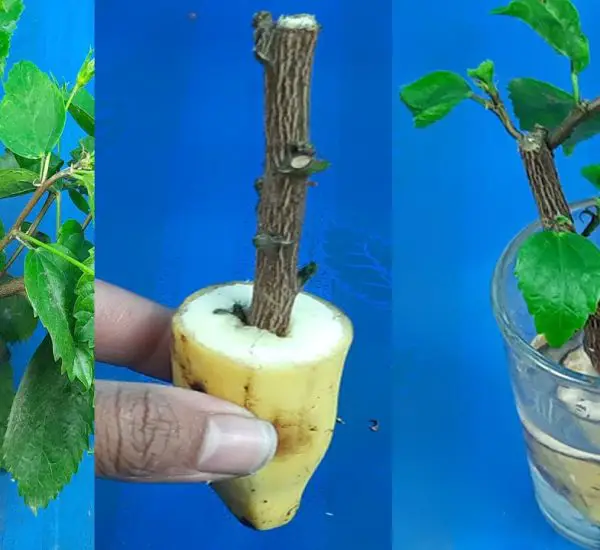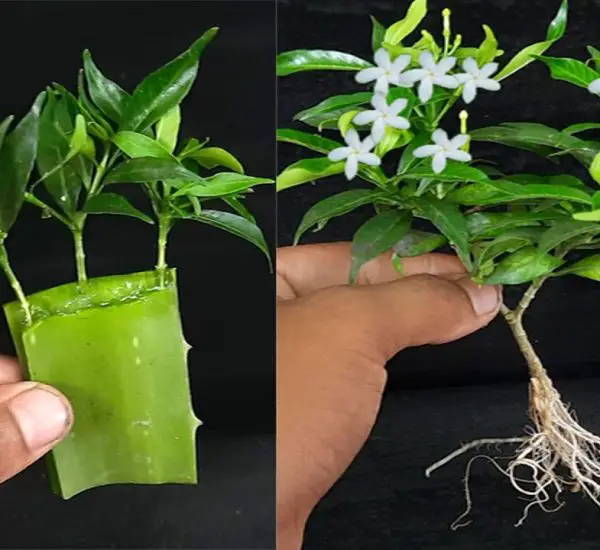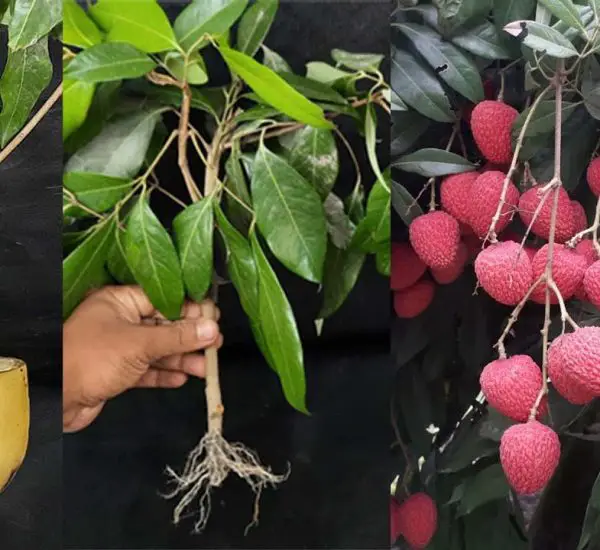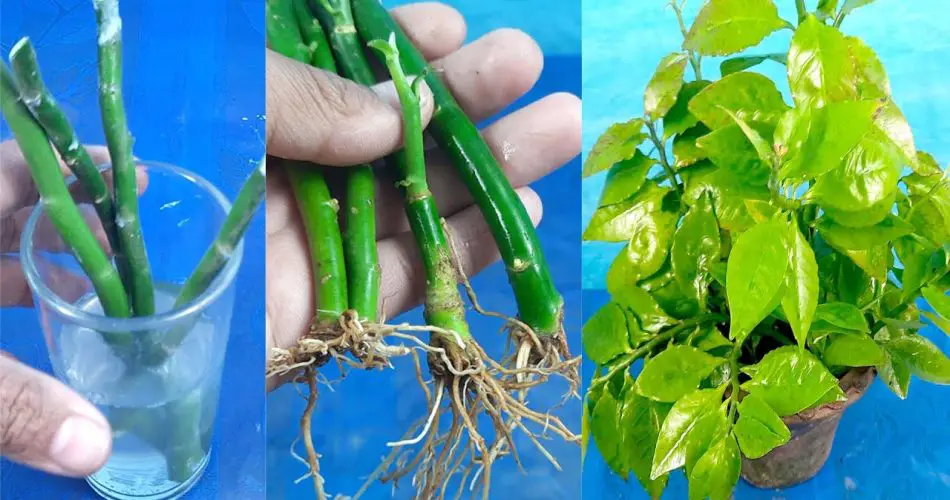
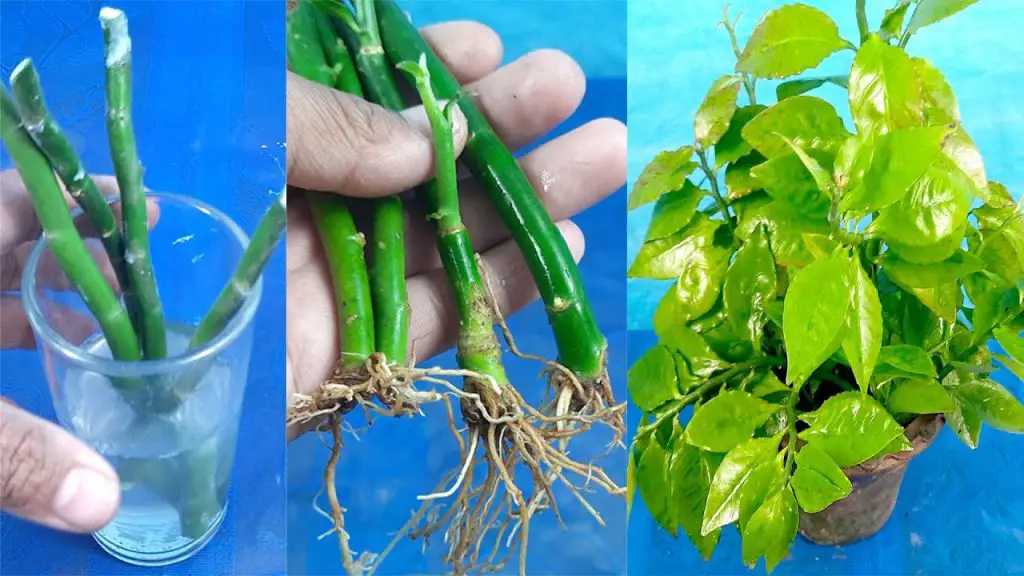
Propagating houseplants from cuttings is a simple and effective way to expand your indoor garden without spending a lot of money on new plants. Water propagation is one of the easiest methods to propagate plants, and it’s an excellent choice for beginners. This method involves growing new plants from stem or leaf cuttings by placing them in water until they develop roots. In this guide, we will walk you through how to propagate houseplants from cuttings and the best practices for water propagating indoor plants.
Why Propagate Houseplants from Cuttings?
Propagating houseplants from cuttings offers several benefits:
- Save money: You can grow multiple plants from a single one, reducing the need to buy new ones.
- Expand your plant collection: It’s a great way to create new plants and share them with friends or family.
- Preserve your favorite plants: If a plant is struggling or aging, propagating it can help ensure that you don’t lose it.
Types of Houseplants That Can Be Propagated in Water
Almost all houseplants can be propagated from cuttings, but some are particularly well-suited for water propagation. Here are a few popular plants that thrive in water:
- Pothos (Epipremnum aureum): Known for its trailing vines and heart-shaped leaves.
- English Ivy (Hedera helix): An easy-to-grow climber that thrives in water.
- Philodendrons: Both the vine and upright varieties can be propagated from cuttings.
- Spider Plant (Chlorophytum comosum): A low-maintenance plant that produces baby plantlets that can root in water.
- Coleus: A colorful plant with vibrant foliage, perfect for water propagation.
- Begonias: Soft-leaved begonias root well in water, making them ideal for propagation.
How to Propagate Houseplants from Cuttings
1. Choose Healthy Cuttings
The first step in propagating houseplants is to select a healthy, non-flowering cutting. You’ll want to cut a piece of the plant that is disease-free, pest-free, and contains several healthy nodes (the small bumps on the stem where leaves or roots grow). For most plants, cutting a 4-6 inch piece from the tip of the plant is ideal.
2. Prepare the Cutting
Use a clean, sharp pair of scissors or pruning shears to take your cutting. Remove any leaves that will be submerged in water, as they can rot and cause the cutting to fail. You want the water to only touch the part of the stem that will develop roots.
3. Place the Cutting in Water
Fill a clean jar, vase, or glass container with water. Make sure that the node(s) on the cutting are fully submerged in water, but the leaves are not touching the water. The cutting should be placed in a spot where it can receive indirect sunlight but not direct sun, as this can cause the water to heat up too much.
4. Change the Water Regularly
To ensure the cutting develops healthy roots, change the water every few days to prevent stagnation. Stagnant water can breed bacteria and fungi that harm the cutting. By keeping the water clean, you’ll encourage faster and healthier root growth.
5. Wait for Roots to Grow
After a few weeks, you should start seeing roots developing from the submerged nodes. Root growth can take anywhere from 2-6 weeks, depending on the plant. Once the roots are about 2-3 inches long, your cutting is ready for planting in soil.
How to Water Propagate Indoor Plants: Tips for Success
- Use clean containers: Make sure the containers you use are clean and free from any mold or bacteria.
- Avoid overcrowding: Give each cutting enough space in the container so the water can circulate properly.
- Don’t let the plant dry out: Keep the water level high enough to cover the roots, but be sure the cutting isn’t submerged too deeply.
- Be patient: Some plants take longer to root than others. Patience is key to successful propagation.
- Use rooting hormone: For some plants, dipping the cutting in rooting hormone before placing it in water can promote quicker root development.
Transplanting Water Propagated Plants into Soil
Once your cutting has developed healthy roots, it’s time to transplant it into soil. Here’s how:
- Prepare the Pot: Choose a small pot with drainage holes. Fill it with well-draining potting soil.
- Plant the Cutting: Gently remove the cutting from the water, making sure not to damage the delicate roots. Place it in the soil, burying the roots gently.
- Water the Plant: Water the cutting well after planting to help the roots settle into the new soil.
- Place in Indirect Light: Keep the newly potted plant in a spot with indirect sunlight until it establishes itself in the new soil.
Common Problems When Water Propagating Houseplants
While water propagation is relatively easy, there are a few challenges to keep in mind:
- Rotting cuttings: If the cutting has been in water too long without forming roots, it may start to rot. Keep an eye out for any soft spots on the cutting and remove it if it begins to decompose.
- Algae growth: If the water becomes too murky or algae starts to grow, it can prevent the cutting from rooting properly. Regular water changes and using an opaque container can help reduce algae growth.
- Lack of roots: Some plants take longer to root than others. If your cutting hasn’t developed roots after several weeks, don’t worry! Some plants just need more time.
Conclusion
Water propagating indoor plants from cuttings is a simple and rewarding process that allows you to expand your plant collection with minimal effort. By following these easy steps, you can propagate many types of houseplants and enjoy a lush, thriving garden. Whether you’re a beginner or an experienced gardener, water propagation is a great way to grow new plants and have fun while doing it. So, gather your cuttings, place them in water, and watch as they grow into beautiful new houseplants for your home! 🌿💧