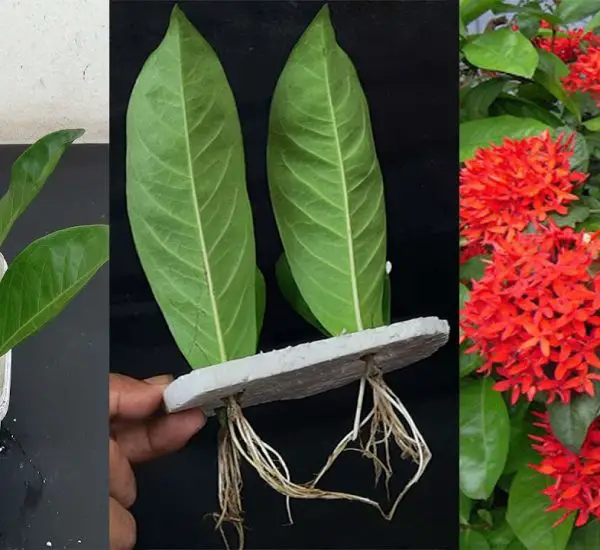
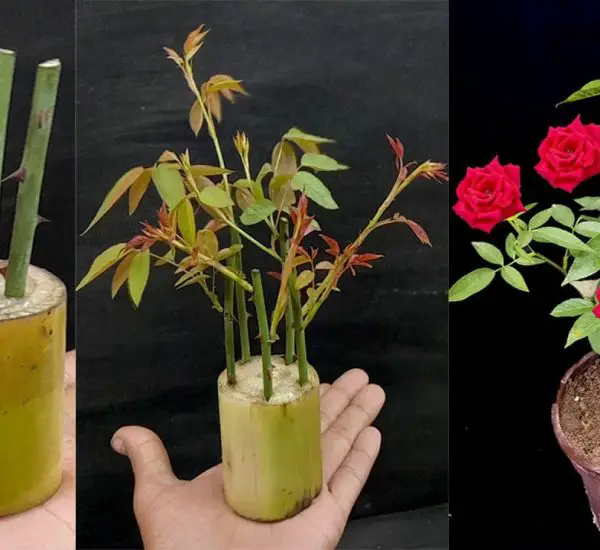
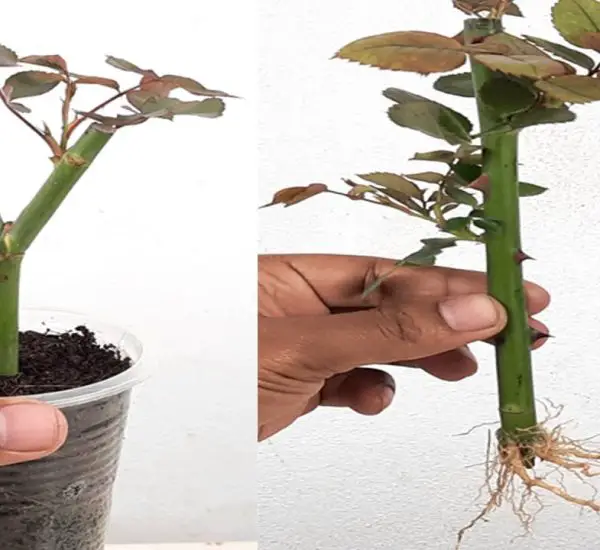
Hibiscus plants are known for their vibrant flowers and tropical appeal, and they can easily be propagated from cuttings to grow new plants at home. While most people propagate hibiscus using stem cuttings, it’s also possible to propagate hibiscus from leaves in sand, a method that is simple and effective. In this guide, we’ll walk you through the process of propagating hibiscus from leaves in sand, helping you grow new plants with minimal effort.
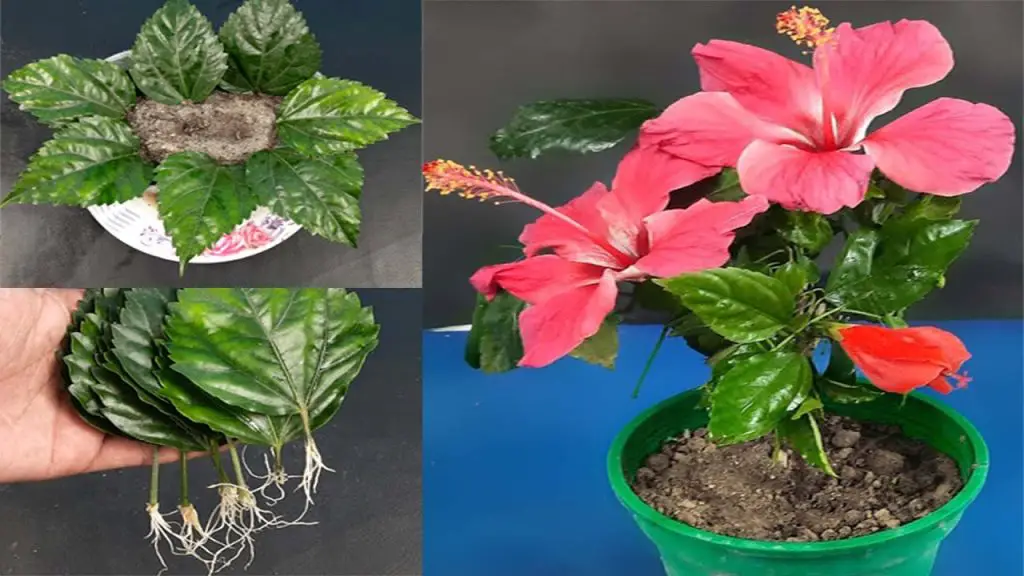
Why Propagate Hibiscus from Leaves in Sand?
Propagating hibiscus from leaves is an alternative method when stem cuttings are not available or you want to try a new technique. Sand, being well-draining, provides an ideal environment for the cuttings to form roots. The leaf cutting method is simple, affordable, and can yield healthy plants over time.
Materials Needed:
- Healthy hibiscus leaves (preferably from mature plants)
- Clean sand (coarse sand works best)
- Small container or shallow tray (with drainage holes)
- Rooting hormone (optional, but it can help speed up the rooting process)
- Plastic bag or clear plastic cover (to create humidity)
- Water
- Sharp scissors or pruning shears
Step-by-Step Guide to Propagate Hibiscus from Leaves in Sand
Step 1: Select a Healthy Hibiscus Leaf
Choose a healthy hibiscus leaf from an established plant. The leaf should be mature, firm, and free from disease or pests. Cut the leaf near its base using sharp scissors or pruning shears. You can use a single leaf or several leaves, depending on the size of your container and the number of plants you want to propagate.
Step 2: Prepare the Sand
Fill a shallow container or tray with clean sand. Make sure the sand is well-draining and coarse, as fine sand may retain too much moisture, causing the cutting to rot. If you don’t have coarse sand, you can mix the sand with perlite or vermiculite to improve drainage.
Step 3: Apply Rooting Hormone (Optional)
If you want to increase the chances of successful rooting, you can dip the cut edge of the hibiscus leaf into rooting hormone powder. Although hibiscus can root without it, rooting hormones can help stimulate faster and more robust root development.
Step 4: Insert the Hibiscus Leaf into the Sand
Make a small hole in the sand with your finger or a stick, then gently insert the cut edge of the hibiscus leaf into the hole. Be sure the leaf is placed in such a way that it is stable and doesn’t fall over. The leaf will not grow roots from the entire surface, so focus on planting the cut edge directly into the sand, which is where the roots will form.
Step 5: Create a Humid Environment
Cover the container with a plastic bag or clear plastic cover to create a mini greenhouse. This will help maintain high humidity around the cutting, which is crucial for root development. Ensure that the plastic doesn’t touch the leaf, and leave a small opening for airflow to prevent mold growth.
Step 6: Place the Cutting in a Warm, Bright Spot
Place your container in a location that gets indirect sunlight. Direct sunlight can scorch the leaf and hinder rooting, so ensure the spot is warm and well-lit but not too hot. The ideal temperature for hibiscus propagation is between 65°F and 75°F (18°C to 24°C).
Step 7: Watering the Cutting
Keep the sand moist but not soggy. Water lightly whenever the sand begins to dry out. Use a fine mist to avoid disturbing the leaf or washing the sand away. It’s important to maintain consistent moisture, but avoid overwatering, as this can lead to rotting.
Step 8: Monitor for Rooting
Roots should begin to form within 3 to 6 weeks. You can gently tug on the leaf to check for resistance, which indicates that roots are developing. Keep an eye on the cutting and ensure it remains in a humid environment, as this will speed up the rooting process.
Once the cutting has developed a healthy root system, it can be transplanted into a pot with well-draining potting soil or directly into your garden. When transplanting, be gentle with the roots to avoid damaging them.
Additional Tips for Success:
- Leaf Health: Use only healthy, mature leaves for propagation. Damaged or immature leaves may not root successfully.
- Humidity: Consistent humidity is key to successful propagation. Consider using a humidity dome or a propagation box for better results.
- Temperature: Keep the cutting in a warm spot, but avoid too much direct sunlight, which can dry out the cutting.
- Patience: Hibiscus leaf propagation may take time. Don’t be discouraged if roots take longer to form.
Why Use Sand for Hibiscus Propagation?
Sand is an ideal medium for rooting hibiscus leaves because it provides:
- Good drainage: Prevents waterlogging, which can lead to rot.
- Aeration: Encourages healthy root development by allowing the roots to “breathe.”
- Simplicity: Sand is easy to work with and can be found in most gardens or stores.
Conclusion:
Propagating hibiscus from leaves in sand is a simple and effective method for growing new plants. With patience and the right conditions, you can successfully root hibiscus leaves and watch them grow into beautiful, flowering plants. Whether you’re a beginner or an experienced gardener, this method is a great way to expand your hibiscus collection without needing stem cuttings.