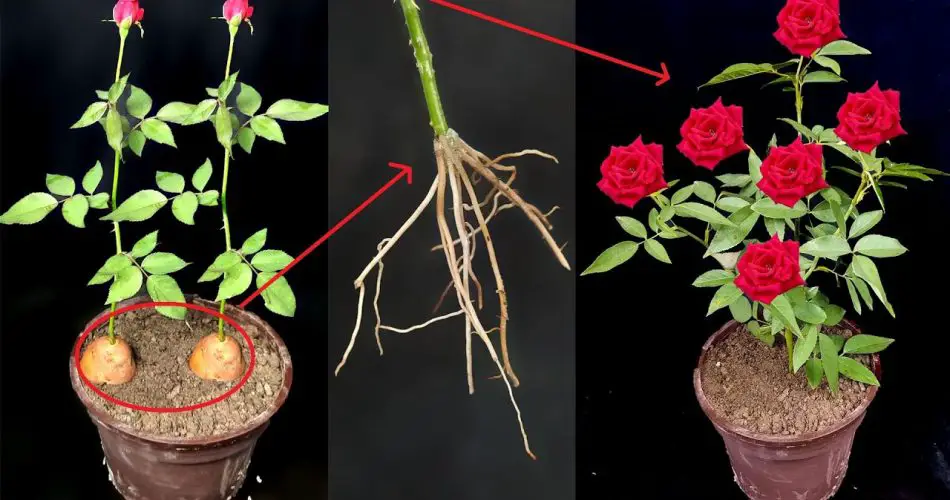
Growing roses from cuttings is a rewarding gardening activity, and using a potato as a rooting medium is an innovative and effective method. This technique not only provides moisture but also nutrients to help your rose cuttings thrive. Here’s how to do it!
Why Use a Potato for Rooting Rose Cuttings?
- Moisture Retention: Potatoes retain moisture, creating an ideal environment for root development.
- Nutrient Source: They provide essential nutrients that can help boost the growth of your cuttings.
- Simple and Accessible: This method uses common materials, making it easy for any gardener.
Materials Needed
- Healthy Rose Cutting: Choose a stem that is 6-8 inches long with several leaves.
- A Potato: A medium-sized potato works well; it should be firm and free of blemishes.
- Sharp Knife: For making clean cuts.
- Potting Soil: Optional, for additional support once the roots develop.
- Plastic Bag or Cling Film: To create a humid environment.
Steps to Grow Rose Plant Cuttings in a Potato
Step 1: Prepare the Cutting
- Select a healthy rose stem and cut it just below a node (the bump where leaves grow).
- Remove the lower leaves, leaving 2-3 leaves at the top. This reduces moisture loss and focuses energy on root development.
Step 2: Prepare the Potato
- Take the potato and cut a small slit in the center, deep enough to hold the cutting but not so deep that it goes all the way through.
- You can also use a drill to create a hole if you prefer a neater entry point.
Step 3: Insert the Cutting
- Dip the cut end of the rose cutting into rooting hormone (optional) to promote faster root growth.
- Insert the cutting into the slit of the potato, ensuring that the node is buried within the potato.
Step 4: Plant the Potato
- Place the potato in a small pot filled with potting soil. Ensure that the top of the potato is exposed above the soil line.
- Water the soil lightly to ensure it’s moist but not soggy.
Step 5: Create a Humid Environment
- Cover the pot with a plastic bag or cling film to maintain humidity around the cutting.
- Place the pot in a location with indirect sunlight to prevent overheating.
Step 6: Care for Your Cutting
- Check the moisture levels regularly, watering lightly as needed.
- After a few weeks, gently tug on the cutting. If you feel resistance, roots are forming.
Step 7: Transplanting
- Once the roots are well-established (typically within 4-6 weeks), you can transplant the cutting into a larger pot or directly into your garden.
- Be gentle during the transfer to avoid damaging the roots.
Tips for Success
- Timing: The best time to take cuttings is during late spring or early summer when the rose plant is actively growing.
- Watering: Ensure that the soil remains moist but not waterlogged to prevent rot.
- Patience: Rooting can take time; be patient and monitor the progress.
Conclusion
Growing rose cuttings in a potato is a creative and effective gardening technique that can lead to beautiful blooms in your garden. With minimal materials and a little care, you can propagate your favorite rose varieties and enjoy their beauty for years to come. Try this unique method and watch your rose cuttings flourish!
Show Comments


