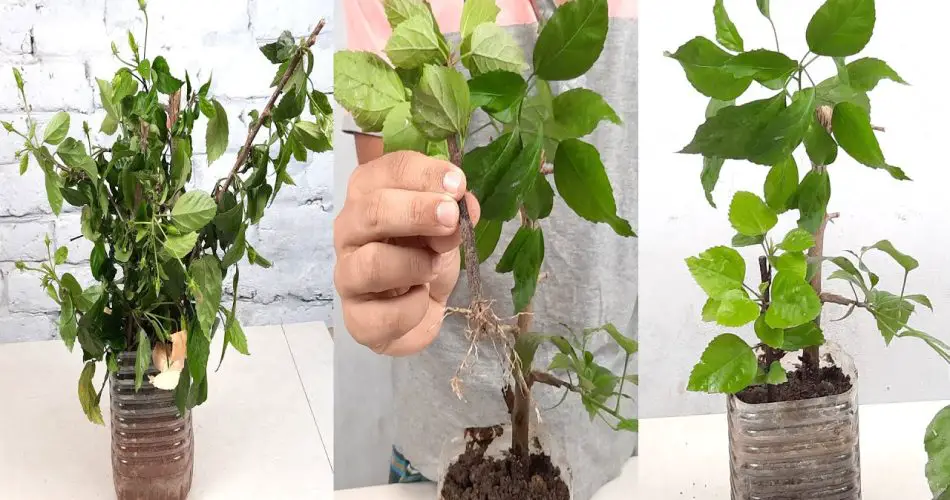
Hibiscus plants are known for their vibrant flowers and lush foliage, making them a popular choice for gardens and patios. Growing hibiscus from cuttings is a simple and effective method that allows you to propagate your favorite varieties with ease. Here’s a step-by-step guide on how to do it!
Why Choose Cuttings?
- Cost-Effective: Propagating from cuttings saves you money compared to buying new plants.
- Preserve Varieties: You can maintain the characteristics of the parent plant, ensuring you get the same beautiful flowers.
Materials You’ll Need
- Healthy Hibiscus Plant: Choose a robust, disease-free plant for the best results.
- Sharp Pruning Shears: To take clean cuts without damaging the plant.
- Rooting Hormone (optional): This can enhance root development.
- Pots: Small pots or containers with drainage holes.
- Potting Mix: Use a well-draining potting mix suitable for cuttings.
Steps to Grow Hibiscus from Cuttings
Step 1: Take the Cuttings
- Select a healthy stem from the hibiscus plant that is about 4 to 6 inches long.
- Ensure the cutting has at least 2-3 leaves on it.
- Make a clean cut just below a leaf node using your pruning shears.
Step 2: Prepare the Cuttings
- Remove the lower leaves, leaving only the top few leaves intact. This helps reduce moisture loss and focuses energy on root development.
- If using rooting hormone, dip the cut end of the cutting into the powder to promote faster root growth.
Step 3: Plant the Cuttings
- Fill your pots with the potting mix and water it lightly to moisten the soil.
- Make a hole in the center of the soil with your finger or a pencil, and gently place the cutting in the hole.
- Firm the soil around the cutting to provide stability.
Step 4: Create a Humid Environment
- To help retain moisture, cover the pot with a plastic bag or place it in a propagator. This creates a mini-greenhouse effect.
- Ensure the cuttings receive indirect sunlight, avoiding direct sunlight which can scorch them.
Step 5: Water and Care
- Check the moisture levels regularly and water the cuttings if the soil feels dry.
- Remove the plastic covering for short periods to prevent mold and ensure air circulation.
Step 6: Monitor Growth
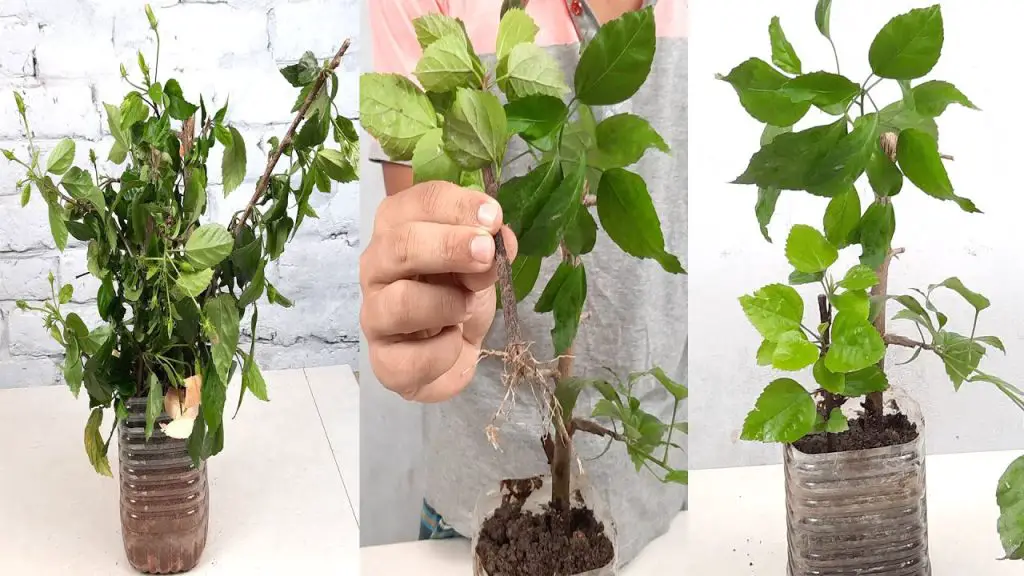
- After a few weeks, gently tug on the cutting. If you feel resistance, roots are forming.
- Once the cuttings have established roots (typically 4-6 weeks), you can transplant them into larger pots or directly into the garden.
Tips for Success
- Timing: The best time to take cuttings is during the spring or early summer when the plant is actively growing.
- Varieties: Different hibiscus varieties may have slightly different care requirements, so be sure to research the specific type you’re propagating.
- Pest Management: Keep an eye out for pests, as young cuttings can be vulnerable. Use organic insecticidal soap if necessary.
Conclusion
Growing hibiscus from cuttings is an easy and rewarding process that allows you to enjoy these stunning plants in your garden or home. With a little patience and care, you can successfully propagate your favorite hibiscus varieties and watch them flourish. Start your hibiscus journey today and enjoy the beauty these plants bring to your space!
Show Comments


