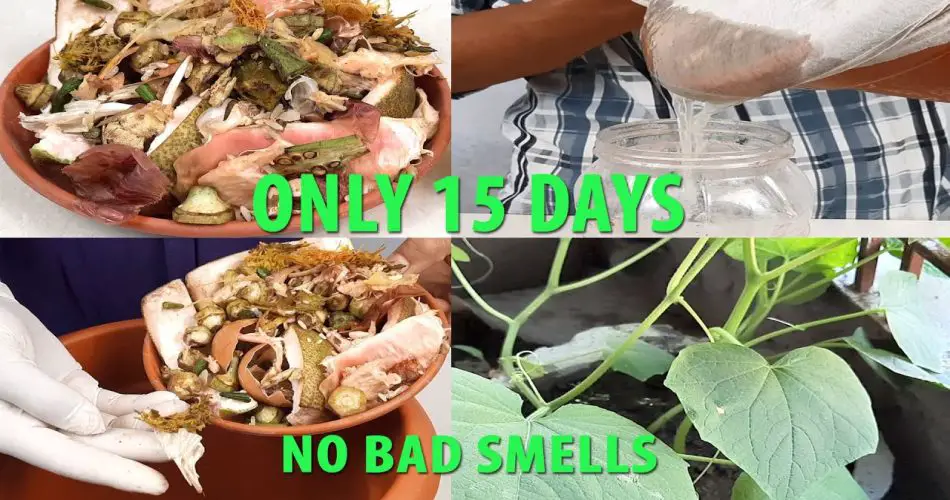
Creating your own organic liquid fertilizer from kitchen waste is an excellent way to recycle and nourish your garden. This eco-friendly solution not only reduces waste but also enriches your plants with essential nutrients. Here’s a simple guide to making effective liquid fertilizer right at home!
Why Use Organic Liquid Fertilizer?
- Eco-Friendly: Reduces kitchen waste and avoids synthetic chemicals.
- Nutrient-Rich: Provides essential nutrients like nitrogen, phosphorus, and potassium that promote healthy plant growth.
- Cost-Effective: Save money while enhancing your garden’s productivity.
Materials Needed
- Kitchen Waste: Fruit and vegetable scraps, coffee grounds, eggshells, and tea bags.
- Water: Tap or rainwater works best.
- Container: A large bucket or jar for mixing.
- Strainer: To filter out solid waste.
- Optional Additives: Epsom salt (for magnesium), molasses (for beneficial bacteria).
Steps to Make Organic Liquid Fertilizer
Step 1: Collect Kitchen Waste
Gather your kitchen scraps. The best options include:
- Fruit and vegetable peels (banana, potato, carrot)
- Coffee grounds
- Eggshells
- Tea bags
Step 2: Prepare the Mixture
- Chop the scraps into smaller pieces to increase the surface area.
- Place the chopped scraps into your container.
- Add water until the container is nearly full. Use a ratio of 1 part waste to 2 parts water for effective dilution.
Step 3: Ferment the Mixture
- Cover the container loosely with a lid or cloth to allow gases to escape while preventing pests.
- Let the mixture sit in a warm, dark place for 1-2 weeks. Stir it occasionally to aid fermentation.
Step 4: Strain the Liquid
- After fermentation, use a strainer to separate the liquid from the solid scraps.
- Collect the liquid in a separate container. This is your organic liquid fertilizer!
Step 5: Store and Use
- Store the liquid fertilizer in a sealed container in a cool, dark place.
- When ready to use, dilute the fertilizer with water (usually a 1:10 ratio) before applying it to your plants.
How to Apply the Fertilizer
- Watering: Use the diluted fertilizer when watering your plants to provide nutrients directly to the roots.
- Foliar Spray: You can also use it as a foliar spray for quick nutrient absorption through leaves.
- Frequency: Apply every 2-4 weeks during the growing season for best results.
Tips for Success
- Variety: Experiment with different kitchen scraps to find what works best for your plants.
- Aeration: Ensure the mixture is aerated during fermentation to avoid unpleasant odors.
- Balance: Don’t overload with one type of waste; a balanced mix is key to a nutrient-rich fertilizer.
Conclusion
Making organic liquid fertilizer from kitchen waste is a sustainable and rewarding practice that benefits both your plants and the environment. By following these simple steps, you can turn everyday scraps into a powerful nutrient source for your garden. Enjoy the satisfaction of growing healthy plants while reducing your ecological footprint!
Show Comments


