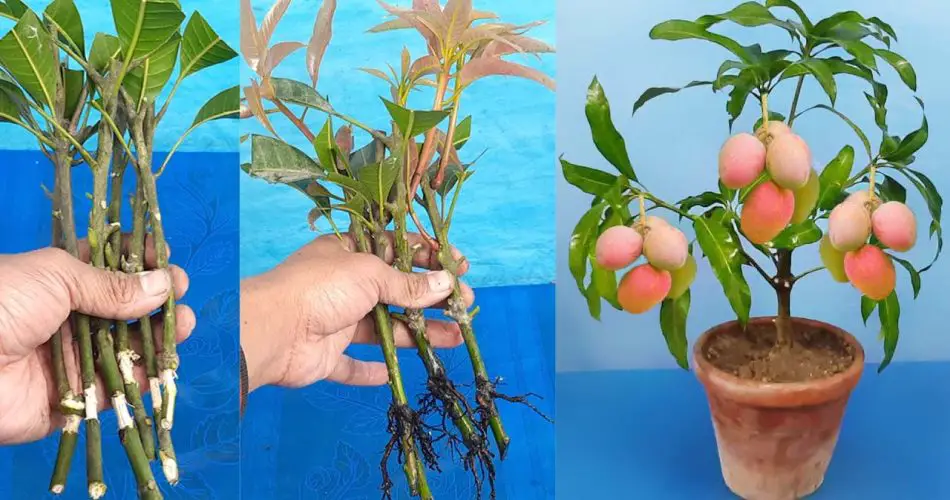
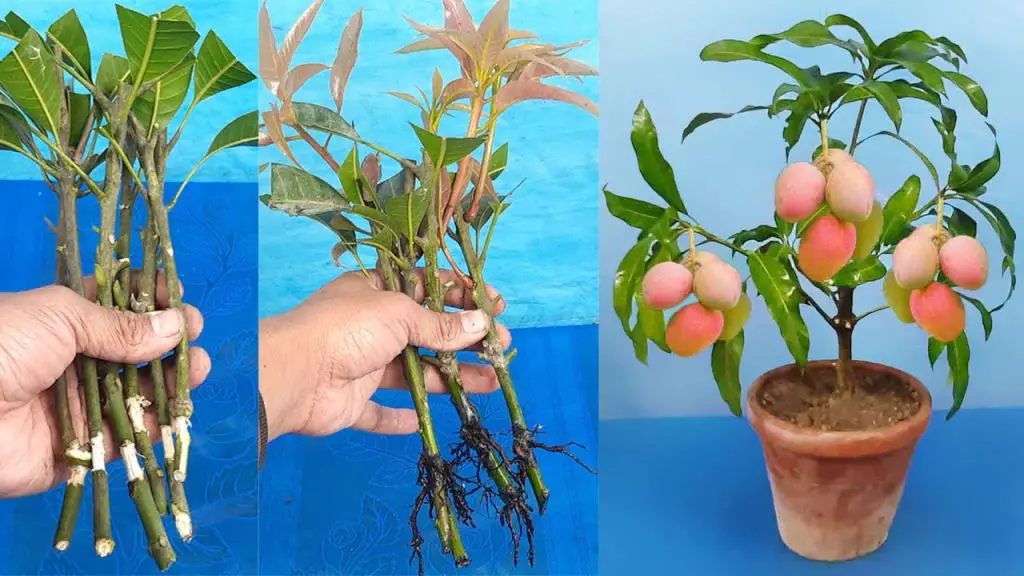
Growing a mango tree from a cutting is an exciting and rewarding gardening project. While growing a mango tree from seeds is more common, propagating mangoes from cuttings can give you a tree that bears fruit faster and is genetically identical to the parent plant. In this article, I’ll walk you through a step-by-step guide to successfully propagate a mango tree from a cutting, achieving a 100% success rate if you follow these tips.
Why Propagate Mango Trees from Cuttings?
- Faster Fruit Production: A mango tree grown from a cutting can fruit in 3-4 years, compared to 5-6 years for seed-grown trees.
- Clonal Quality: The cutting produces a tree that is genetically identical to the parent, ensuring consistent fruit quality.
- Space-Efficient: Mango trees from cuttings can be managed in smaller spaces, making them ideal for urban or balcony gardens.
Now, let’s get into how you can grow your very own mango tree from a cutting with 100% success.
What You’ll Need to Grow Mango from a Cutting:
- Mango Tree Cutting (from a healthy, mature mango tree)
- Sharp, Sterile Knife or Pruners
- Rooting Hormone (optional but recommended)
- Clean Water
- A Small Pot or Container with drainage holes
- Well-Draining Potting Mix (a mix of sand and soil is ideal)
- Plastic Bag or Plastic Dome to maintain humidity
- A Bright Location (but away from direct sunlight)
Step-by-Step Guide to Propagate Mango from Cuttings:
1. Choose the Right Mango Tree for Cuttings
The first step in successful mango tree propagation is choosing the right tree. Look for a healthy mango tree that’s at least 3-5 years old. Avoid using a tree that is sick or infected with pests. A mature, non-fruit-bearing tree is ideal for cuttings.
2. Take the Cutting
- Choose a healthy branch that is approximately 1-2 years old. The ideal cutting should be about 8-10 inches (20-25 cm) long.
- Using a sharp, sterile knife or pruners, cut the branch at a 45-degree angle to promote faster root growth.
- Remove any leaves or buds from the lower portion of the cutting, leaving a small tuft of leaves at the top. This will help prevent rot and encourage root formation.
- Optional: To improve the success rate, dip the cut end of the mango cutting in rooting hormone (available at gardening stores). This hormone promotes root growth.
3. Prepare the Pot and Soil
- Choose a small pot with good drainage. Ensure that the pot is large enough to accommodate the cutting but not too large.
- Prepare a well-draining potting mix. You can mix regular potting soil with sand to ensure good drainage. A 2:1 ratio of sand to soil is a good mix.
- Fill the pot with the mix, leaving about 2 inches (5 cm) from the top.
4. Plant the Mango Cutting
- Create a hole in the center of the soil using a stick or your finger. Insert the cut end of the mango cutting into the hole, ensuring that at least 2 inches (5 cm) of the cutting is buried in the soil.
- Firm the soil around the cutting to hold it in place.
5. Provide the Right Environment
- Water the cutting lightly to settle the soil around the roots.
- Cover the cutting with a plastic bag or place it under a plastic dome to maintain high humidity. This is crucial for preventing the cutting from drying out.
- Place the pot in a bright location, but avoid direct sunlight to prevent the cutting from overheating.
- The ideal temperature for mango cuttings to root is between 70°F to 85°F (21°C to 29°C).
6. Care for the Cutting
- Keep the soil moist but not waterlogged. Overwatering can cause the cutting to rot.
- Mist the cutting lightly every few days to maintain humidity.
- If the humidity bag gets too moist, remove it periodically to allow fresh air circulation.
7. Check for Root Growth
- After about 4-6 weeks, you should start to notice roots developing at the base of the cutting.
- Gently tug on the cutting to check if roots have formed. If you feel resistance, this is a good sign that the roots are growing.
- After 6-8 weeks, the cutting should have a strong root system. At this point, you can transplant the cutting into a larger pot or into the ground if the conditions are right.
8. Transplanting the Mango Cutting
Once the mango cutting has developed a healthy root system, it’s time to move it to a larger container or to a garden bed.
- If transplanting into a garden bed, ensure that the soil is loamy, well-draining, and slightly acidic.
- Harden off the cutting by gradually exposing it to direct sunlight for short periods each day, starting with 30 minutes and increasing gradually.
- When transplanting into a larger pot, use rich, well-draining soil and provide enough space for the growing root system.
Common Problems and Solutions
- Cutting Not Rooting: If the cutting doesn’t develop roots, try again with a fresh cutting and ensure you use sterile tools and rooting hormone.
- Rotting Cutting: Ensure the cutting is not overwatered. Root rot can occur if the soil is too wet, so make sure your pot has adequate drainage.
- Leaves Wilting: This may be due to insufficient humidity or too much direct sunlight. Ensure the cutting is in a shaded, humid location.
How Long Until the Mango Tree Bears Fruit?
Mango trees grown from cuttings tend to fruit much faster than those grown from seeds. While a tree grown from seed can take 5-6 years to produce fruit, a tree grown from cutting can start bearing fruit in 3-4 years—sometimes even sooner under optimal conditions!
Final Thoughts
Growing a mango tree from a cutting is a relatively simple process that can yield great results with a high success rate if done correctly. By selecting the right cutting, ensuring the proper environmental conditions, and being patient, you can have your very own mango tree bearing delicious fruit in just a few years.
So, gather your materials, get started, and soon you’ll be enjoying fresh, homegrown mangoes right from your backyard or balcony. Happy gardening! 🌱


