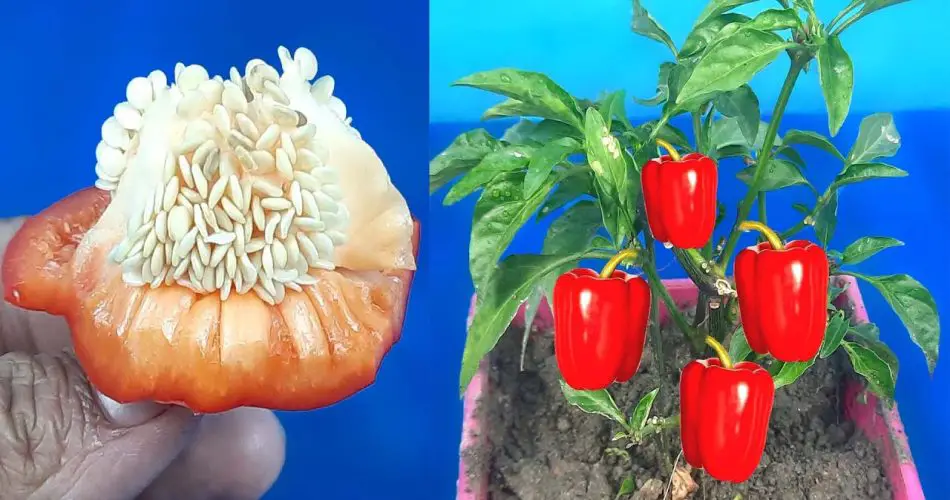
Chili peppers are a staple in many kitchens around the world, adding heat and flavor to a variety of dishes. But did you know that you can easily grow your own chili peppers at home? After reading this, you’ll never want to buy chili peppers again! Here’s why growing your own chili peppers is a great idea, and how you can get started today.
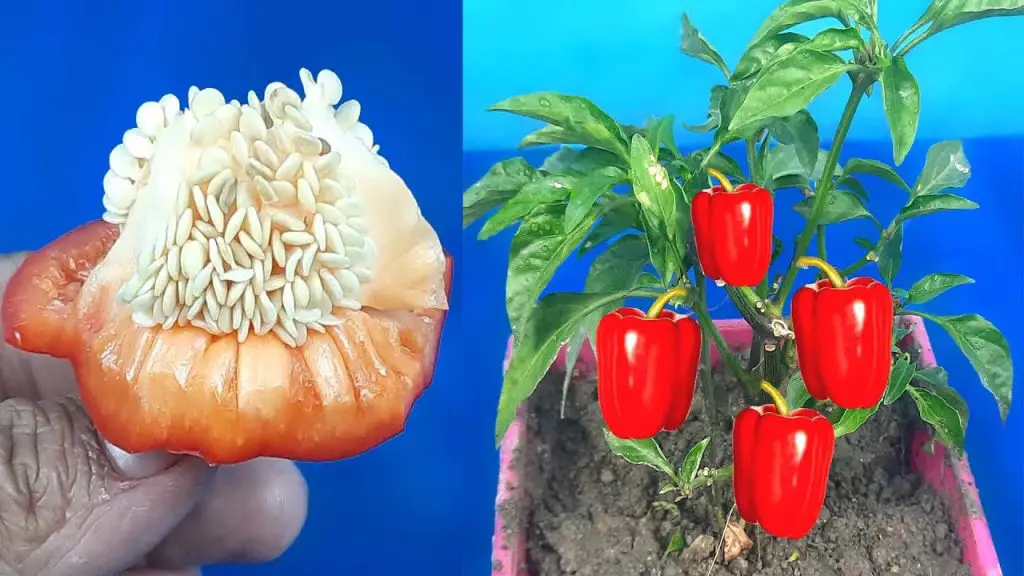
Benefits of Growing Your Own Chili Peppers
1. Save Money
- Buying fresh chili peppers at the store can add up quickly, especially if you’re using them frequently. Growing your own chili peppers eliminates the need for regular purchases, saving you money in the long run.
2. Fresh and Flavorful
- Homegrown chili peppers are packed with flavor and nutrients that you won’t find in store-bought peppers. Plus, you can pick them at the peak of ripeness for the best taste!
3. Endless Variety
- There are countless varieties of chili peppers to choose from, including jalapeños, habaneros, serrano, and bell peppers. Growing your own allows you to explore different varieties and discover your favorite!
4. Control Over Growing Conditions
- When you grow chili peppers yourself, you have control over the soil, watering, and fertilization. This means you can ensure that your plants are healthy and free from harmful chemicals that may be present in store-bought peppers.
How to Grow Chili Peppers at Home
Step 1: Choose the Right Variety
- Select the type of chili pepper that best suits your taste and climate. Some varieties do better in warm climates, while others thrive in cooler conditions.
Step 2: Planting
- Start from seeds or young seedlings. If starting from seeds, plant them indoors 8-10 weeks before the last frost date. Use small containers and well-draining soil.
- Once the seedlings have grown large enough, transfer them outdoors into a sunny spot with at least 6 hours of sunlight per day.
Step 3: Watering and Fertilizing
- Water regularly, but be sure not to overwater as chili peppers prefer slightly dry conditions. Water the plants deeply and allow the soil to dry out slightly between watering.
- Fertilize your chili plants with a balanced fertilizer or compost to encourage healthy growth. Chili peppers love nutrients, but be careful not to over-fertilize, as this can lead to excessive leaf growth with few fruits.
Step 4: Harvesting
- Pick your chili peppers when they reach their desired size and color. The longer you leave them on the plant, the hotter they’ll become.
- Store your harvest in a cool, dry place, or you can dry or freeze them to use later.
Pro Tips for Growing Chili Peppers
- Protect from Pests: Chili plants are vulnerable to pests like aphids, spider mites, and whiteflies. Keep an eye out and use natural pest control methods such as neem oil or insecticidal soap.
- Prune Regularly: Trim away dead leaves and branches to encourage better airflow and sunlight penetration, which leads to healthier plants and a larger harvest.
- Temperature Control: Chili peppers love warm temperatures. If you live in a colder climate, consider growing your chili peppers in containers so you can move them indoors during the colder months.
Conclusion: Never Buy Chili Again!
With just a little bit of effort, you can grow your own chili peppers and enjoy fresh, flavorful heat in your dishes all year long. By planting your own, you not only save money but also have the satisfaction of harvesting and enjoying something you grew yourself. So, why wait? Start growing chili peppers today and say goodbye to buying them from the store forever! 🌶️
Show Comments


