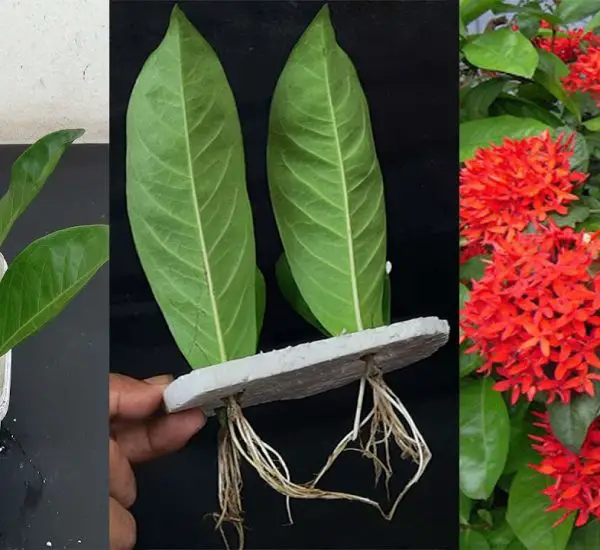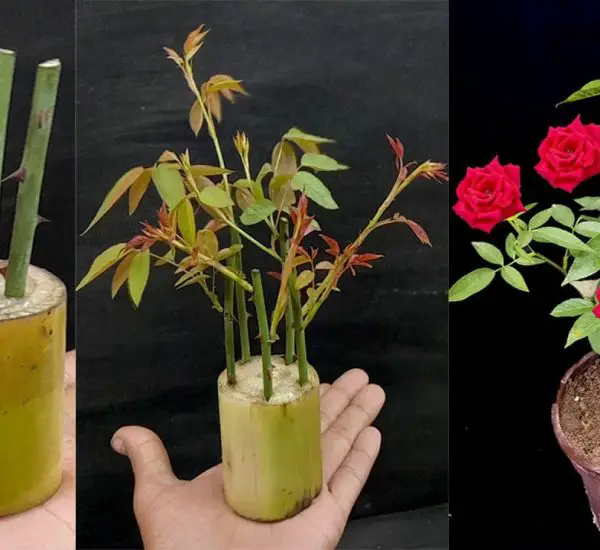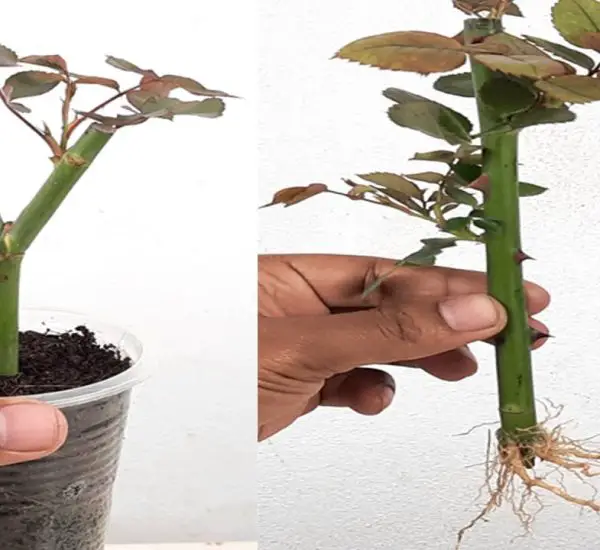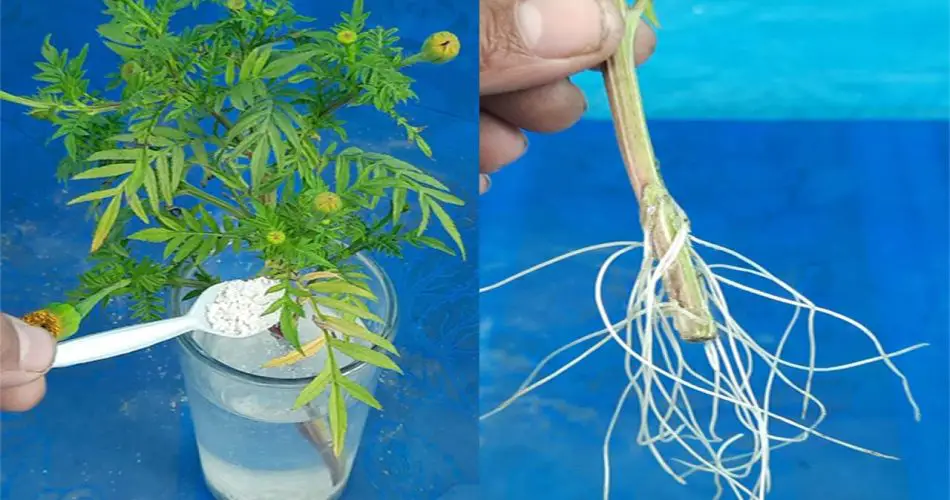
Marigolds are bright, colorful flowers that bring vibrancy to any garden, and they are also incredibly easy to grow. While many gardeners start marigolds from seeds, you can also propagate them quickly and efficiently from cuttings. If you want to expand your marigold collection or have an abundance of flowers without waiting for seed germination, growing marigolds from cuttings is a perfect solution. Here’s a step-by-step guide on how to grow marigold plants from cuttings, fast and easy!
Why Grow Marigolds from Cuttings?
- Speedy Growth: Growing marigolds from cuttings is much faster than starting from seeds.
- Clone Healthy Plants: You can propagate strong, disease-resistant marigolds that you already love.
- No Need for Seeds: If seeds aren’t available, cuttings are a reliable alternative.
Materials You’ll Need
- Healthy marigold plant (for taking cuttings)
- Sharp scissors or pruning shears
- A clean container with water (or a small pot with soil)
- Rooting hormone (optional but helps in faster rooting)
- Plastic bag or clear plastic bottle (to create a humid environment)
- Well-draining potting mix (if you choose soil propagation)
Step-by-Step Guide: Growing Marigold from Cuttings
1. Choose the Right Plant and Cutting
- Select a healthy marigold plant with no signs of pests or disease.
- Choose a non-flowering stem that’s about 4-6 inches long. Cut just below a leaf node (the point where leaves grow from the stem).
- Trim off excess leaves: Leave just a few leaves at the top of the cutting, removing any leaves near the bottom to help focus energy on root development.
2. Prepare the Cutting
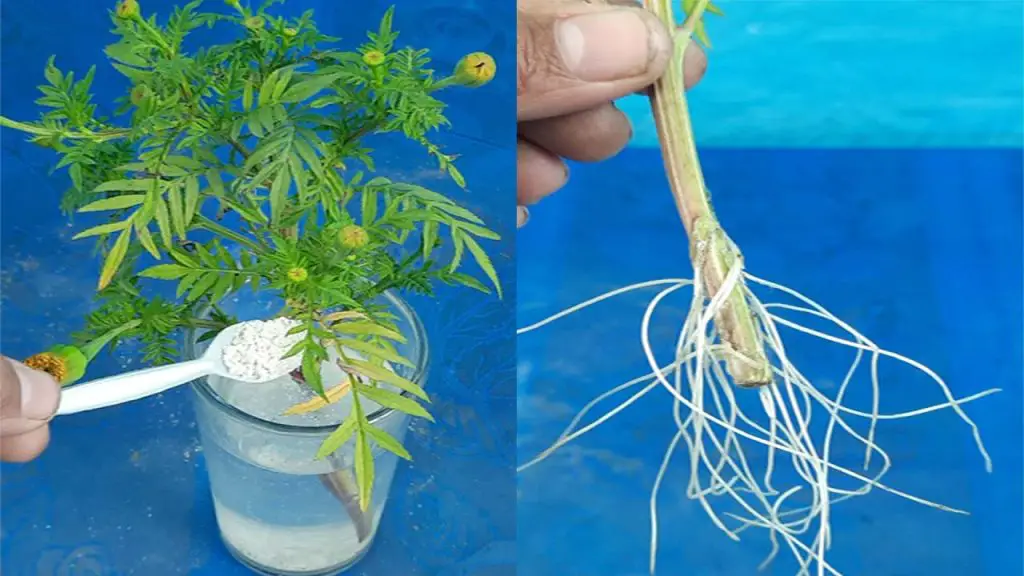
- If you’re using rooting hormone, dip the cut end of the stem into the hormone powder. This will encourage faster and stronger root growth.
- Remove any leaves that will be below the soil to avoid rot when planting.
3. Propagate the Cutting in Water (Optional)
- Place the cut end of the stem in water, making sure the leaf nodes are submerged.
- Place the container in a bright, indirect sunlight spot, but not in direct sunlight as this can stress the cutting.
- Change the water every 2-3 days to keep it clean.
Tip: After a week or two, you should see roots developing from the cut end. Once the roots are about 1-2 inches long, your cutting is ready to be transferred to soil.
4. Rooting in Soil (Alternative Method)
- Alternatively, you can plant the cutting directly into soil. Fill a small pot with well-draining potting mix and create a small hole for the cutting.
- Insert the cutting into the hole and gently press the soil around it to hold it in place.
- Water lightly, and cover the cutting with a plastic bag or clear plastic bottle to create a mini greenhouse effect. This helps retain moisture and humidity, promoting quicker root growth.
5. Care for the Cuttings
- Place the cutting in a warm area with bright, indirect sunlight. Keep the soil or water moist but not soaked.
- If using the soil method, after about 2-3 weeks, gently tug on the cutting. If there’s resistance, it means roots have formed.
- Gradually acclimate the cutting to outdoor conditions by increasing its exposure to direct sunlight and lessening humidity over time.
6. Transplanting the Rooted Cutting
- Once the marigold cutting has developed a strong root system, it’s time to transplant it into a larger pot or your garden.
- Choose a spot with plenty of sunlight (marigolds love sunlight!).
- Water well after transplanting and continue regular care to ensure healthy growth.
Tips for Successful Marigold Cuttings
- Timing: The best time to take cuttings is during the growing season, ideally in spring or early summer when the plant is actively growing.
- Humidity: Marigold cuttings thrive in a humid environment. The plastic cover can help maintain the moisture level needed for successful rooting.
- Patience: While marigolds are fast-growing plants, rooting from cuttings still requires a little patience. It can take 2-4 weeks for strong roots to form.
Conclusion: Grow Marigolds the Easy Way!
Growing marigolds from cuttings is a simple and rewarding process that will provide you with an abundance of new plants. By following these easy steps, you’ll have more marigolds to brighten up your garden and home. Whether you’re a seasoned gardener or a beginner, propagating marigolds from cuttings is a fun and cost-effective way to expand your garden.
So, grab your scissors, take a cutting, and enjoy growing marigolds in no time! 🌼