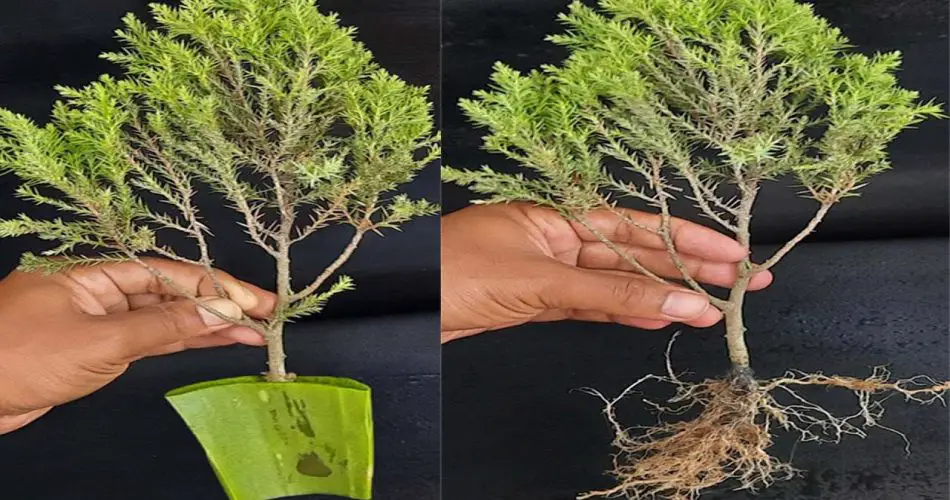
Juniper trees, known for their evergreen foliage and ability to thrive in various climates, are a popular choice for landscaping. Propagating juniper cuttings is a great way to grow new plants at home, and when paired with the healing properties of aloe vera, the success rate increases significantly. Aloe vera, known for its natural rooting properties, can boost the growth of juniper cuttings. Here’s a step-by-step guide on how to propagate juniper cuttings using aloe vera to achieve 100% success.
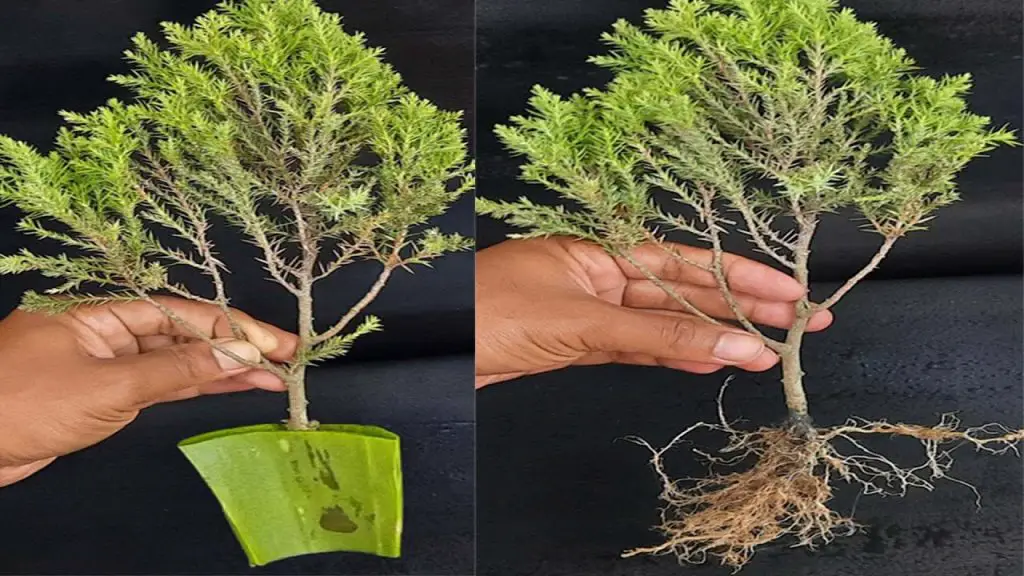
Why Aloe Vera Works for Juniper Propagation
Aloe vera contains auxins (natural plant hormones) that promote root development and healing. These hormones stimulate cell division and help cuttings recover from the stress of being removed from the parent plant. Using aloe vera gel or juice as a rooting hormone can increase the chances of successful rooting, making it an excellent addition to the propagation process.
Materials You’ll Need
- Healthy Juniper cutting (around 4-6 inches long)
- Aloe vera gel (fresh or store-bought)
- Sharp knife or pruning shears
- Small pot or container with drainage holes
- Well-draining potting mix (cactus mix or a mixture of sand and perlite works well)
- Plastic bag or clear plastic wrap
- Water
Step-by-Step Guide to Propagate Juniper Cuttings with Aloe Vera
Step 1: Prepare Your Juniper Cutting
- Select a Healthy Juniper Plant: Choose a healthy juniper plant with no signs of disease or pest damage.
- Cut a 4-6 Inch Stem: Using sharp pruning shears or a clean knife, cut a healthy 4-6 inch stem from the parent plant. Make sure the cutting includes a few leaves or needles at the top and is taken from a semi-hardwood section (not too young or too old).
- Remove Lower Leaves: Strip the leaves or needles from the lower half of the cutting to expose the stem, which will be buried in the soil.
Step 2: Apply Aloe Vera Gel to the Cutting
- Extract Aloe Vera Gel: Cut open a fresh aloe vera leaf and scoop out the gel. If you don’t have an aloe plant, you can use store-bought aloe vera gel.
- Coat the Cutting: Dip the exposed end of the juniper cutting into the aloe vera gel. Ensure the gel covers the entire cut area, which will help to stimulate root growth and prevent infection.
Step 3: Prepare the Potting Mix
- Choose the Right Soil: Use a well-draining potting mix for propagation. A cactus mix or a combination of sand and perlite works best as it allows the cutting to root without sitting in too much moisture.
- Fill the Pot: Fill your small pot or container with the prepared potting mix. Tap the pot gently to settle the soil and ensure it’s evenly distributed.
Step 4: Plant the Juniper Cutting
- Insert the Cutting: Make a small hole in the soil with your finger or a pencil. Insert the aloe-coated juniper cutting into the hole, burying it about 2-3 inches deep.
- Firm the Soil: Gently press the soil around the cutting to secure it in place. Make sure the cutting is standing upright and doesn’t lean to one side.
Step 5: Create a Humid Environment
- Cover with Plastic: To maintain humidity and create a greenhouse effect, cover the pot with a clear plastic bag or plastic wrap. This will help retain moisture and provide the cutting with the warmth it needs to root.
- Place in Indirect Light: Place the cutting in a warm location with bright but indirect sunlight. Avoid direct sunlight as it may overheat the cutting and dry it out.
Step 6: Care for the Cutting
- Watering: Keep the soil moist but not soggy. Mist the cutting lightly with water if the soil feels dry, or water when the soil feels dry to the touch. Ensure the pot has proper drainage to prevent waterlogging.
- Check for Roots: After about 2-4 weeks, check the cutting to see if it has developed roots. Gently tug on the cutting; if it resists, it means roots are forming. If not, continue to keep the soil moist and covered until you notice root growth.
Step 7: Transplant to a Larger Pot (Optional)
Once your juniper cutting has developed a healthy root system, you can transplant it into a larger pot or directly into your garden. Make sure the new container has drainage holes and use a good quality well-draining potting mix.
Additional Tips for Success
- Temperature: Juniper cuttings prefer a warmer environment for rooting, ideally between 65°F to 75°F (18°C to 24°C). If temperatures are cooler, consider placing the pot near a heat source or using a heat mat.
- Humidity: Maintaining humidity is crucial for success. Mist the cutting regularly if it starts to dry out.
- Patience: Junipers can take time to root. Be patient and wait for 4-6 weeks to see roots start to develop. Some cuttings may take longer, so don’t rush the process.
Conclusion
Propagating juniper trees from cuttings using aloe vera is a simple and effective way to grow new plants with a high success rate. Aloe vera’s natural rooting properties help the cutting recover quickly and develop healthy roots. By following this step-by-step guide, you can grow your own juniper plants at home with ease, ensuring healthy roots and a strong foundation for future growth. Enjoy the process, and soon you’ll have a beautiful new juniper tree thriving in your garden!


