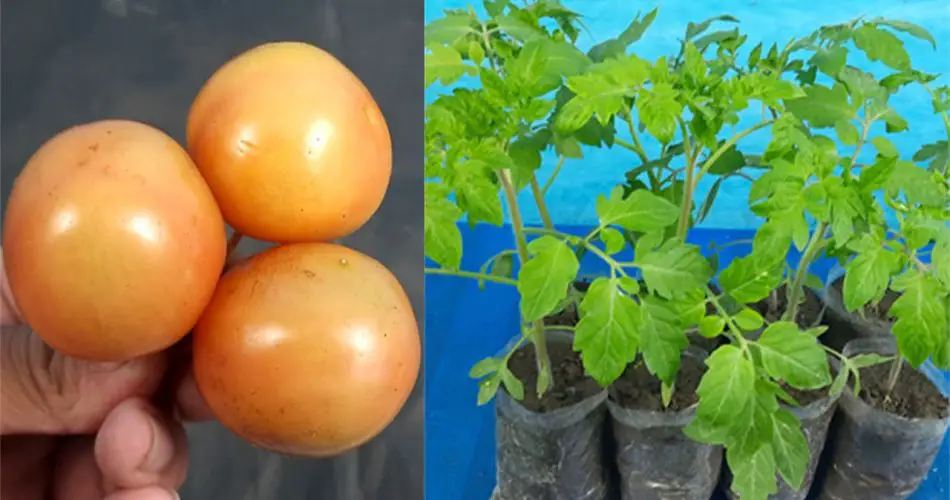
Growing tomatoes at home is a rewarding and enjoyable experience. Whether you’re planting in a garden, a raised bed, or containers, growing your own tomatoes can be simple, as long as you follow a few essential steps. From seed to harvest, here’s your complete guide to growing tomatoes at home.

Step 1: Choose the Right Tomato Variety
Before you start planting, it’s important to choose the right variety of tomato for your growing conditions. Tomatoes come in many varieties, such as:
- Cherry or grape tomatoes (small, sweet, and great for snacking)
- Beefsteak tomatoes (large, perfect for sandwiches)
- Roma or plum tomatoes (ideal for sauces and pastes)
- Heirloom varieties (known for their unique flavors and colors)
Make sure to select a variety that suits your climate and growing space. Some tomatoes thrive in containers, while others need more room to spread out in the garden.
Step 2: Start Seeds Indoors
If you’re starting from seeds, it’s best to begin indoors about 6-8 weeks before the last expected frost. Here’s how:
- Fill seed trays or small pots with seed-starting mix. The mix should be light and well-draining to encourage healthy seedling growth.
- Plant the seeds about 1/4 inch deep, following the instructions on the seed packet for spacing. Cover the seeds lightly with soil.
- Water gently to keep the soil moist but not soggy. Keep the trays or pots in a warm spot (around 70-80°F or 21-27°C) until they germinate, which usually takes 5-10 days.
- Provide light: Once the seeds sprout, provide them with 12-16 hours of light daily. If you don’t have natural light, consider using grow lights to ensure the seedlings stay strong.
Step 3: Harden Off Seedlings
Before transplanting your seedlings outdoors, it’s important to harden them off to help them acclimate to outdoor conditions. About a week before transplanting:
- Gradually expose the seedlings to outdoor conditions by placing them outside for a few hours each day, increasing the exposure time gradually.
- Ensure they are protected from direct sunlight and strong winds during the hardening-off process.
Step 4: Transplanting Tomato Seedlings
Once the danger of frost has passed and the outdoor temperature stays consistently above 50°F (10°C), it’s time to transplant the seedlings. Choose a sunny spot in your garden or container that receives at least 6-8 hours of direct sunlight daily.
- Prepare the soil: For garden planting, work the soil to a depth of 6-8 inches, adding compost or well-rotted manure for nutrients. For containers, use a high-quality potting mix.
- Space the plants: When transplanting, space your tomato plants about 18-36 inches apart, depending on the variety, to ensure they have enough room to grow and spread.
- Plant deeply: Tomatoes can develop roots along their stems, so bury the seedlings up to the first set of leaves. This will help the plant establish a stronger root system.
Step 5: Watering and Fertilizing
Tomatoes need consistent moisture to grow strong, healthy plants. However, they do not like to be waterlogged.
- Watering: Water at the base of the plant to keep the leaves dry. Tomatoes need deep watering, so ensure the soil is moist to a depth of at least 6-8 inches. Water the plants deeply once or twice a week, depending on weather conditions.
- Mulching: Apply organic mulch around the base of the plant to retain moisture, regulate soil temperature, and suppress weeds.
- Fertilizing: Tomatoes are heavy feeders. Use a balanced fertilizer (with equal parts nitrogen, phosphorus, and potassium) during the growing season. Avoid too much nitrogen, as this can result in lush foliage but fewer fruits. Consider adding compost or a tomato-specific fertilizer to boost nutrient levels throughout the growing period.
Step 6: Support the Plants
Tomato plants, especially larger varieties, need support to grow vertically and keep the fruit off the ground. There are several ways to support your plants:
- Stakes: Insert a stake into the soil near each plant and tie the stems to the stake as they grow. Use soft ties to avoid damaging the plant.
- Cages: Tomato cages are a popular choice, as they allow the plant to grow inside the cage and provide good support for heavy fruit.
- Trellises: A trellis can also work well for vining varieties of tomatoes, especially cherry or grape types.
Step 7: Pruning and Maintenance
To promote better airflow, reduce disease risk, and encourage more fruit production, prune your tomato plants regularly.
- Remove suckers: Suckers are small shoots that grow between the main stem and branches. Pinch them off to prevent them from taking energy away from the main plant.
- Remove yellowing leaves: As the plant matures, remove any leaves that turn yellow or brown to reduce the spread of diseases.
- Maintain a clean garden: Keep the area around the plants free of weeds and debris to reduce the risk of disease.
Step 8: Pollination
Tomato plants are usually self-pollinating, meaning they don’t require another plant to produce fruit. However, they still benefit from the movement of air or insects.
- Shake the plant gently or use a small brush to transfer pollen from one flower to another if you notice that fruit set is slow.
- Ensure that the garden has plenty of pollinators, like bees, to help with natural pollination.
Step 9: Harvesting Tomatoes
The time to harvest depends on the variety of tomato you are growing. Most tomatoes ripen in 50-85 days from transplanting. Here’s how to know when to harvest:
- Color: Tomatoes are ready for harvest when they have fully developed their color (red, orange, yellow, or purple, depending on the variety).
- Firmness: Gently squeeze the tomato. It should be firm but give slightly under pressure.
- Easy to Detach: The fruit should come off the plant with a gentle twist or pull, and the stem should remain attached to the tomato.
Harvest tomatoes regularly to encourage more fruit production and prevent overripening.
Step 10: Enjoy Your Homegrown Tomatoes!
Once your tomatoes are harvested, enjoy them fresh in salads, sandwiches, sauces, or just as a snack. Homegrown tomatoes are rich in flavor and nutrition, and they add a fresh touch to any meal.
Conclusion
Growing tomatoes at home is a fulfilling and delicious project that can be done in your garden or in containers. By following these steps, from seeding to harvest, you can enjoy a bountiful tomato crop throughout the growing season. Remember to choose the right variety, provide consistent care, and be patient, as your tomatoes develop from seeds to juicy, ripe fruits ready for the table. Happy gardening! 🌱🍅


