
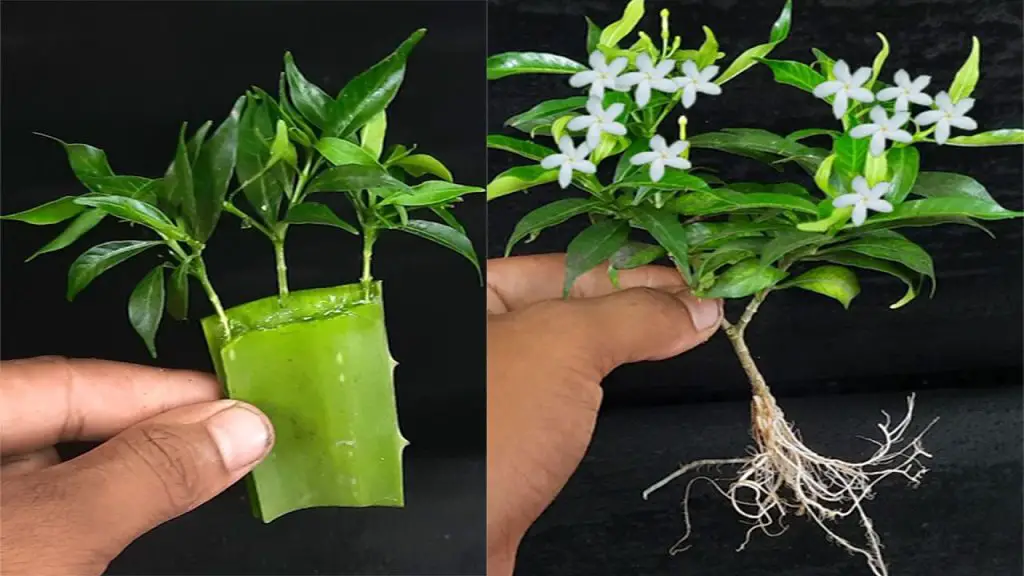
Mini Tagar, also known as miniature marigold or Tagetes, is a beautiful and vibrant flowering plant that can bring a pop of color to any garden. Known for its stunning yellow, orange, and red flowers, Mini Tagar is a popular choice for gardeners looking for easy-to-grow plants that brighten up any space. In this article, we will explore how to grow Mini Tagar from cuttings in sand, a simple and effective propagation method.
Why Propagate Mini Tagar from Cuttings in Sand?
Propagating Mini Tagar from cuttings is a great way to expand your collection of these colorful flowers without having to buy new plants. Growing cuttings in sand is particularly beneficial because sand is well-draining, which helps prevent root rot and encourages healthy root development. Additionally, sand provides a good medium for the cutting to establish roots before transplanting it into soil.
What You Will Need:
- Healthy Mini Tagar plant
- Sharp scissors or pruning shears
- Sand (preferably coarse sand for better drainage)
- A shallow container or tray
- Water
- A plastic bag or transparent cover (for humidity)
- Rooting hormone (optional)
Steps to Grow Mini Tagar from Cutting in Sand
Step 1: Prepare the Mini Tagar Cutting
Start by selecting a healthy Mini Tagar plant with vibrant leaves and stems. Using a sharp pair of scissors or pruning shears, cut a 4-6 inch piece of stem from the plant. The cutting should be taken just below a leaf node (where leaves are attached to the stem). Remove any leaves from the bottom of the cutting, leaving a few leaves at the top.
Tip: To increase the chances of successful rooting, you can dip the cutting in a rooting hormone powder before placing it in the sand. This step can help stimulate root growth.
Step 2: Prepare the Sand for Rooting
Fill a shallow container or tray with coarse sand. Sand is an ideal medium for rooting because it has excellent drainage properties, ensuring that the cutting doesn’t become waterlogged and rot. You can use sterilized sand to avoid any harmful pathogens that may hinder root development.
Tip: If you don’t have access to coarse sand, regular garden sand will work as well. Just make sure the sand is loose and well-draining.
Step 3: Plant the Cutting in the Sand
Make a small hole in the sand with a stick or your finger, then gently insert the base of the Mini Tagar cutting into the hole. Press the sand around the cutting lightly to secure it in place. Ensure that the cutting is buried at least 2 inches deep in the sand to give it proper support.
Step 4: Water the Cutting
Water the sand lightly to settle it around the cutting. Keep the sand moist, but avoid overwatering as this can cause the cutting to rot. It’s important to maintain consistent moisture without making the sand too soggy.
Step 5: Cover the Cutting for Humidity
To encourage faster root growth, cover the container with a plastic bag or transparent plastic cover. This will help maintain high humidity around the cutting, which is essential for rooting. Be sure to leave a small gap for air circulation to prevent mold growth.
Tip: Place the container in a warm, indirect sunlight area. Too much direct sunlight can dry out the cutting, while too little light can hinder root development.
Step 6: Monitor and Transplant
After 2-4 weeks, check for root growth. You can gently tug on the cutting to see if it has developed roots. Once you feel resistance, it means that the cutting has rooted successfully.
Once the Mini Tagar cutting has established a strong root system, it’s time to transplant it into a small pot with well-draining soil. Continue to care for the plant as it grows and watch it bloom into a beautiful, vibrant flower.
Additional Tips for Success:
- Humidity is Key: Keep the cutting under the plastic cover for the first few weeks to maintain high humidity, which encourages faster rooting.
- Light: Provide bright, indirect light for the cutting, but avoid placing it in direct sunlight as it may scorch the leaves.
- Watering: Water the cutting regularly to keep the sand moist but not soggy. Overwatering can lead to rot.
- Patience: Growing plants from cuttings takes time. Be patient and allow the cutting to establish strong roots before transplanting it into soil.
Conclusion
Propagating Mini Tagar from cuttings in sand is an easy and effective method that can help you expand your collection of these beautiful flowering plants. By using sand as a rooting medium, you can ensure that the cuttings develop healthy roots without the risk of rot. Follow the steps outlined above, and you’ll soon be able to enjoy vibrant Mini Tagar flowers in your garden. Happy gardening!


