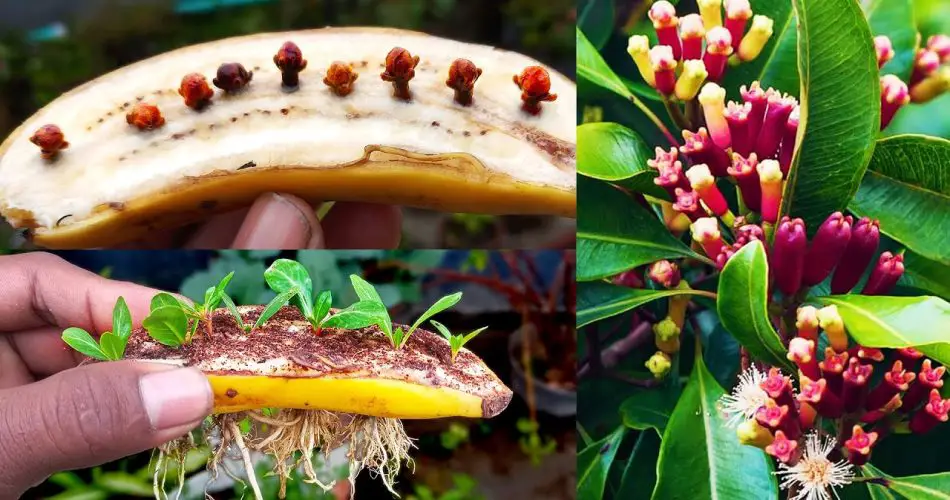
Cloves, the aromatic spice derived from the flower buds of the clove plant, are widely used in cooking, medicine, and aromatherapy. If you’ve ever wondered how to grow clove spice at home or how to cultivate a clove plant from seed, you’re in the right place. In this article, we’ll walk you through the steps of growing the clove plant at home, whether you’re starting from seeds or already have a young plant ready to thrive in your garden. With some patience and care, you can enjoy the wonderful benefits of growing your own cloves.
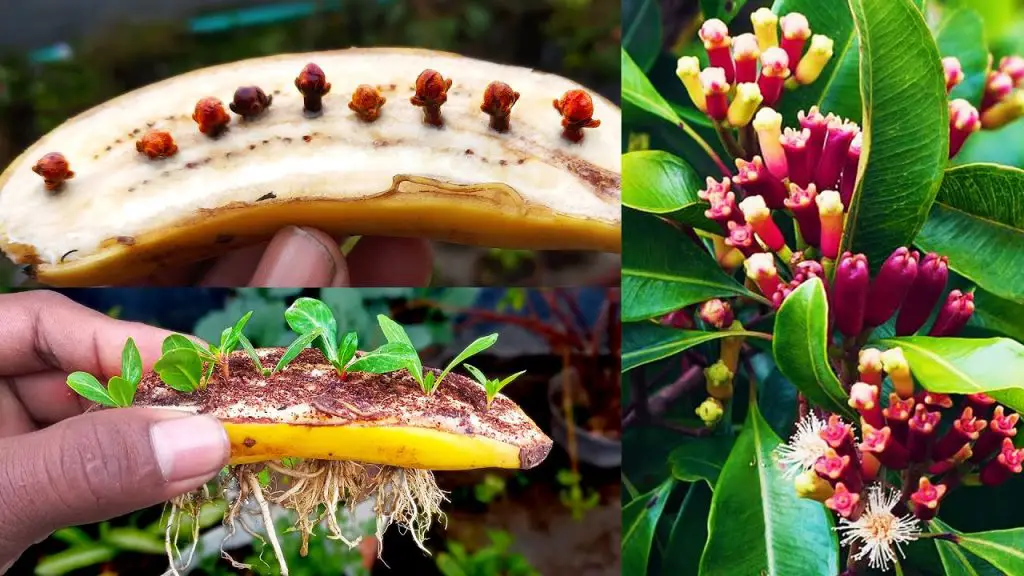
What is the Clove Plant?
The clove plant (Syzygium aromaticum) is a tropical evergreen tree native to the Maluku Islands in Indonesia. The plant produces small, dried flower buds that are harvested and dried to become the familiar cloves we use in various culinary dishes. The clove tree requires a warm, humid climate to grow, making it ideal for tropical and subtropical regions. But even if you live in a cooler climate, you can still grow the clove plant in a greenhouse or indoor garden with the right care.
How to Grow Clove Spice at Home
Growing cloves at home may take some time and patience, but it can be a highly rewarding experience. Here’s a complete guide to help you grow your own clove tree:
1. Growing Clove Plant from Seed
Starting your clove plant from seeds is a slow but rewarding process. Follow these steps to successfully grow cloves from seed:
Step 1: Obtain Clove Seeds
You can find clove seeds from a reputable garden center or online. Fresh seeds are the most likely to germinate successfully. Make sure you purchase non-irradiated seeds to ensure good germination rates.
Step 2: Prepare the Seeds
Before planting, soak the seeds in warm water for 24 hours to soften the outer shell. This will increase the chances of successful germination.
Step 3: Plant the Seeds
- Fill a small pot with well-draining, fertile soil. A mix of potting soil, sand, and perlite is ideal.
- Plant the seeds about 1 inch deep in the soil, covering them lightly.
- Water the soil gently, making sure it remains moist but not soggy.
Step 4: Germination
Place the pot in a warm and humid environment with a temperature of around 75-85°F (24-29°C). Keep the soil consistently moist, but avoid over-watering. The seeds should germinate within 3-6 weeks, although it can sometimes take longer.
Step 5: Transplanting the Seedlings
Once your seedlings have grown to about 6 inches (15 cm) tall and have developed a few leaves, you can transplant them into larger pots or directly into your garden. Make sure the location receives partial shade and is protected from strong winds.
2. Growing Clove Plant from Cuttings
While starting from seed can take longer, another option is to propagate the clove plant using cuttings. Here’s how:
Step 1: Choose a Healthy Cutting
Select a healthy, young stem from an established clove plant. The cutting should be about 6 inches long with at least 2-3 sets of leaves.
Step 2: Prepare the Cutting
Cut the stem just below a node (where a leaf attaches to the stem). Remove the lower leaves, leaving the top 2-3 leaves intact.
Step 3: Rooting the Cutting
Dip the cut end of the stem in rooting hormone to encourage root growth. Then, plant the cutting in a pot filled with moist, well-draining soil. You can cover the pot with a plastic bag or use a mini greenhouse to create a humid environment.
Step 4: Care and Maintenance
Place the cutting in a warm and bright location, but out of direct sunlight. Keep the soil moist and mist the leaves to maintain humidity. After a few weeks, the cutting should develop roots and start to grow.
3. General Care for Your Clove Plant
Whether you’re growing cloves from seed or cutting, once your clove plant has established roots and is growing steadily, you’ll need to provide the following care to help it thrive:
Sunlight and Temperature
Clove plants thrive in warm, tropical conditions. They require bright, indirect sunlight for at least 6 hours a day. Maintain temperatures between 70-85°F (21-29°C), as clove trees are sensitive to cold.
Watering
Clove plants need consistent moisture, but be careful not to over-water them. Water when the top inch of the soil feels dry, but ensure the pot has proper drainage to avoid waterlogging.
Soil and Fertilizing
Clove trees prefer rich, well-draining soil. You can use a loamy or sandy soil mix for best results. Fertilize your clove plant with a balanced, organic fertilizer every few months during the growing season to support healthy growth.
Humidity
Cloves are native to tropical regions, so they thrive in high humidity. If you live in a dry climate, consider using a humidifier or placing the plant in a tray of water with pebbles to increase humidity.
Pruning and Maintenance
As your plant grows, you may need to prune it to maintain its shape and encourage healthy branching. Regularly remove any dead or damaged leaves and stems.
4. Harvesting Cloves
After about 3-4 years of growth, your clove plant should start producing flower buds. The buds turn into the cloves that are harvested. Pick them when they turn from green to red. They need to be dried before use. Simply hang the buds in a warm, dry place until they lose their moisture.
Conclusion
Growing the clove plant at home is a rewarding and enjoyable experience for anyone interested in gardening. Whether you choose to propagate from seed or cuttings, your efforts will eventually result in a healthy plant that produces delicious cloves for your cooking or medicinal needs. By following the simple guidelines in this article, you can successfully grow your very own clove plant at home, bringing the aromatic spice right to your doorstep.


