
If you’re looking to grow your own grape vine at home but don’t know where to start, propagating a grape tree with water is an incredibly easy and rewarding method. Whether you’re trying to expand your grapevine collection or simply want to try your hand at gardening, this simple method can help you grow a healthy grape vine from cuttings. In this article, we’ll walk you through the process of propagating grape vines with water, so you can enjoy the beauty and taste of fresh grapes from your very own garden.
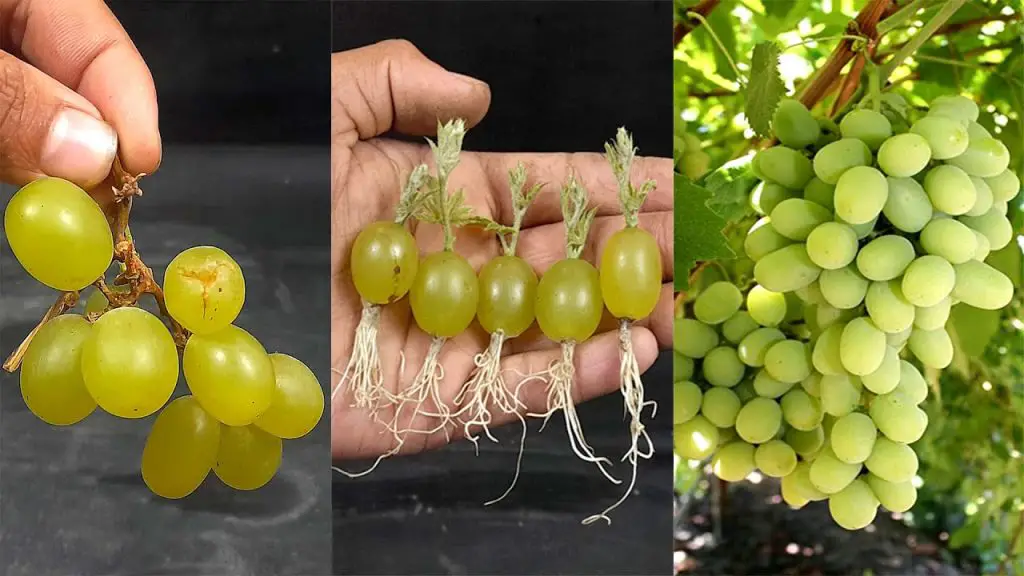
Why Propagate Grapes with Water?
Propagating grape vines with water is an effective and simple method for beginners. Unlike soil propagation, which can be tricky for those new to gardening, water propagation allows you to closely monitor the root development and ensures the cutting gets the moisture it needs to grow. This method works well for most grape varieties and is a great way to expand your garden without investing in expensive grapevines.
Step-by-Step Guide: How to Propagate a Grape Tree with Water
Follow these simple steps to propagate a grape tree from a cutting using just water.
Step 1: Select the Right Grape Vine Cutting
The first step in propagating grapes with water is choosing the right cutting from an established grapevine. Here’s how to do it:
- Select a healthy, disease-free grape vine from your garden or a trusted source.
- Choose a semi-hardwood cutting that is around 6 to 8 inches long. The cutting should include at least 2-3 nodes (the points where leaves or buds grow).
- Ensure the cutting is taken from a mature vine but not from the new, soft growth. Mature wood tends to root better.
Step 2: Prepare the Cutting
Before placing your grape cutting in water, it’s important to properly prepare it for optimal root growth:
- Trim the Cutting: Remove any leaves or stems near the bottom of the cutting. This will prevent the leaves from rotting in the water.
- Cut the Bottom: Make a clean, diagonal cut at the bottom of the stem just below a node. This helps encourage root growth and prevents the cutting from sitting in water.
- Optional: You can dip the cut end of the stem in rooting hormone to help promote quicker root development.
Step 3: Place the Cutting in Water
Once your cutting is ready, it’s time to place it in water:
- Fill a clear glass jar or container with clean, room-temperature water. The container should be deep enough to fully submerge the bottom of the cutting while keeping the top exposed.
- Submerge the Cutting: Place the cutting in the water so that the bottom node is submerged. Make sure that the cutting is not completely underwater to avoid rot.
- Support the Cutting: You may need to use a rubber band or wire to keep the cutting in place and prevent it from floating or touching the sides of the container.
Step 4: Care for Your Grape Cutting
Now that your cutting is placed in water, you need to care for it properly to encourage root growth:
- Place in Indirect Sunlight: Position the container in a bright spot but away from direct sunlight, which can cause the water to overheat.
- Change the Water Regularly: Change the water in the container every 2-3 days to prevent bacteria or algae growth, which could harm the cutting.
- Keep the Cutting Moist: Ensure the cutting remains in the water until you see roots developing. This usually takes 2-4 weeks, depending on the grape variety and environmental conditions.
Step 5: Watch for Roots to Develop
Patience is key when propagating grape vines. After 2 to 4 weeks, you should start to see tiny roots emerging from the bottom of the cutting. Once the roots are about 1 to 2 inches long, your cutting is ready to be transplanted into soil.
Step 6: Transplant the Rooted Cutting into Soil
When the roots have developed enough, it’s time to plant your grape cutting in soil:
- Prepare a small pot with well-draining potting soil.
- Gently remove the cutting from the water and plant it in the pot, ensuring the roots are covered and the cutting is standing upright.
- Water the Cutting: Water the newly potted cutting well and place it in a sunny location. Keep the soil moist but not soggy.
- Continue to care for your grape vine by watering regularly, ensuring it gets enough sunlight, and providing fertilizer when needed.
Step 7: Transfer to the Garden
After a few months, when the grape vine has grown larger and stronger, you can transplant it into your garden or a larger pot. If you live in a temperate or tropical climate, you can place the vine in your garden soil, ensuring it gets full sun and enough space to grow. Grape vines thrive in well-drained soil with a slightly acidic pH (around 6.0 to 6.5).
Conclusion
Propagating a grape tree with water is a simple and effective way for beginners to grow their own grape vines at home. By following these easy steps, you can watch your cutting develop into a full-grown grape vine that produces fresh, juicy grapes in your garden. Whether you are a seasoned gardener or just starting, this method will give you the satisfaction of growing your own grapes and expanding your garden with ease. Happy gardening!


