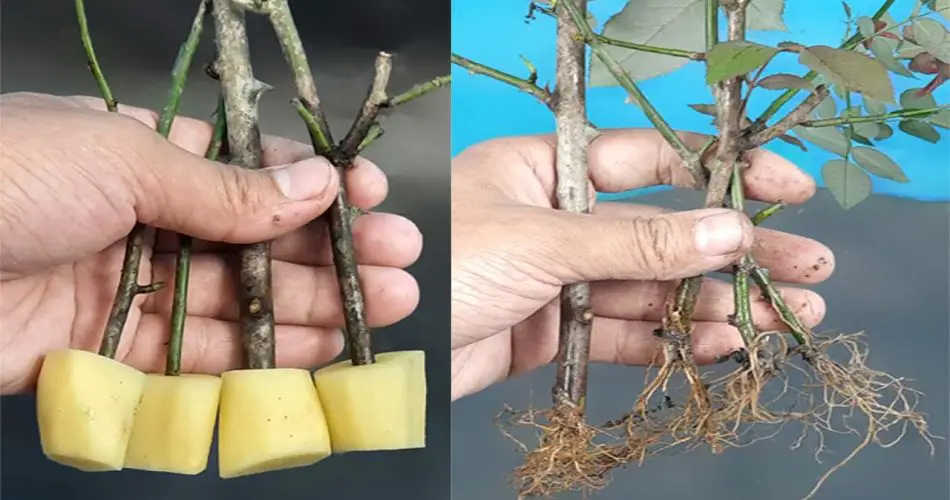
Growing a Black Plum (also known as Jamun in some regions) from cuttings is an effective and easy way to propagate this tropical fruit tree. A unique and creative method involves using a potato as a rooting medium, which encourages the cuttings to develop roots faster and more successfully. In this guide, we’ll walk you through the steps to propagate a Black Plum tree using a potato.
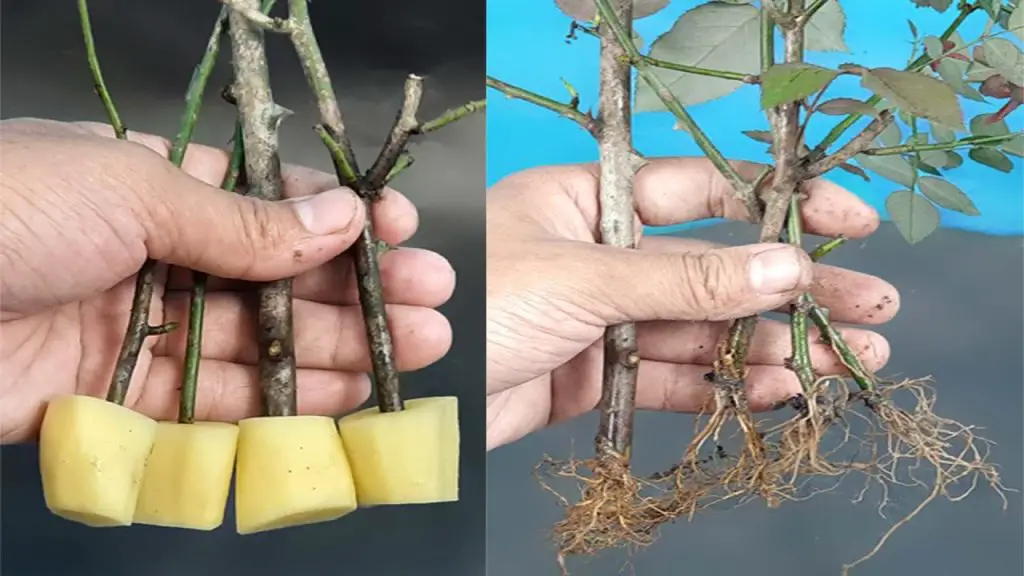
Why Grow Black Plum from Cuttings Using Potato?
- Convenient and Cost-Effective: Potatoes are a readily available and low-cost medium for rooting cuttings.
- Promotes Faster Rooting: The starch in the potato provides nutrients that help the cutting develop roots more quickly.
- No Special Equipment Needed: You don’t need expensive rooting hormones or special tools—just a potato and a healthy cutting.
- Simple Process: It’s a straightforward, beginner-friendly method that ensures a higher success rate.
Materials Needed:
- Healthy Black Plum (Jamun) tree: Choose a well-established tree for the cutting.
- Sharp knife or pruning shears: For cutting the branch.
- A potato: Preferably a medium-sized potato.
- Rooting hormone (optional): Helps stimulate root growth, though not always necessary.
- A pot: To plant the rooted cutting.
- Well-draining potting mix: A mixture of soil, sand, and compost works best.
- A plastic bag or a humidity dome: To maintain high humidity around the cutting.
- Water: To keep the cutting and soil moist.
Step-by-Step Guide to Grow Black Plum Plant from Cuttings Using Potato
Step 1: Select a Healthy Cutting
- Choose a healthy branch from the Black Plum tree. It’s best to select a young, healthy branch that’s about 6-8 inches (15-20 cm) long.
- Use sharp pruning shears or a clean knife to cut the branch just below a node (the part of the stem where leaves or branches emerge).
- Remove any leaves or buds from the lower portion of the cutting to prevent them from rotting when planted.
Step 2: Prepare the Potato
- Take a medium-sized potato. It should be large enough to hold the cutting upright.
- Using a sharp knife, make a small slit in the potato where you will insert the cutting. The slit should be deep enough to secure the cutting but not too wide that it splits the potato.
- Optional: If you prefer, you can dip the bottom of the cutting in rooting hormone before inserting it into the potato. This step is optional but may encourage faster rooting.
Step 3: Insert the Cutting into the Potato
- Insert the cut end of the cutting into the slit of the potato, making sure it fits snugly. The potato will act as a support structure and keep the cutting moist while it develops roots.
- Place the potato with the cutting in a shallow container or pot.
Step 4: Planting the Potato and Cutting
- Fill a small pot with well-draining potting mix. A mix of soil, sand, and compost will work best to allow for proper drainage and aeration.
- Place the potato with the cutting upright in the pot, ensuring that the cutting is partially buried in the soil, but the potato is mostly above the surface.
- Water the pot gently to moisten the soil. Be careful not to overwater, as this can cause the cutting to rot.
Step 5: Maintain Humidity and Temperature
- To keep the cutting in a humid environment, cover the pot with a clear plastic bag or a humidity dome. This will create a greenhouse-like effect and maintain the necessary humidity for the cutting to root.
- Place the pot in a warm, indirect sunlight location. Ideally, the temperature should be between 65-75°F (18-24°C).
- Ensure that the cutting does not receive direct sunlight, as this could dry out the cutting or burn the leaves.
Step 6: Care for the Cutting
- Water the cutting regularly, but avoid letting the soil become too soggy. The potato should remain moist but not waterlogged.
- Check for roots by gently pulling the cutting after about 2-3 weeks. If there’s resistance, it means roots have begun to form.
- If needed, change the water and keep the environment humid until the roots are well-established.
Step 7: Transplanting the Rooted Cutting
- Once the cutting has developed a healthy root system, it’s time to transplant it into a larger pot or directly into the garden.
- Gently remove the potato and the rooted cutting from the pot. Be careful not to disturb the newly formed roots.
- Transplant the rooted cutting into a larger pot with fresh, well-draining soil or directly into the garden where it can receive plenty of sunlight and space to grow.
Step 8: Continue Care and Growth
- After transplanting, water the new Black Plum plant regularly and provide it with a steady supply of nutrients. You can use a balanced fertilizer to promote strong growth.
- Keep the young tree in a sunny location, and ensure it receives adequate protection from strong winds or frost.
- Over time, the tree will grow into a healthy Black Plum tree and start producing fruit once it matures.
Tips for Success:
- Choose healthy cuttings: Select disease-free branches for the best chance of success.
- Humidity: Maintain a high humidity level around the cutting to encourage root growth.
- Patience: Rooting can take time, so be patient and allow the cutting to grow strong roots before transplanting.
- Avoid direct sunlight: Direct sun can dry out the cutting, so place it in a shaded spot until roots develop.
Conclusion
Growing a Black Plum (Jamun) tree from cuttings using a potato is a simple, creative, and effective way to propagate this wonderful fruit tree. By following the steps outlined above, you can easily propagate your own Black Plum plant at home. With a little care and patience, you’ll soon have a healthy tree ready to grow and produce delicious fruit. This technique works well for beginners and experienced gardeners alike and offers a unique and resourceful method of propagation. Happy gardening!


