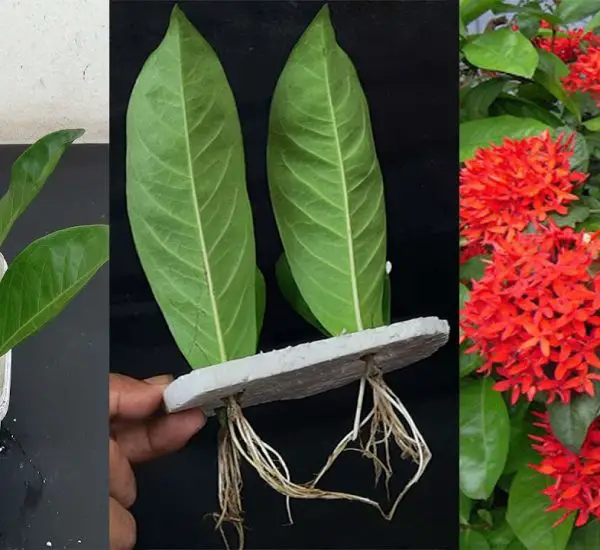
Growing roses from cuttings is one of the most rewarding and cost-effective ways to propagate these beautiful flowers. While traditional methods involve using soil or water, there’s an old gardening trick that uses potatoes to encourage rooting in rose cuttings. This technique is easy, effective, and results in strong, healthy rose plants. Let’s explore how you can grow a rose from cutting in a potato, step by step.
Why Use a Potato to Grow Roses?
Using a potato as a medium for rooting rose cuttings has several benefits:
- Moisture Retention: Potatoes have a natural ability to retain moisture, which helps keep the rose cutting hydrated.
- Nutrient Support: Potatoes contain essential nutrients like potassium, which support root development.
- Simple Setup: Growing roses in potatoes is easy and requires minimal materials.
What You’ll Need to Grow a Rose from Cutting in a Potato
Before you get started, gather the following materials:
- Healthy Rose Cutting: Choose a semi-hardwood cutting from a healthy rose bush. It should be about 6 inches long, with at least 3-4 nodes.
- Sharp Pruning Shears: For cutting the rose stem cleanly.
- Potato: A medium-sized, healthy potato with no signs of rot or disease.
- Rooting Hormone (optional): To help stimulate root growth.
- Plastic Bag or Clear Plastic Dome: To maintain high humidity around the cutting.
- Small Pot or Container: To place the potato with the cutting.
Step-by-Step Guide to Growing Roses from Cutting in a Potato
Step 1: Prepare the Rose Cutting
- Select a healthy rose branch from a mature rose bush. Choose a stem that is not flowering to ensure better success.
- Using your pruning shears, cut the rose stem to about 6 inches long, making the cut just below a node (the bump where leaves were previously attached).
- Remove any leaves from the bottom 2-3 inches of the cutting to prevent rot. Leave the top leaves intact to help with photosynthesis.
Step 2: Prepare the Potato
- Choose a healthy medium-sized potato. A russet potato works best as it holds moisture and nutrients well.
- Using a sharp knife, cut a hole in the potato about the same size as the bottom of the rose cutting. The hole should be deep enough to secure the cutting but not too deep to bury it completely.
- Optional: You can dip the bottom of the cutting in rooting hormone to increase the chances of successful rooting.
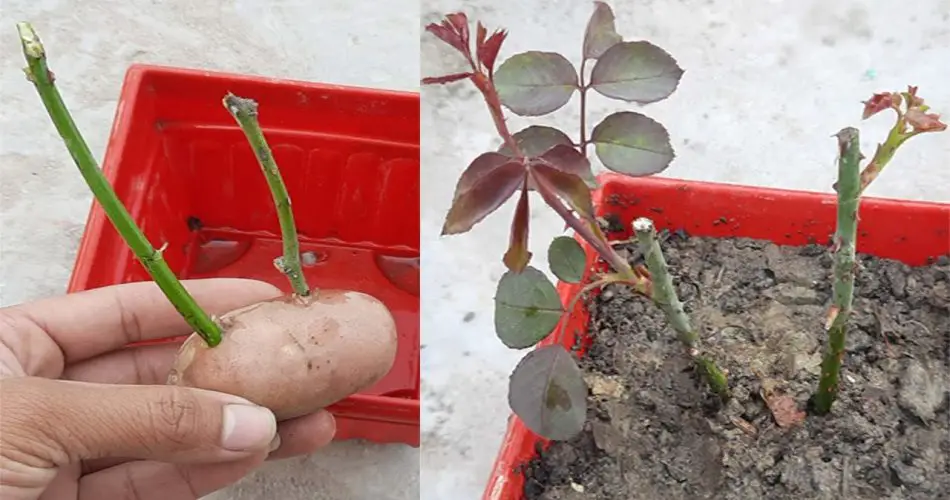
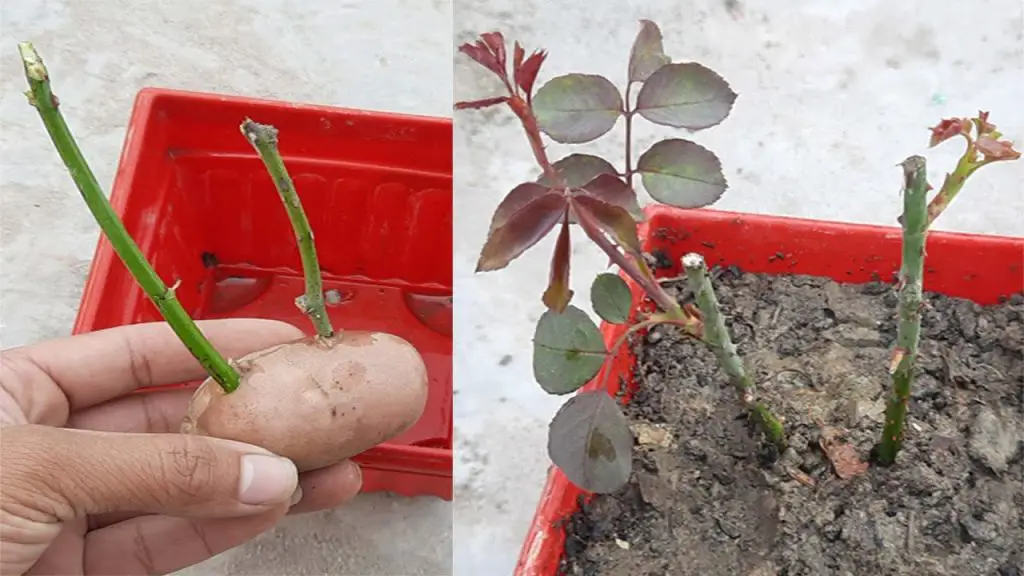
Step 3: Insert the Rose Cutting into the Potato
- Carefully insert the rose cutting into the hole in the potato, making sure the bottom of the cutting is in contact with the potato flesh. The potato will act as a moisture reservoir, keeping the cutting hydrated as it roots.
- The rose cutting should be upright, with the leaves positioned above the potato.
Step 4: Place the Potato in a Pot
- Place the potato with the rose cutting into a small pot or container. Fill the container with a light, well-draining soil mix to help stabilize the potato and cutting.
- Gently pack the soil around the potato to secure it in place, but leave the top of the cutting exposed.
Step 5: Create a Humid Environment
- To encourage rooting, place a clear plastic bag or plastic dome over the cutting to maintain high humidity. Make sure the bag is not touching the cutting.
- Place the pot in a warm, bright location, but avoid direct sunlight, as it can overheat the cutting.
Step 6: Wait for Roots to Develop
- After a few weeks, the rose cutting will start developing roots. You can gently tug on the cutting to check for resistance, indicating that the roots have formed.
- Mist the cutting regularly to keep the humidity high, but ensure the potato does not get too soggy, as this could cause rot.
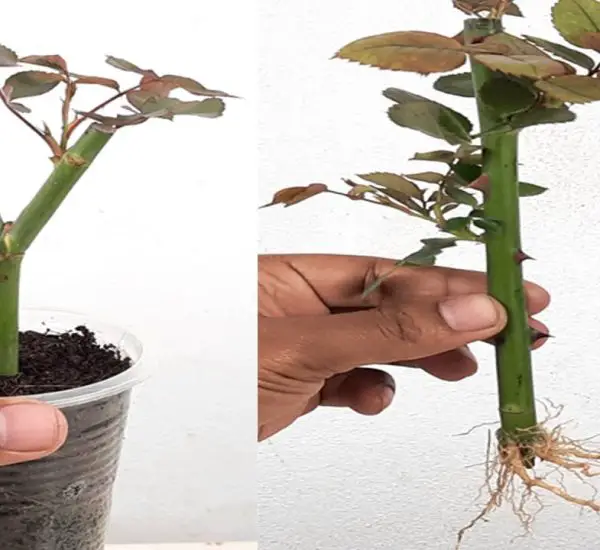
Step 7: Transplant the Rooted Cutting
Once your rose cutting has developed a strong root system (usually after 4-6 weeks), it’s time to transplant it into the ground or a larger pot:
- Gently remove the potato and cutting from the soil.
- Transplant the rooted cutting into a larger container with a good-quality potting mix, or directly into the garden if the weather is warm enough.
- Water the newly transplanted rose well and place it in a sunny spot.
Tips for Success
- Humidity: Keeping the cutting in a high-humidity environment is key for successful rooting. If you don’t have a plastic dome, you can cover the cutting with a plastic bottle or make a makeshift greenhouse.
- Choose Healthy Cuttings: Select cuttings from a healthy rose plant to increase the chances of successful rooting.
- Be Patient: Rooting can take time, so be patient and check on the cutting regularly. Avoid disturbing it too often to allow the roots to grow undisturbed.
- Avoid Overwatering: While the potato provides moisture, ensure the cutting doesn’t get too wet, as excess moisture can lead to rot.
Conclusion
Growing a rose from cutting in a potato is a simple yet highly effective method that can yield beautiful results. This technique is perfect for gardeners who want to propagate roses without needing to use complicated equipment or techniques. By following these simple steps, you’ll be able to grow a strong, healthy rose bush in no time—making your garden even more vibrant and full of life!
Happy gardening, and enjoy your stunning new rose bush! 🌹