Air layering is a highly effective method for propagating rose plants, allowing you to produce new plants without needing seeds or cuttings. This technique encourages roots to form while the plant is still attached to its parent, ensuring the new plant starts with a strong foundation. Here’s a detailed guide on how to air layer a rose plant.
What You’ll Need:
- Healthy rose plant (choose a mature, vigorous stem)
- Sharp knife or pruning shears
- Rooting hormone (optional, but recommended)
- Sphagnum moss or a similar medium
- Plastic wrap or a plastic bag
- Twine or plant ties
- Aluminum foil (optional)
Step-by-Step Guide to Air Layering Roses
- Choose a Healthy Stem
Select a mature stem on the rose plant, ideally one that is about one year old. Make sure the stem is free from disease and pest damage. Look for a stem that is long enough to bend down toward the soil without being too woody. - Prepare the Stem
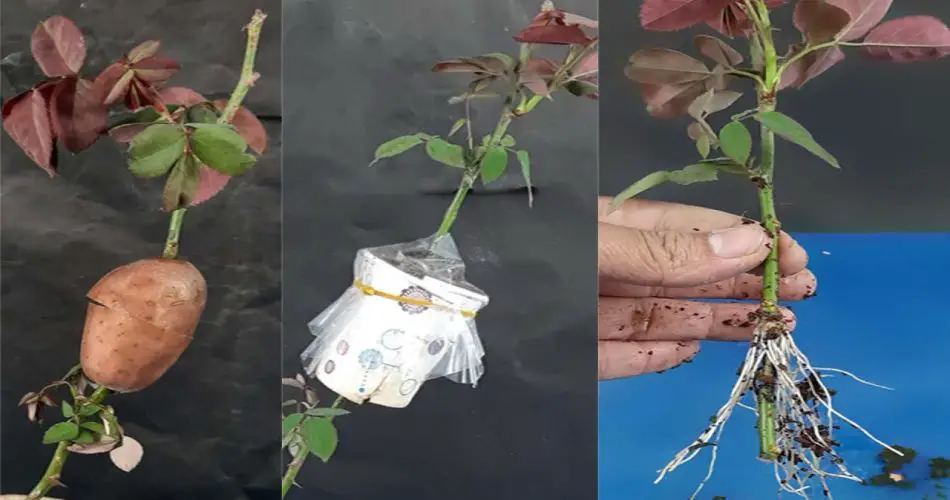
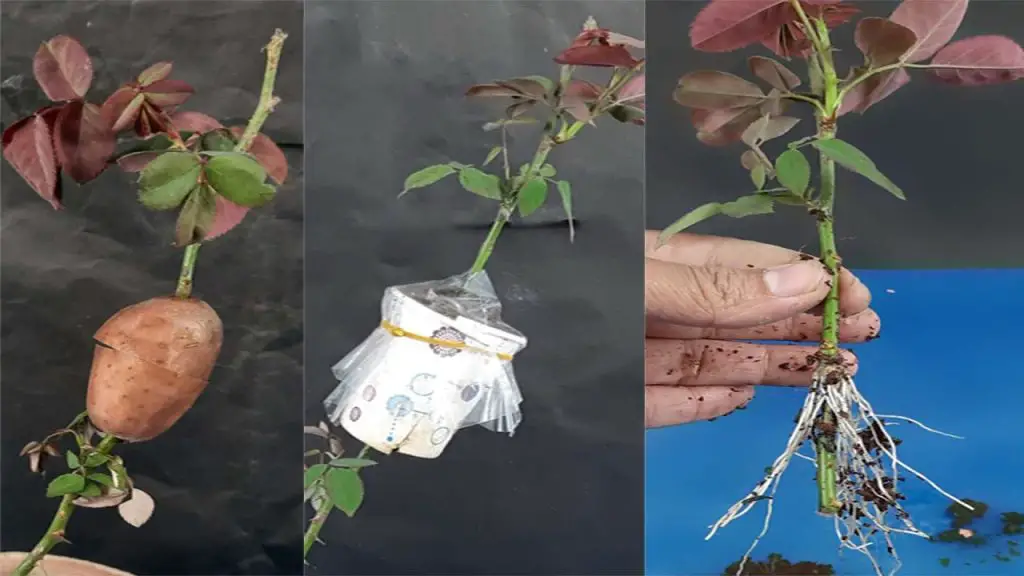
Use a sharp knife or pruning shears to remove a small ring of bark from the stem. This technique, called girdling, removes the outer layer of the stem, which will help stimulate root growth. Be sure to make the cut about 12 inches (30 cm) from the tip of the stem. The exposed area should be clean and free of damage. - Apply Rooting Hormone (Optional)
While this step isn’t essential, applying rooting hormone to the exposed section can promote faster root development. Simply dust the cut area with the powder or dip it in the liquid form. - Wrap the Exposed Area with Sphagnum Moss
Soak some sphagnum moss in water until it’s moist, then wrap it around the exposed section of the stem. The moss will provide a nurturing environment for the roots to grow. Make sure to cover the exposed area completely and pack the moss tightly. - Cover with Plastic Wrap
To retain moisture and create a mini greenhouse effect, wrap the moss with plastic wrap or a plastic bag. Secure both ends of the wrap with twine or plant ties to hold it in place. Ensure there are no gaps that would allow air to escape, as moisture is key for root development. - Monitor the Layer
Over the next few weeks, check the moss regularly to ensure it remains moist but not soggy. Roots should begin to form within 4-8 weeks, depending on the climate and the rose variety. The process can take longer in cooler or less humid environments, so be patient. - Cut and Transplant the New Rose
Once you see a healthy network of roots forming in the moss, carefully cut the newly rooted section from the parent plant. You can now transplant the new rose into a pot or directly into the garden. Make sure to water it thoroughly after transplanting to help it settle in.
Benefits of Air Layering for Roses
- High success rate compared to traditional methods like cutting propagation
- Faster root development, as the plant remains connected to its parent and can draw nutrients
- Ability to propagate hard-to-root rose varieties
- Less stressful for the plant compared to other forms of propagation
Tips for Successful Air Layering
- Choose a healthy and disease-free stem.
- Keep the moss consistently moist but not too wet.
- Be patient! Root formation can take a few weeks, so check the process regularly without disturbing the moss too much.
- Air layering works best in spring or early summer when the plant is actively growing.
With these steps, you’ll be able to successfully propagate your favorite rose varieties through air layering, expanding your garden with new, healthy plants. Happy gardening!
Show Comments


