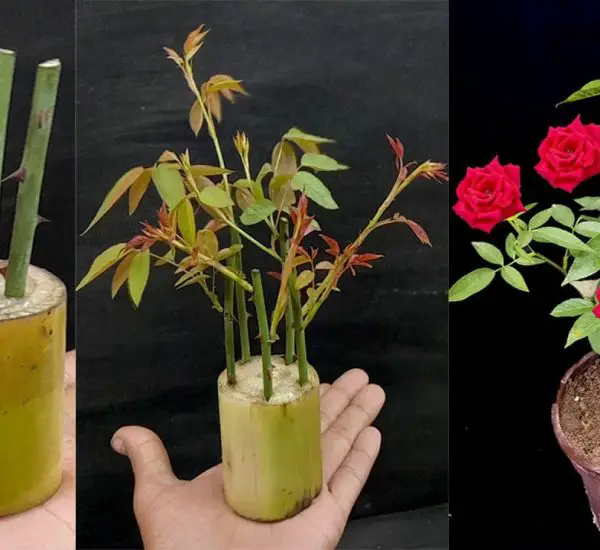
Growing roses from cuttings is an exciting and rewarding gardening activity that anyone can try. Whether you are a seasoned gardener or a beginner, propagating roses from cuttings is a simple and cost-effective method to expand your rose garden. In this article, we’ll show you the easy way to grow roses from cuttings and have beautiful new plants in just 18 days!
Why Grow Roses from Cuttings?
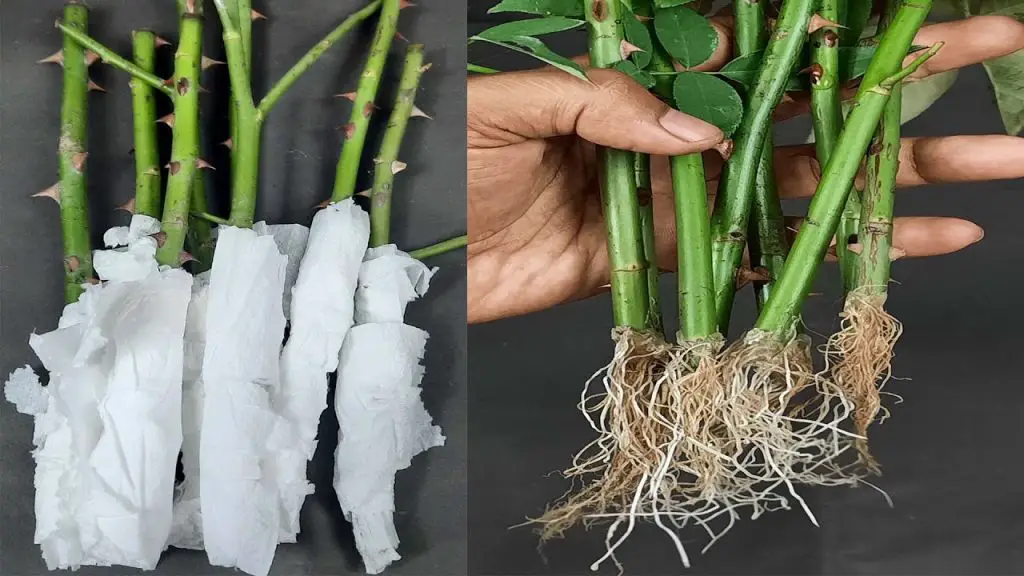
Growing roses from cuttings has many benefits:
- Cost-effective: Instead of buying new rose plants, you can propagate them from existing ones.
- Preserve variety: By taking cuttings from your favorite rose plant, you ensure that the new plant is identical to the parent.
- Simple and satisfying: It’s a straightforward process that requires minimal effort, and it’s incredibly satisfying to see your cuttings turn into thriving plants.
Materials Needed for Growing Roses from Cuttings
Before you start, gather the following materials:
- Healthy rose stem (a cutting from an established rose plant)
- Sharp, clean scissors or pruning shears
- Rooting hormone (optional but helpful for encouraging root growth)
- Small pots or containers with drainage holes
- Well-draining potting mix or a combination of sand and compost
- Plastic bag or plastic wrap to create a humidity dome
- Water to keep the cutting moist
Step-by-Step Guide to Growing Roses from Cuttings in 18 Days
Step 1: Select the Right Rose Cutting
To begin, you need to select a healthy stem from your existing rose plant. Look for a strong, mature stem that’s about 6-8 inches long and has at least 2-3 nodes (the parts of the stem where leaves are attached). It’s best to choose a cutting from a plant that is free from diseases and pests.
Step 2: Prepare the Cutting
Once you’ve chosen the right stem, follow these steps:
- Cut the stem just below a node at a 45-degree angle using sharp scissors or pruning shears.
- Remove the lower leaves, leaving a few leaves at the top of the cutting. Be careful not to damage the stem.
- If you have rooting hormone, dip the bottom end of the cutting into the hormone. This helps encourage root development and speeds up the process.
Step 3: Plant the Cutting
Now, it’s time to plant your cutting:
- Fill a small pot with well-draining potting mix or a mix of sand and compost.
- Make a hole in the center of the soil with your finger or a pencil, and insert the cutting about 2-3 inches deep.
- Press the soil around the cutting gently to secure it in place.
Step 4: Create a Humidity Dome
To help the cutting stay moist and encourage rooting, you need to create a humid environment:
- Cover the pot with a plastic bag or wrap it with plastic wrap. This helps to trap moisture and create a greenhouse effect.
- Place the pot in a warm spot, ideally with indirect sunlight. Too much direct sunlight can scorch the cutting, so make sure it’s not too hot.
Step 5: Water and Care for the Cutting
It’s important to keep the cutting moist throughout the rooting process:
- Water gently as needed, ensuring the soil stays damp but not soggy.
- Mist the cutting with water every day to keep humidity levels high.
- Remove the plastic cover for a short time each day to allow air circulation and prevent mold from forming.
How to Tell if the Cutting Has Rooted
After about 14-18 days, you’ll begin to see signs of success:
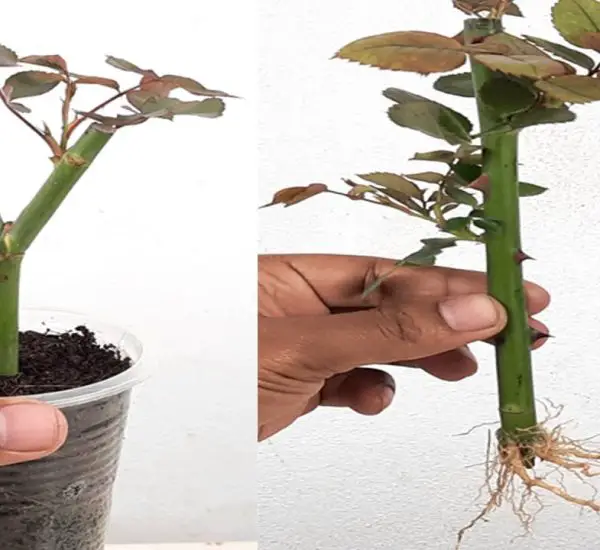
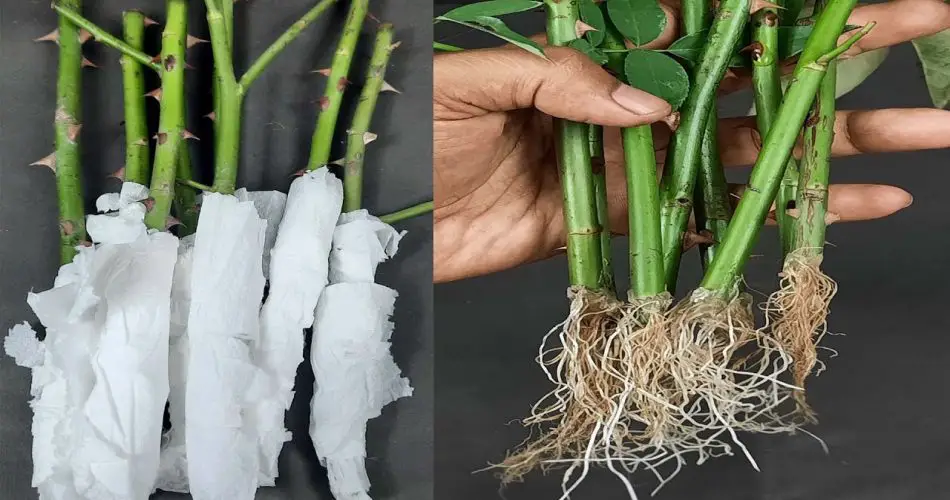
- Roots will begin to grow, which you can check by gently tugging on the cutting. If you feel resistance, that means roots are developing.
- The cutting will start showing new growth at the top. This is a clear sign that it’s healthy and ready to be transplanted.
Step 6: Transplant the Rose Cutting
Once your cutting has developed strong roots and new growth, it’s time to transplant it into a larger pot or directly into your garden. Follow these steps:
- Prepare a larger pot with well-draining soil or choose a spot in your garden with good sunlight.
- Carefully remove the cutting from its original pot, being careful not to disturb the roots.
- Place the cutting in its new pot or garden bed and water thoroughly.
Tips for Success
- Choose the right time: The best time to propagate roses from cuttings is during the growing season, in spring or early summer.
- Ensure proper humidity: Keeping the cutting covered and moist during the first few weeks is crucial to its success.
- Give it time: Patience is key! It may take a few weeks for the roots to fully establish, but the process is worth the wait.
Conclusion: Grow Your Own Roses in Just 18 Days!
With the easy steps outlined above, you can successfully grow roses from cuttings in just 18 days! This simple method is an excellent way to propagate your favorite roses, and it’s a fun, rewarding experience for gardeners of all levels. You’ll be amazed at how quickly your cuttings turn into thriving rose plants, and in no time, you’ll have an abundance of beautiful flowers to enjoy.
Give it a try and surprise yourself with the beauty and joy that growing roses from cuttings can bring! 🌹