If you’re looking for a unique and cost-effective way to create beautiful flower pots for your garden, look no further than cement and rags! This DIY project is not only fun and easy but also allows you to recycle old rags and repurpose them into durable, stylish flower pots. In this guide, we’ll show you how to make flower pots using just cement and rags, turning ordinary materials into extraordinary garden accessories.
Why Choose Cement and Rags for Flower Pots?
Using cement and rags to create flower pots is an eco-friendly and budget-friendly solution that adds a rustic, unique touch to your garden. Here’s why this DIY project is worth trying:
- Affordable: You can use old clothes, towels, or scraps of fabric, making this an inexpensive project with materials you likely already have.
- Durable: Cement creates strong, long-lasting pots that can withstand outdoor conditions.
- Customizable: You can create various shapes, sizes, and textures, making your flower pots completely unique to your garden or balcony.
- Eco-Friendly: Repurposing old fabric prevents waste and gives new life to materials that would otherwise end up in the trash.
Materials Needed for Cement and Rag Flower Pots
Before starting your DIY flower pot project, gather these materials:
- Old rags, towels, or fabric scraps (cotton or other absorbent materials work best)
- Cement powder (you can find this at most home improvement or craft stores)
- Water
- A mixing container for the cement (such as a plastic bucket)
- A large plastic container (for creating the inner mold of the pot)
- Gloves (to protect your hands from cement)
- Plastic wrap or a plastic bag (to line your mold and make removal easier)
- Plastic sheeting or old newspaper (to protect your workspace)
Step-by-Step Instructions: How to Make Flower Pots from Rags and Cement
Step 1: Prepare Your Materials
Start by cutting your rags or fabric into strips or squares. The size of the pieces will depend on the size of the flower pot you want to create. Smaller pots require smaller fabric pieces, while larger pots will need bigger fabric pieces.
- Tip: Choose rags that are absorbent and can hold the cement mixture well.
Next, line your workspace with plastic sheeting or newspaper to protect surfaces from the cement.
Step 2: Mix the Cement
In your mixing container, combine cement powder with water. Follow the instructions on the cement bag for the correct ratio of water to cement. Mix thoroughly until you have a smooth, paste-like consistency.
- Tip: Wear gloves while handling cement, as it can be irritating to the skin.
Step 3: Soak the Rags in Cement Mixture
Take the fabric strips and soak them in the cement mixture, making sure they are completely saturated. The fabric will absorb the cement and become pliable, which helps it take on the shape of the mold.
- Pro Tip: Gently squeeze out excess cement, but ensure the fabric is still damp to the touch.
Step 4: Shape Your Flower Pot
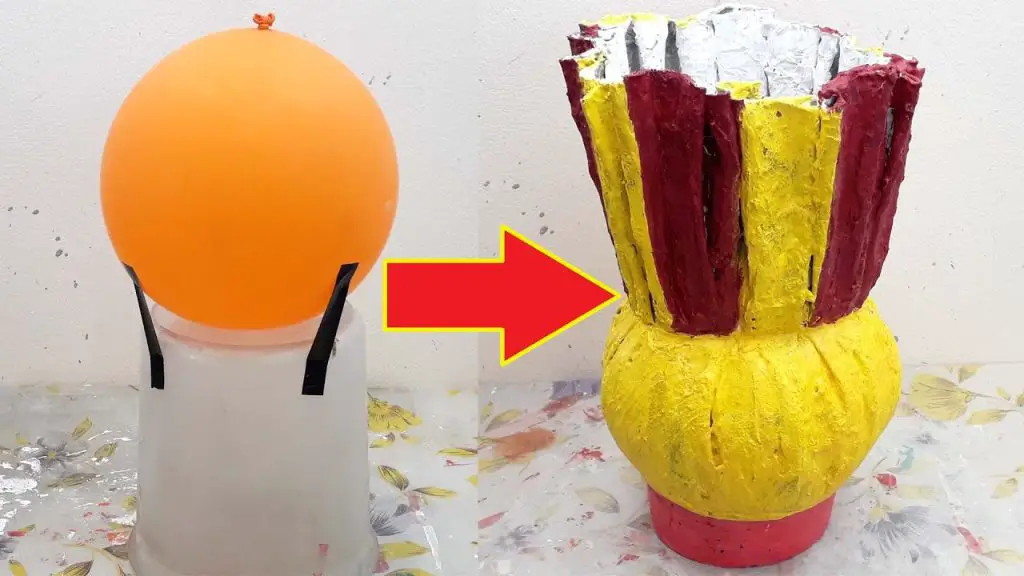
Now it’s time to create the shape of your flower pot. You’ll need a mold for this project, which can be a large plastic container, a bucket, or any round container that suits the size of the pot you want to create.
- Prepare the Mold: Line your mold with plastic wrap or a plastic bag to make it easier to remove the pot once it’s dried.
- Build the Pot: Start by layering the soaked rags in the mold. Gently press the fabric against the sides of the mold and add more layers until you’ve built up enough thickness. The more layers of fabric you add, the sturdier the flower pot will be.
- Tip: Press the fabric gently but firmly to remove air pockets and ensure a smooth finish. You can also fold the fabric over the edges of the mold to create a decorative rim.
Step 5: Let It Dry
Once you have finished layering the fabric and cement, set the mold aside in a dry, well-ventilated area to dry. It usually takes 24 to 48 hours for the cement to fully cure, depending on the size of the pot and the humidity of the environment.
- Tip: Check the pot periodically to ensure it is drying evenly. If necessary, adjust the fabric to keep it from sagging.
Step 6: Remove the Pot from the Mold
After the cement has completely hardened, carefully remove the pot from the mold. If you used plastic wrap or a plastic bag, this should be easy. Gently pull the fabric away from the pot.
- Tip: If the pot doesn’t come out easily, use a spatula or a similar tool to loosen the edges. Be gentle so as not to damage the pot.
Step 7: Finish and Decorate
Once removed from the mold, you may want to add a finishing touch to your cement flower pot. You can leave it plain for a rustic look, or you can paint the exterior with outdoor-friendly paint to match your garden or home decor.
- Optional Decoration Ideas:
- Use stencils to paint designs or patterns on the pot.
- Add a textured finish by sprinkling sand on the wet cement for a more rustic appearance.
- Attach decorative stones or twine around the rim for extra flair.
Step 8: Plant Your Favorite Flowers
Once your DIY flower pot is fully dry and decorated, it’s ready to use. Fill it with potting soil and your favorite flowers, herbs, or succulents. Water the plants as needed, and enjoy the beauty of your handmade flower pots.
Benefits of Cement and Rag Flower Pots
- Durability: Cement pots are strong and can withstand outdoor weather conditions, unlike plastic pots that may crack or fade over time.
- Eco-Friendly: Reusing old rags and fabric reduces waste and gives new life to materials that would otherwise be discarded.
- Customizable: You have full creative control over the size, shape, and decoration of the pots, making them a perfect addition to any garden or balcony.
- Cost-Effective: Creating your own cement flower pots is an affordable alternative to purchasing expensive decorative pots from stores.
Conclusion: Cement and Rags – A Perfect DIY Project for Garden Lovers
Making flower pots from cement and rags is a simple, fun, and sustainable DIY project that’s perfect for gardeners who want to add a personal touch to their outdoor space. With just a few materials and a bit of creativity, you can create durable, beautiful pots that will house your favorite plants and bring charm to your garden or balcony. Give this DIY flower pot project a try and transform your garden with custom, eco-friendly pots made from cement and rags! 🌿🌸