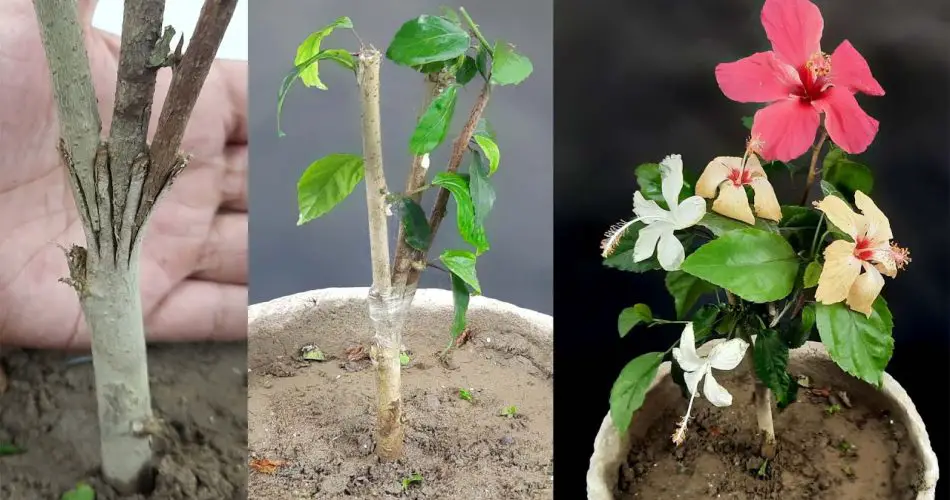
Hibiscus plants are known for their stunning, vibrant flowers that come in a wide array of colors, including red, pink, yellow, and white. One of the most creative and efficient ways to get hibiscuses in multiple colors from a single plant is by using a grafting technique. Grafting allows you to combine the best traits of different hibiscus varieties and create a plant that produces flowers in multiple colors on the same bush.
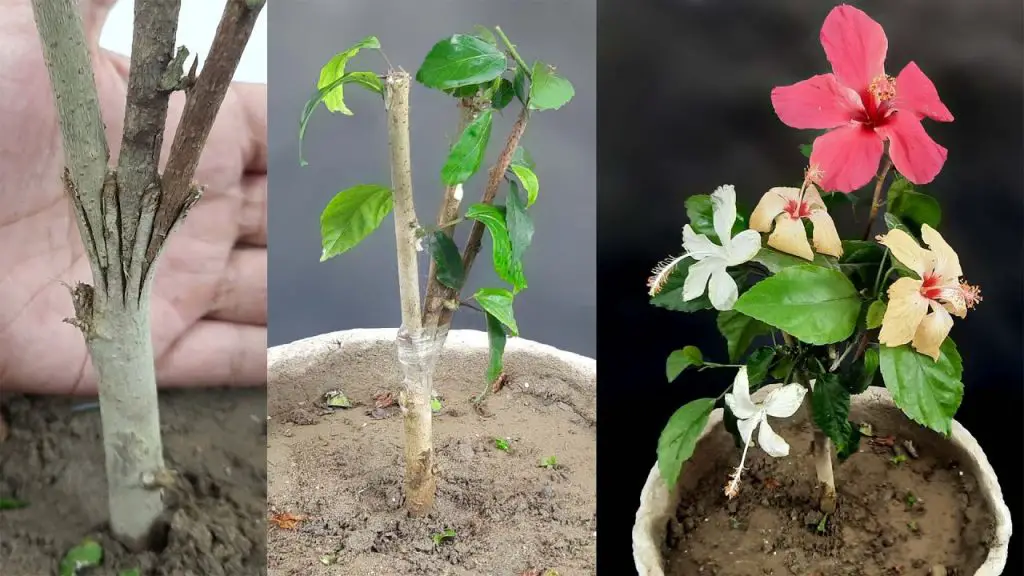
In this article, we’ll walk you through the grafting technique for hibiscus plants to help you achieve a multi-colored hibiscus garden right at home.
Why Graft Hibiscus Plants?
Grafting is a horticultural technique that involves joining two parts of different plants to grow as one. By grafting different hibiscus varieties, you can achieve the following benefits:
- Multiple flower colors: A single plant will produce flowers in different colors.
- Stronger plant: Grafting can improve the plant’s disease resistance and growth.
- Faster blooming: Grafted plants tend to flower sooner than those grown from seeds or cuttings.
- Compact growth: Grafting can help you control the shape and size of the hibiscus plant.
Grafting Process to Grow Multi-Colored Hibiscus
Here’s a simple and effective method to graft multiple hibiscus varieties onto one plant:
1. Select the Right Varieties for Grafting
To achieve multiple colors on one hibiscus plant, you need to select compatible hibiscus varieties. These varieties should be from the same species (usually Hibiscus rosa-sinensis) and have similar growth habits.
- Choose healthy plants: Select a strong, healthy hibiscus plant as your rootstock. This will serve as the base of your graft.
- Choose flower varieties: Choose two or more hibiscus varieties that have the colors you want to combine. For example, you could select a red, yellow, and white hibiscus.
2. Prepare the Rootstock
The rootstock is the plant that will provide the roots for the grafted plant.
- Cut the rootstock: Using a clean, sharp knife or pruning shears, cut the stem of the rootstock to a manageable height (about 6-8 inches above the ground).
- Trim the stem: Trim the cut end of the rootstock to ensure a clean surface for grafting. The cut should be straight to help the grafting process.
3. Prepare the Scion (Grafted Pieces)
The scion is the cutting of the hibiscus plant that you want to graft onto the rootstock.
- Take the cutting: Using a sharp knife, cut a healthy young branch from the hibiscus plant you want to graft (the scion). This cutting should be about 4-6 inches long with at least two nodes (the spots where leaves grow).
- Make a clean cut: Make a clean, slanted cut at the base of the scion to match the angle of the cut on the rootstock.
4. Grafting the Pieces Together
Now it’s time to join the rootstock and scion together:
- Align the cuts: Carefully align the cut end of the scion with the cut end of the rootstock, ensuring that both cuts meet at a matching angle.
- Bind the graft: Use grafting tape or plastic wrap to securely bind the two parts together. The idea is to keep the graft site tight and protected while the two parts heal and merge.
- Seal the graft: You can use grafting wax or paraffin to seal the graft area and prevent water from entering the joint. This also helps protect the graft from infections.
5. Provide Proper Care for the Grafted Plant
After grafting, the hibiscus plant needs special care to ensure the graft heals successfully.
- Place in a shaded area: Keep the newly grafted hibiscus in a shaded, warm area with indirect light for a few weeks. This allows the graft to heal without stress.
- Maintain humidity: To create a humid environment, cover the grafted plant with a clear plastic bag or a plastic dome. This helps prevent the cutting from drying out.
- Water regularly: Keep the soil moist, but avoid overwatering, as too much water can cause rot at the graft site.
6. Monitor and Unwrap
Once you see signs of new growth and the graft has taken hold (usually within 3-4 weeks), you can gradually remove the plastic cover and allow the plant to acclimatize to the environment.
- Prune as needed: Trim off any excess growth or dead parts to encourage strong new branches.
- Remove binding materials: Once the graft is secure, carefully remove the grafting tape or plastic wrap.
Tips for Successful Grafting
- Use fresh, healthy plant material: The success of grafting depends largely on the health of the plants involved. Always use healthy and disease-free plant material.
- Proper timing: The best time to graft hibiscus is during the plant’s active growing season in spring or early summer.
- Be patient: Grafting takes time, and it may take a few weeks for the graft to heal and start growing. Don’t rush the process!
- Protect the graft: If you live in a region with strong winds or intense sunlight, make sure to protect the grafted plant by placing it in a sheltered location.
Conclusion
Grafting hibiscus plants to create a multi-colored flower display is an innovative and fun way to add diversity to your garden. By following this simple grafting technique, you can enjoy a hibiscus bush with beautiful, vibrant flowers in different colors all year round. This method not only enhances the aesthetic appeal of your garden but also makes for an interesting gardening project.
With a bit of patience, creativity, and the right technique, you can transform your hibiscus plants into a stunning rainbow of colors. 🌺🌿


