Growing a Drumstick tree, also known as the Moringa tree, from seeds is a rewarding endeavor that can yield nutritious leaves, pods, and flowers. Known for its rapid growth and numerous health benefits, the Moringa tree is easy to cultivate at home. Here’s a step-by-step guide to help you get started!
What You’ll Need
- Moringa seeds (fresh seeds yield better results)
- Seedling pots or small containers with drainage holes
- Potting soil (well-draining)
- Watering can or spray bottle
- A sunny spot (for growth)
Step-by-Step Guide to Growing Moringa from Seeds
1. Choose the Right Seeds
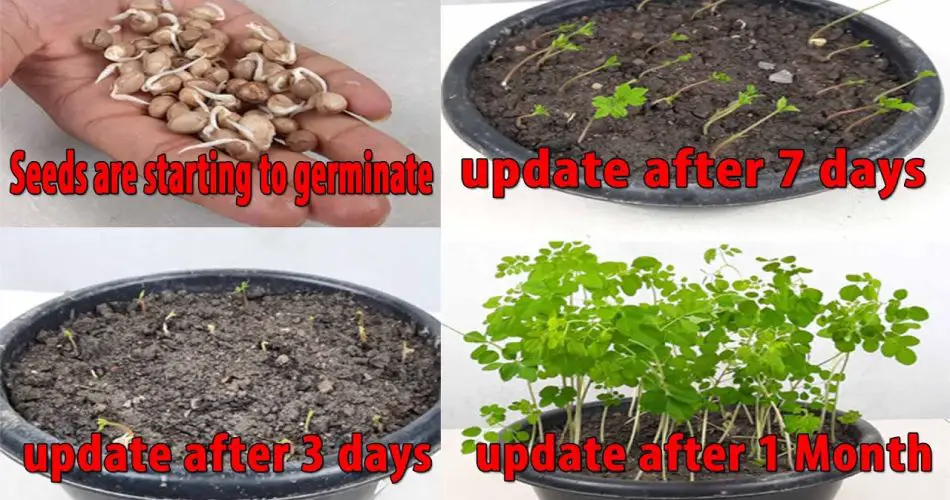
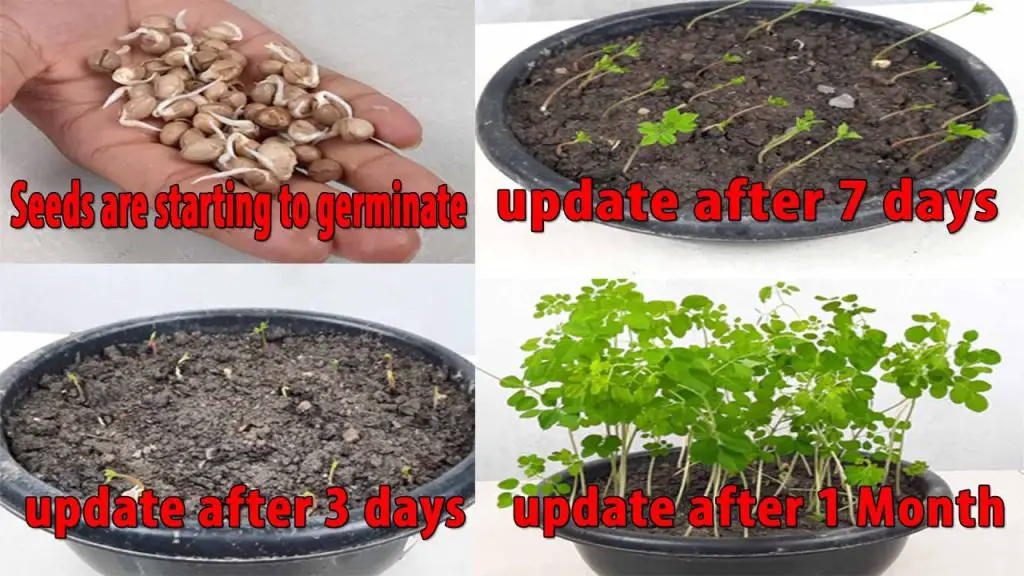
- Fresh Seeds: Look for fresh Moringa seeds from a reputable source. Fresh seeds typically have a higher germination rate.
- Soak the Seeds: Soak the seeds in water for 24 hours before planting. This helps to soften the seed coat and promotes quicker germination.
2. Prepare the Seedling Pots
- Container Selection: Use seedling pots or small containers that are at least 6 inches deep. Ensure they have good drainage to prevent waterlogging.
- Soil Preparation: Fill the pots with well-draining potting soil. You can also mix in perlite or sand to enhance drainage.
3. Plant the Seeds
- Planting Depth: Plant the soaked Moringa seeds about 1 inch deep in the soil. Space them at least 2 inches apart if you’re planting multiple seeds in one pot.
- Cover and Water: Gently cover the seeds with soil and water them lightly using a watering can or spray bottle.
4. Provide Optimal Conditions
- Sunlight: Place the pots in a sunny location that receives at least 6-8 hours of sunlight per day. Moringa trees thrive in bright light.
- Temperature: Moringa grows best in warm temperatures (between 70°F to 95°F or 21°C to 35°C).
5. Watering
- Moisture Control: Keep the soil consistently moist but not soggy. Water the seedlings when the top inch of soil feels dry.
- Avoid Overwatering: Ensure that excess water drains out of the pots to prevent root rot.
6. Transplanting (if necessary)
- Seedling Growth: After about 2-3 weeks, you should see seedlings emerging. When the seedlings are about 6 inches tall, you can transplant them to larger pots or directly into the ground if the weather is warm.
- Outdoor Planting: Choose a location with full sun and space the Moringa trees 8-10 feet apart if planting multiple trees in your garden.
7. Care and Maintenance
- Fertilization: Once transplanted, you can fertilize the Moringa tree with a balanced fertilizer every 4-6 weeks during the growing season to encourage healthy growth.
- Pruning: Moringa trees can be pruned to maintain size and shape, which also encourages bushier growth.
8. Harvesting
- Leaves and Pods: Once established, you can start harvesting Moringa leaves for cooking and salads, and the pods (drumsticks) for various dishes. Regular harvesting encourages further growth.
Conclusion
Growing a Drumstick or Moringa tree from seeds at home is simple and rewarding. With minimal care and the right conditions, you’ll soon have a thriving tree that provides a bounty of nutritious leaves and pods. Enjoy the benefits of this amazing plant and enhance your home garden with its beauty and versatility!
Show Comments


