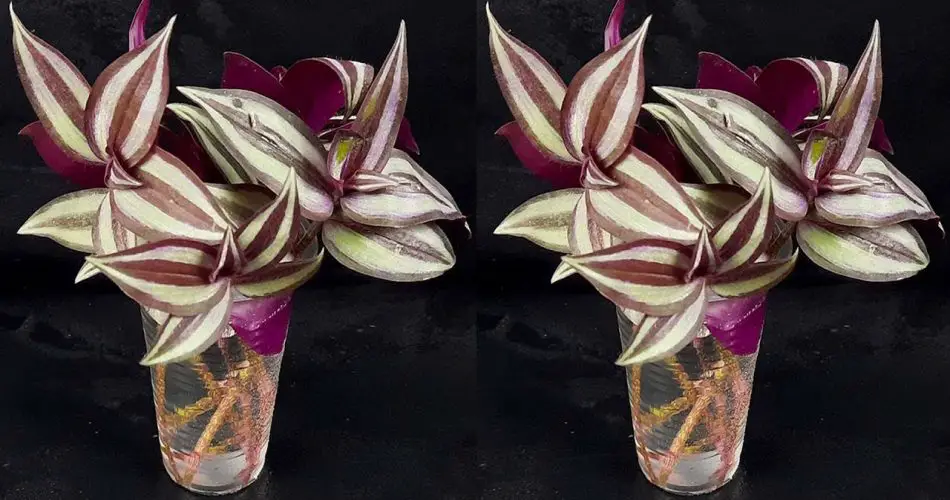
The Wandering Jew (also known as the Inch Plant) is a popular and beautiful houseplant known for its striking purple, green, and silver leaves. It’s an excellent choice for both beginners and experienced gardeners, and one of the easiest ways to grow new plants is by propagating it from cuttings in water. This simple method doesn’t require any special tools or a lot of effort—just a few basic steps and you’ll be able to grow new Wandering Jew plants in no time!
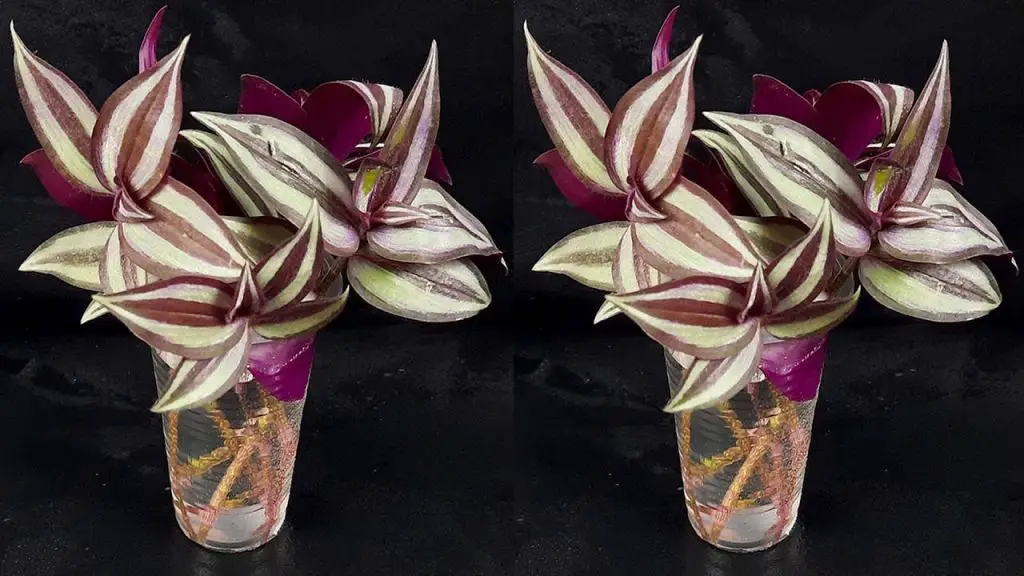
In this article, we’ll guide you through the step-by-step process of propagating your Wandering Jew or Inch Plant from cuttings in water, along with some helpful tips to ensure successful propagation.
Why Propagate Wandering Jew in Water?
Propagating Wandering Jew in water offers several advantages:
- Easy to Monitor: Propagating in water allows you to visually see when the cutting has started to develop roots, making it easier to know when the plant is ready for transplantation.
- Minimal Tools: All you need is a jar or glass of water, making it a perfect option for those new to plant propagation or anyone without access to special tools.
- Faster Root Growth: Water propagation encourages quick root development, allowing your new Inch Plants to grow rapidly once they’re ready to be potted or planted.
Materials You’ll Need
Before starting the propagation process, gather the following materials:
- Healthy Wandering Jew Plant: Choose a vigorous, healthy plant for cuttings.
- Sharp Scissors or Pruning Shears: To take clean, precise cuts.
- Glass Jar or Vase: For holding the cuttings in water.
- Water: Room temperature is ideal.
- Rooting Hormone (Optional): To encourage quicker and stronger root development.
- Container for Potting: To transplant the cutting once it has developed roots.
Step-by-Step Guide to Propagating Wandering Jew from Cuttings in Water
1. Select and Prepare the Cutting
The first step in propagating your Wandering Jew is selecting a healthy stem for cutting. Look for a young, healthy branch that is at least 4-6 inches long and free of any disease or pests. It’s best to cut a portion with several nodes (the spots on the stem where leaves emerge), as roots will form at these nodes.
- Tip: Choose a cutting that has new growth, as it’s more likely to root quickly.
Using sharp scissors or pruning shears, make a clean cut just below a node. Avoid cutting the stem too close to the base of the plant, as this can damage the original plant.
2. Remove Lower Leaves
After cutting the stem, remove any leaves from the bottom 1-2 inches of the cutting. This prevents the leaves from sitting in water, which can lead to rot. Leave the top 1-2 sets of leaves intact.
- Tip: If you’re working with longer cuttings, you can cut them into smaller sections (4-6 inches) to make them easier to manage in a water container.
3. Place the Cutting in Water
Fill a glass jar or vase with enough water to fully submerge the bottom nodes of the cutting. Make sure that the leaf nodes where roots will form are completely submerged, but the leaves are not touching the water.
- Tip: You can use distilled water or tap water that has been left out for 24 hours to allow chlorine to dissipate.
Place the cutting in a bright, indirect light location, such as a windowsill. Avoid direct sunlight, which could scorch the leaves and dry out the cutting.
4. Change the Water Regularly
To keep the water clean and avoid the buildup of bacteria or algae, change the water every 2-3 days. Keeping the water fresh ensures healthy root growth.
- Tip: If you see any mold or algae growing on the cutting or in the water, clean the jar and the cutting with mild soap and water, then replace the water.
5. Wait for Roots to Develop
Within a few weeks, you should start seeing roots growing from the submerged nodes. The roots can take anywhere from 2 to 4 weeks to develop, depending on environmental conditions like temperature and light.
- Tip: Be patient! Once the roots are about 1-2 inches long, the cutting is ready to be planted in soil.
6. Transplant the Cutting to Soil
Once the roots are established, it’s time to transplant your Wandering Jew cutting into soil. Prepare a small pot with well-draining potting mix—a mix designed for houseplants or a general-purpose potting mix works well. Gently remove the cutting from the water and plant it into the pot, ensuring the roots are properly spread out in the soil.
- Tip: Water the newly potted cutting thoroughly, and keep it in a warm, bright spot while it acclimates to its new home.
7. Care for the New Plant
After transplanting your Inch Plant into soil, treat it like a mature plant. Keep the soil slightly moist (not soggy), and place it in a bright, indirect light location. Over time, the cutting will grow into a fully established plant with vibrant foliage.
- Tip: Once your new plant has been established for a few weeks, you can start treating it like a mature Wandering Jew—giving it regular water, occasional fertilizer, and pruning to maintain its shape.
Tips for Successful Propagation
- Temperature: Keep the water and cutting in a room with a consistent temperature, ideally between 65°F–75°F (18°C–24°C). Too cold or too hot can hinder root development.
- Avoid Direct Sunlight: While bright light is essential, direct sunlight can damage the cutting, causing the leaves to burn or the water to heat up.
- Patience: Rooting can take a few weeks, so be patient and keep an eye on the cutting as it develops.
- Use Rooting Hormone (Optional): While Wandering Jew is fairly easy to propagate, using a rooting hormone on the cutting before placing it in water can help speed up the process and encourage stronger root growth.
- Multiple Cuttings: You can propagate several cuttings at once in one container if needed, but make sure each cutting has its own space in the water to avoid crowding.
Common Problems to Watch For
- Rotting Cuttings: If you notice the cutting turning soft or brown at the base, this could be a sign of rot. Make sure to keep the water clean and change it regularly to prevent this from happening.
- No Root Growth: If your cutting isn’t forming roots, try moving it to a warmer location or use fresh water. Sometimes, cuttings may need a little more time to develop roots.
- Leaves Yellowing: If the leaves start turning yellow, this could be a sign of overwatering or not enough light. Adjust the care accordingly.
Conclusion: Easy and Rewarding Propagation
Propagating your Wandering Jew (Inch Plant) from cuttings in water is a simple and rewarding process. With just a few basic supplies and some patience, you can easily grow new plants that will thrive in your home or garden.
Not only is this a great way to expand your plant collection, but it’s also a fun and educational experience that will help you develop your plant propagation skills. So, grab a cutting, place it in water, and watch as your Wandering Jew roots and grows into a beautiful new plant!


