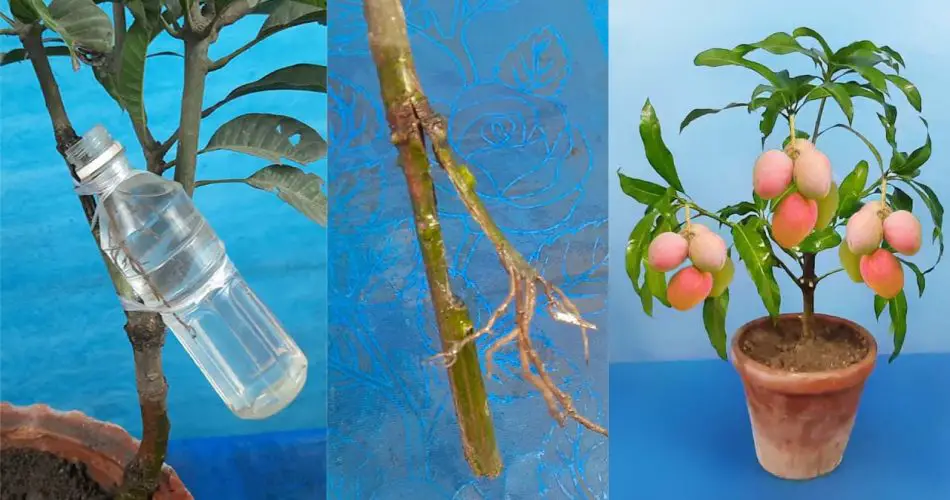
Propagating a mango plant can be a rewarding and exciting project, especially if you’re a fan of tropical fruits. One of the best methods to propagate mango trees is through air layering, a technique that encourages the formation of roots while the plant is still attached to the parent tree. While air layering traditionally uses soil, using water in the process is an innovative twist that offers a faster and cleaner way to propagate your mango plant.
In this article, we will walk you through the step-by-step process of air layering with water to propagate a healthy mango plant. With this method, you can grow your own mango tree at home and watch it flourish into a beautiful and fruitful plant!
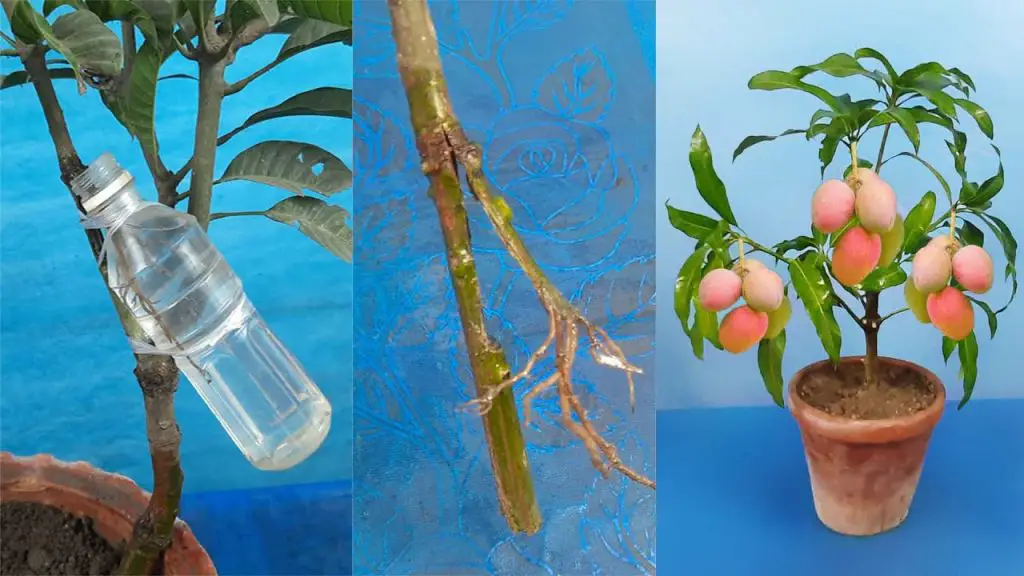
Why Use Air Layering with Water?
Air layering is a propagation technique where a part of the parent plant is induced to grow roots while it is still attached to the tree. This method is beneficial because it allows the new plant to develop roots and grow strong before being separated from the parent plant.
Using water for air layering provides several advantages:
- It is cleaner and simpler than traditional soil-based air layering.
- It reduces the risk of pests and diseases that can be introduced by soil.
- The water helps keep the cutting hydrated and supports root growth.
Materials You’ll Need:
- A mango tree (healthy, mature branch)
- Sharp knife or pruning shears
- Plastic wrap or a plastic bag
- Water
- Rooting hormone (optional)
- Twist ties or string
- Plastic container (optional, for better control over water level)
- Scissors
Step-by-Step Guide to Propagate Mango Plant Using Air Layering with Water
Step 1: Select the Right Mango Branch
Choose a healthy branch of the mango tree that is around 1-2 years old. Look for a branch that is thick enough to support new roots and leaves, and ensure that it’s free of diseases or pests. The ideal branch should be around 3-4 feet from the ground.
Step 2: Prepare the Branch for Air Layering
Using a sharp knife, carefully make two cuts in the bark of the mango branch, about 8-12 inches apart. These cuts should be deep enough to remove the bark but not damage the wood underneath. The cuts should form a small ring around the branch, exposing the inner wood (cambium layer) where roots will form.
Step 3: Apply Rooting Hormone (Optional)
Although rooting hormone is optional, applying it to the exposed area of the branch can help stimulate faster root growth. Gently dust the exposed area with the hormone to encourage roots to form.
Step 4: Wrap the Area with Plastic
Once the bark is exposed, wrap the entire section of the branch with plastic wrap or a plastic bag. This will hold the moisture around the exposed area, creating a small environment where roots can develop. Be sure to wrap the plastic tightly to keep it in place.
Step 5: Fill with Water
Instead of using soil, fill the plastic wrap or bag with water. If you’re using a plastic container to contain the water, simply place the branch inside, ensuring that the exposed area of the branch is submerged in the water. Make sure the water level is enough to cover the cut section without completely drowning the branch.
You can use distilled water to prevent the buildup of minerals that might affect root growth. It’s also important to keep the water clean and change it every few days to prevent bacteria or mold from forming.
Step 6: Secure the Plastic Wrap
Once the plastic is securely wrapped, use twist ties or string to seal both ends of the plastic bag or wrap, ensuring that no moisture escapes. This will create a sealed environment where the branch can start growing roots.
Step 7: Wait for Roots to Develop
Now, it’s time to wait! The water and moisture inside the plastic will create a favorable environment for the mango branch to develop roots. You should start seeing roots forming in 3-6 weeks, depending on the health of the branch and the environment. Check the water level regularly and top it off if needed.
Step 8: Remove the Layered Branch
Once you see healthy, white roots growing inside the plastic, it’s time to separate the new plant from the parent mango tree. Use your knife to cut the new plant away from the parent branch. Be careful not to damage the roots.
Step 9: Plant the New Mango Tree
After removing the air-layered branch, carefully plant the new mango plant in a pot with well-draining soil. Make sure the plant receives plenty of sunlight and water regularly, but avoid over-watering. Gradually acclimate the new mango plant to outdoor conditions if you plan to plant it in your garden.
Tips for Successful Mango Air Layering with Water
- Temperature: Mango trees thrive in warm environments, so ensure that the air-layered branch is kept in a warm, sunny location.
- Cleanliness: Keep the water clean to avoid fungal or bacterial growth, which could harm the new roots.
- Root Development: If roots take longer to develop, keep the water container in a warm and humid environment to speed up the process.
Conclusion
Air layering with water is a simple yet effective method to propagate a mango plant. By following these steps, you can create a new mango tree that is strong, healthy, and ready to grow. With the right care and patience, your new mango plant can eventually bear fruit, providing you with delicious, fresh mangoes from your very own garden. Happy gardening!


