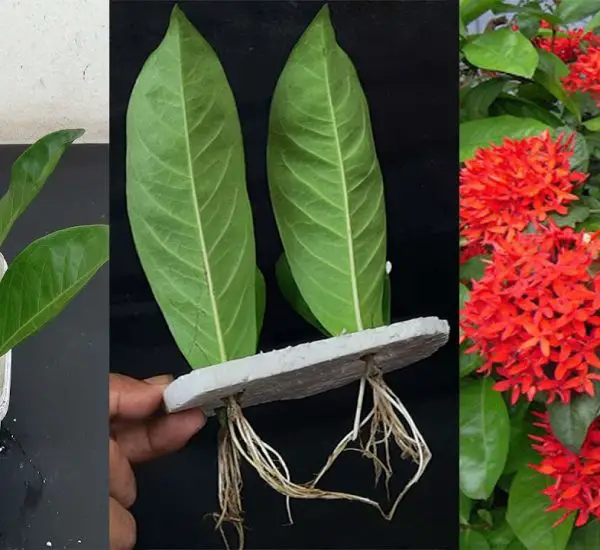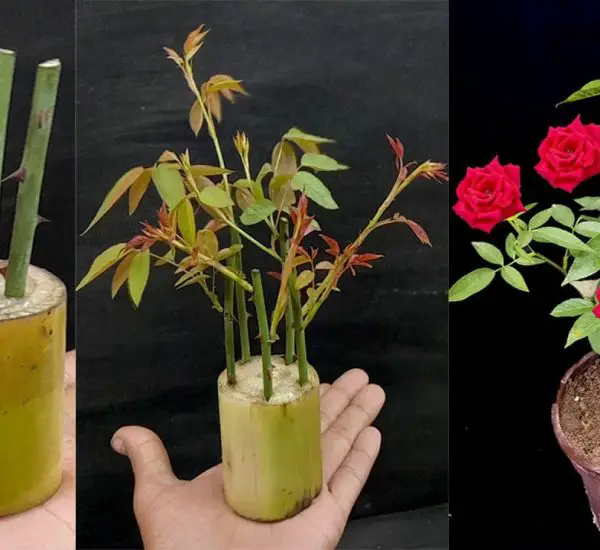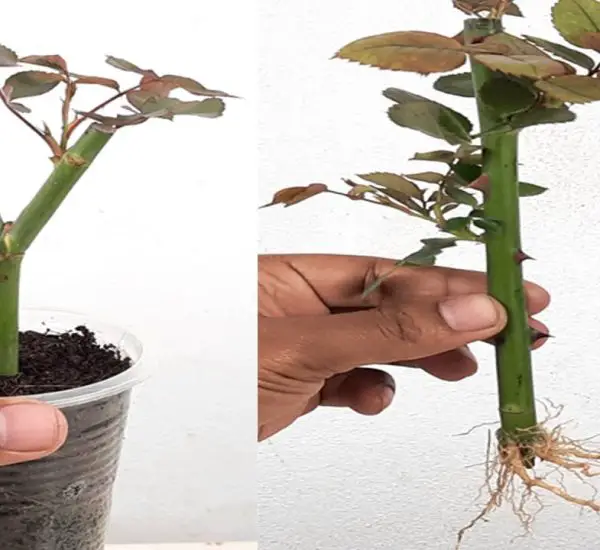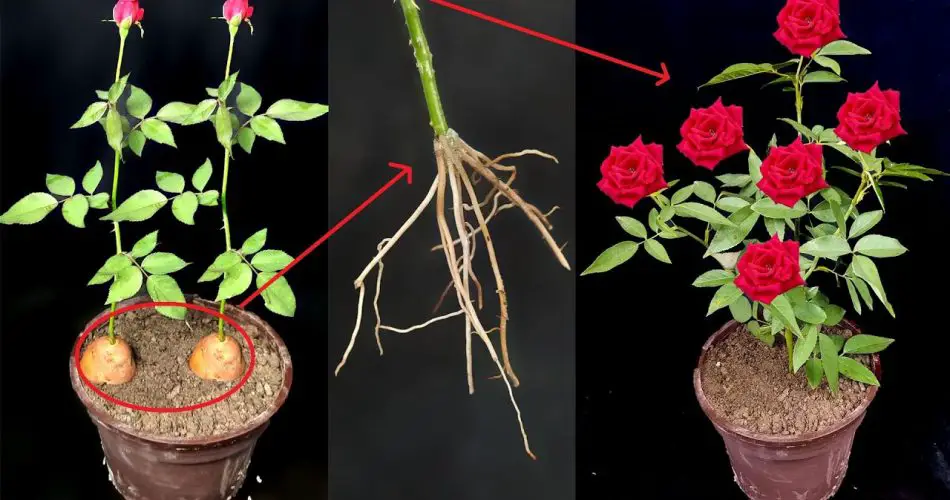
Growing roses from cuttings is a rewarding way to propagate your favorite varieties, and you might be surprised to know that potatoes can be a great tool for this process! By using a potato to support your rose cutting, you can ensure a higher success rate for root development and healthy growth. In this article, we’ll walk you through the step-by-step process of how to grow a rose plant cutting in a potato and share some important gardening tips to help you succeed.
Why Use a Potato for Rose Cuttings?
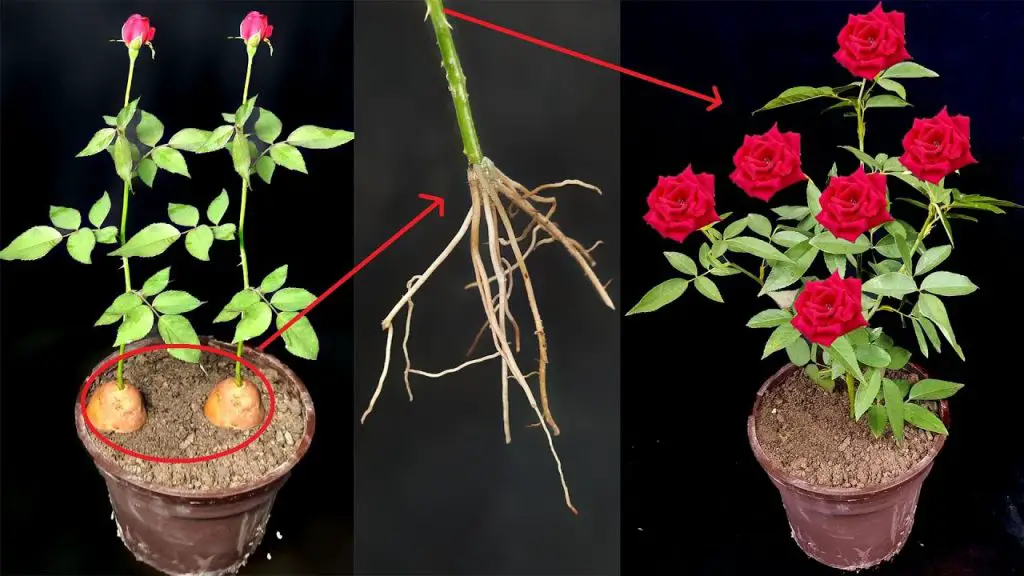
The idea of using a potato to grow a rose cutting may sound unusual, but it has been a gardening secret for years! The potato serves as an excellent medium to encourage root growth for several reasons:
- Moisture retention: The potato provides a constant moisture source for the cutting, which is crucial for successful rooting.
- Nutrient-rich: Potatoes are full of natural nutrients that can support the cutting’s growth until it forms roots.
- Support and stability: The potato helps anchor the cutting in place, giving it stability while it establishes roots.
What You Will Need to Grow Rose Cuttings in a Potato
Before you start, gather the following materials:
- Fresh rose cutting: Select a healthy, non-flowering stem from your rose plant, ideally around 6 inches long.
- A potato: Choose a medium-sized potato that is firm and free of disease.
- A sharp knife: To cut both the rose and the potato.
- Rooting hormone (optional): To promote faster root growth.
- A small pot or container: For planting the potato with the cutting.
- Well-draining soil: Choose a mix that allows for good drainage.
Step-by-Step Guide: Growing Rose Cuttings in a Potato
1. Prepare the Rose Cutting
- Select a healthy rose stem from your plant. Ensure it is around 6 inches in length and free from diseases or pests.
- Remove the lower leaves from the cutting, leaving just a few leaves at the top. This helps the cutting focus on root development rather than maintaining the leaves.
- If you have rooting hormone, dip the bottom of the cutting in the hormone to encourage root growth.
2. Prepare the Potato
- Cut a slit in the potato: Use your sharp knife to make a small slit at the top of the potato. This slit will hold your rose cutting in place.
- Insert the cutting into the potato: Place the cut end of the rose cutting into the slit of the potato so that it stays upright and secure. Make sure the end of the cutting is in contact with the potato’s moist interior.
3. Plant the Potato with the Cutting
- Prepare your pot: Choose a small container that allows the potato to sit comfortably with enough room for the cutting to grow. Add a layer of well-draining soil at the bottom of the container.
- Place the potato with the cutting in the pot. Gently press the potato into the soil, leaving the top part of the cutting exposed above the surface.
- Cover the potato with more soil, ensuring it is well-supported and stable in the container.
4. Care for the Cutting
- Water the soil lightly: Keep the soil slightly moist but not soggy. The potato will release moisture gradually, helping the cutting stay hydrated.
- Provide warmth and light: Place the container in a warm, bright spot with indirect sunlight. Avoid direct sunlight as it may dry out the cutting.
- Maintain humidity: To retain moisture, you can cover the pot with a plastic bag or a plastic dome to create a greenhouse effect. Make sure the cover doesn’t touch the cutting.
5. Wait for Roots to Develop
- Be patient: It will take a few weeks to a couple of months for the roots to develop. During this time, the cutting will draw nutrients from the potato to support its growth.
- Check regularly to make sure the soil remains moist and the cutting is healthy. You should see roots developing from the base of the cutting after some time.
Transplanting the Rooted Rose Cutting
Once your rose cutting has developed a good root system, it’s time to transplant it into the garden or a larger pot. Follow these steps:
- Remove the cutting: Gently remove the cutting from the potato, being careful not to damage the roots.
- Prepare a larger pot or garden bed: Fill with well-draining soil suitable for roses.
- Plant the cutting: Place the rooted cutting in the soil, ensuring the roots are spread out.
- Water thoroughly: Give your newly planted rose a good watering to help it settle in.
Why This Method Works So Well
Using a potato for rose cuttings is an incredibly simple yet effective method. The potato provides the cutting with moisture, nutrients, and stability as it establishes its roots. This process makes it easier for new gardeners or those looking for a hands-off approach to propagate roses successfully.
Conclusion
Growing rose cuttings in a potato is a magical and simple method that can yield beautiful results with minimal effort. With the right care, your cutting will develop roots and eventually bloom into a gorgeous rose plant. So, try this gardening technique in your garden or even indoors, and you’ll soon be enjoying the sight of fresh, blooming roses! Happy gardening! 🌹