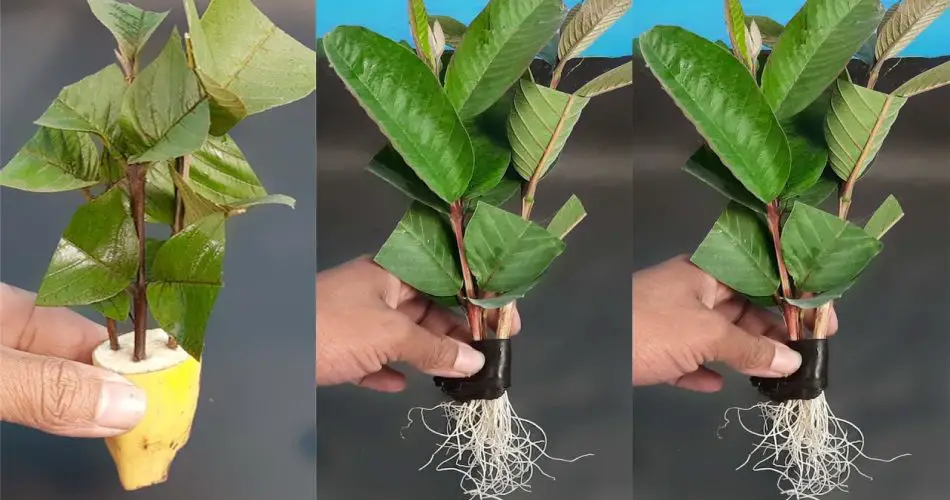
Growing a guava tree from a cutting is an effective and rewarding way to propagate this delicious fruit tree. You can even enhance the success rate of this propagation by using a banana as a rooting medium. Bananas are rich in nutrients, such as potassium and phosphorus, which can help stimulate the growth of healthy roots and promote strong growth for your guava cutting. Here’s a step-by-step guide on how to grow a guava tree cutting using a banana.
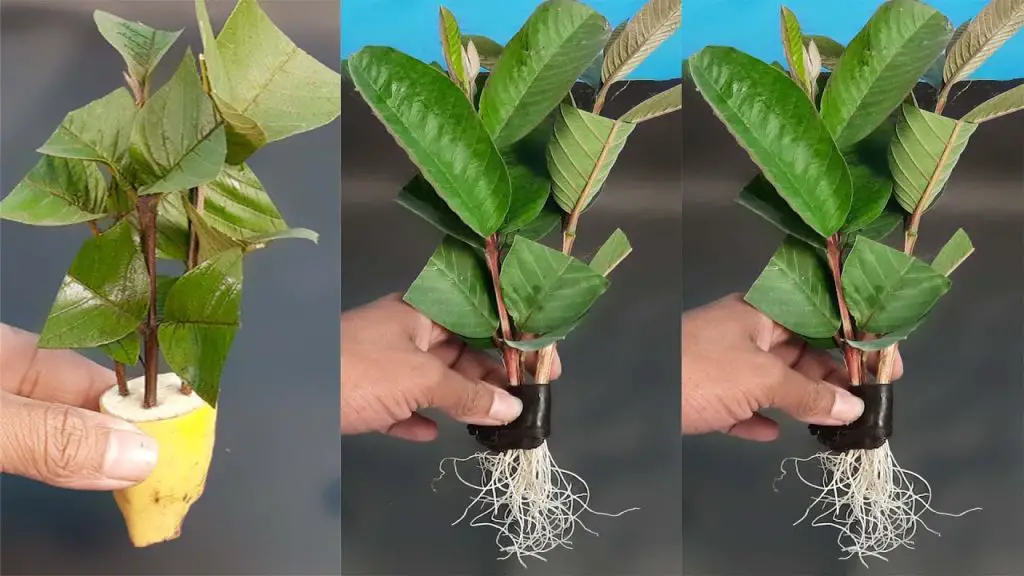
Why Use a Banana for Propagating Guava Cuttings?
Bananas are a natural powerhouse of nutrients, and when used in plant propagation, they provide several benefits:
- Nutrient-Rich: Bananas contain essential elements like potassium, phosphorus, and calcium, which are vital for root development.
- Moisture Retention: The banana peel helps retain moisture around the cutting, which encourages faster rooting.
- Natural Growth Hormones: The sugars and amino acids in bananas act as natural growth stimulants, enhancing root formation in cuttings.
By using a banana to propagate a guava cutting, you give your tree the best chance of developing a strong root system quickly, resulting in a healthy tree that will eventually bear fruit.
Materials Needed:
- Guava cutting: Choose a healthy, semi-hardwood cutting that’s about 4 to 6 inches long.
- Banana: Either a whole banana or banana peel.
- Sharp knife or pruning shears.
- Small pot with drainage holes.
- Well-draining potting soil or a mixture of sand and compost.
- Plastic wrap or a clear plastic bag (optional, for creating humidity).
Step-by-Step Guide:
Step 1: Prepare the Guava Cutting
- Select a healthy cutting: Choose a guava tree branch that’s about 4-6 inches long, preferably one that has at least 2-3 nodes (small bumps where leaves emerge). Make sure the cutting is semi-hardwood, meaning it’s not too soft (like new growth) or too woody.
- Trim the cutting: Use a sharp knife or pruning shears to make a clean, angled cut just below a node. Remove any leaves from the lower half of the cutting to prevent rotting when inserted into the banana.
Step 2: Prepare the Banana
- Cut a banana: If you’re using a whole banana, slice it in half lengthwise. The banana’s flesh will act as a medium for the cutting to root in. If you’re using just the peel, cut it into smaller pieces large enough to wrap around the base of the cutting.
- Create a space for the cutting: Dig a small hole in the center of the banana (whether using the whole banana or peel) to insert the guava cutting. This will provide a snug fit to hold the cutting in place.
Step 3: Insert the Guava Cutting into the Banana
- Place the cutting in the banana: Insert the base of the guava cutting into the hole in the banana. Make sure the cutting is firmly in place, and the exposed node is in direct contact with the banana’s interior.
- Seal the banana: If using a whole banana, you can place the banana in a shallow dish or pot with the open end facing up. Alternatively, you can wrap the cutting with banana peel pieces, ensuring that the cutting remains in close contact with the peel’s inner layer.
Step 4: Plant the Cutting in Soil
- Plant the cutting in a pot: After placing the guava cutting into the banana, transfer it to a small pot filled with well-draining soil or a mixture of sand and compost.
- Ensure proper moisture: Water the cutting gently to moisten the soil but avoid soaking it. The banana will provide moisture retention for the cutting, so you don’t need to overwater.
- Create a humid environment: To encourage root development, cover the pot with plastic wrap or a clear plastic bag. This will help maintain high humidity around the cutting, promoting faster rooting.
Step 5: Care for the Cutting
- Place in a warm, bright spot: Keep the cutting in a location with indirect sunlight. Too much direct sunlight can scorch the cutting, while too little light may hinder rooting.
- Check for root development: After 2-4 weeks, gently tug on the cutting to see if roots have formed. If there is resistance, the roots are likely developing. Once strong roots are established, remove the plastic wrap and begin caring for your guava tree as usual.
Step 6: Transplant the Guava Tree
Once the guava cutting has rooted and grown strong enough, it’s time to transplant it into a larger pot or directly into the ground (if conditions permit). Ensure the new planting location has well-draining soil, and continue to water regularly but avoid overwatering.
Tips for Success:
- Patience is key: Rooting can take a few weeks, so be patient and avoid disturbing the cutting.
- Use fresh bananas: The nutrients and moisture from fresh bananas are more effective for propagation.
- Maintain humidity: If you live in a dry climate, continue to mist the cutting regularly to keep the environment humid.
- Warm temperature: Guava cuttings root best in warm temperatures (around 75°F or 24°C).
Conclusion
Using bananas to propagate guava cuttings is a natural and easy way to grow a healthy guava tree. By taking advantage of the nutrients and moisture-retention properties of bananas, you can give your cutting the best start possible, resulting in a strong, thriving tree. With a little patience and care, you’ll soon have your very own guava tree growing happily at home. Happy gardening!


