Crotons are vibrant, tropical plants known for their striking foliage and variety of colors. Propagating crotons from a single leaf is a rewarding way to expand your plant collection. This guide will walk you through the steps to successfully propagate crotons using just a leaf.
Why Propagate Crotons?
Crotons (Codiaeum variegatum) are popular houseplants that can thrive in various conditions. Propagating them from a single leaf is an excellent way to:
- Expand your garden without purchasing new plants.
- Preserve a beloved variety or color combination.
- Engage in a fun and educational gardening project.
Materials Needed
- Healthy Croton Leaf: Choose a vibrant, disease-free leaf.
- Clean Sharp Knife or Scissors: For cutting the leaf.
- Container: A small pot or jar filled with water or potting mix.
- Rooting Hormone (optional): To enhance root development.
- Plastic Bag or Cling Film: To create a humid environment (optional).
Step-by-Step Guide to Propagating Crotons from a Single Leaf
Step 1: Select and Prepare the Leaf
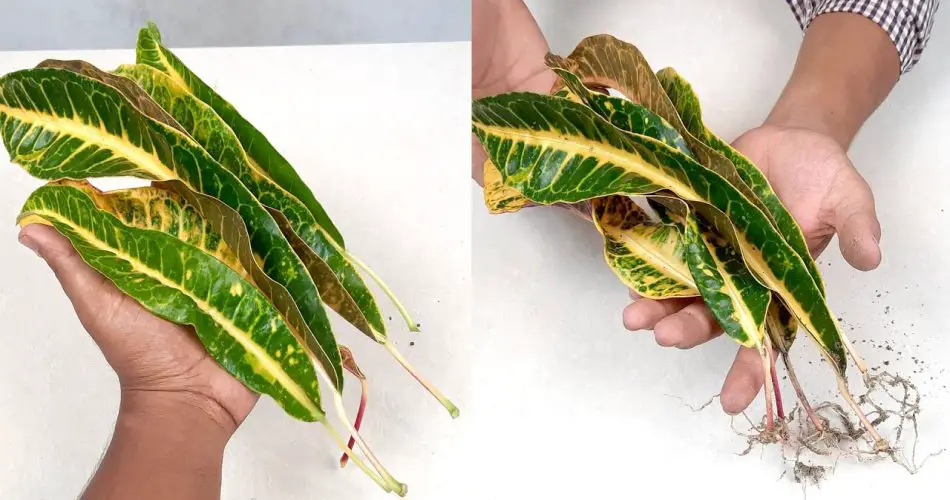
- Choose a Healthy Leaf: Look for a mature, vibrant leaf on your croton plant. Avoid leaves that are yellowing, damaged, or diseased.
- Cut the Leaf: Use a clean knife or scissors to cut the leaf from the stem. Cut the leaf at the base where it meets the stem, leaving a small portion of the stem intact if possible.
Step 2: Prepare for Propagation
- Apply Rooting Hormone: If you have rooting hormone, dip the cut end of the leaf into the hormone. This step is optional but can speed up the rooting process.
- Planting Options:
- In Water: Place the cut end of the leaf into a jar of water. Make sure the leaf is submerged, but the rest of the leaf is above the water line.
- In Soil: Alternatively, you can plant the leaf directly in a small pot filled with well-draining potting mix. Plant it with the cut end buried about an inch deep.
Step 3: Provide the Right Conditions
- Location: Place the container in a warm, bright location with indirect sunlight. Avoid direct sunlight, as it can scorch the leaf.
- Humidity: To create a humid environment, cover the pot with a plastic bag or cling film. This helps retain moisture and encourages rooting. Make sure to open it occasionally for airflow.
Step 4: Watering and Maintenance
- Keep Moist: If using water, change it every few days to prevent stagnation. If planted in soil, keep the soil lightly moist but not soggy.
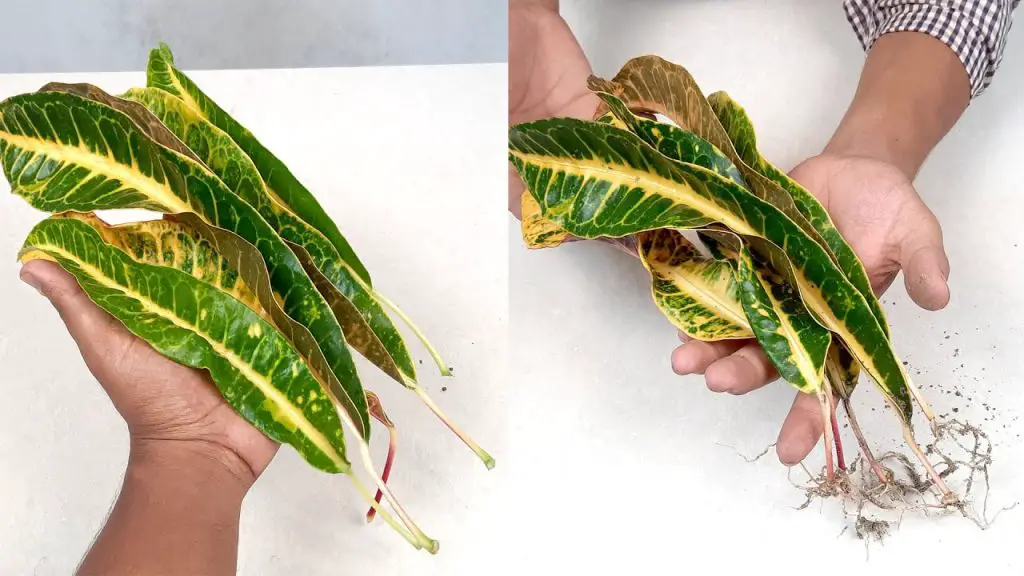
- Monitor Growth: Be patient! It may take several weeks for roots to develop. You’ll know roots are forming when you see new growth or if the leaf starts to look perkier.
Step 5: Transplanting
Once the roots are about 2-3 inches long, or if you see new growth, it’s time to transplant your croton:
- Choose a Pot: Select a pot that allows for drainage. Use a quality potting mix suitable for tropical plants.
- Transplant: Carefully remove the rooted leaf from the water or soil and place it in the new pot, ensuring the roots are covered with soil.
- Water Well: Water the newly potted croton and place it in a bright spot with indirect sunlight.
Conclusion
Propagating crotons from a single leaf is an easy and rewarding process. With the right care and conditions, you can grow a new, vibrant croton plant to brighten your garden or home. Enjoy your gardening adventure and watch your croton thrive!


