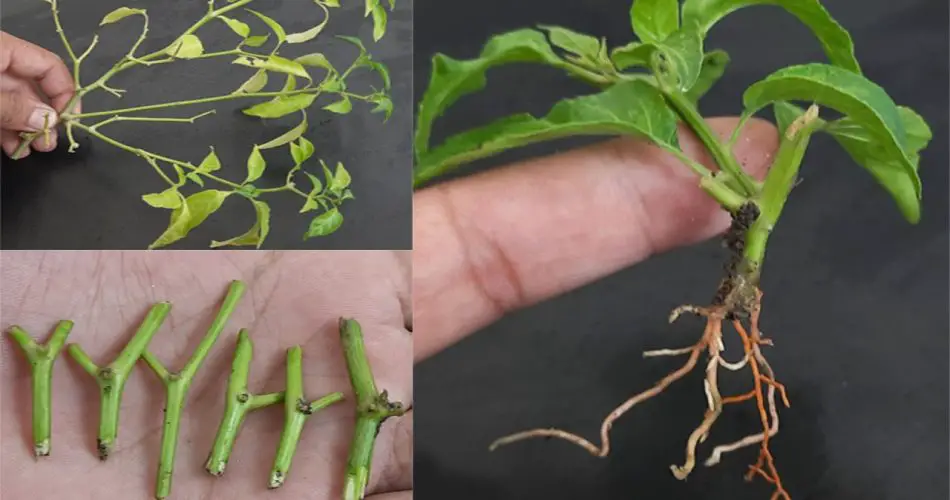
Growing a chilli plant from a cutting is an easy and rewarding way to expand your garden and enjoy fresh chillies all year round. While most people grow chillies from seeds, propagating from a cutting offers several advantages, such as faster growth and the guarantee that the new plant will have the same flavour and characteristics as the parent. In this article, we’ll guide you through the easy techniques for growing a chilli plant from a cutting.
1. Choose the Right Chilli Plant for Cuttings
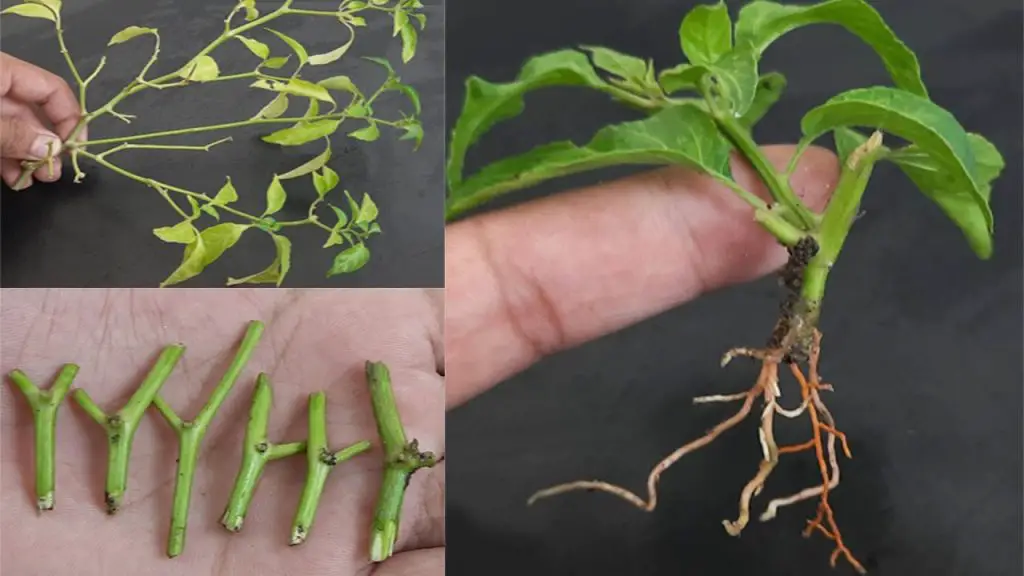
To begin, you need to select a healthy chilli plant from which to take the cutting. The plant should be mature and disease-free. Look for a non-flowering branch, as these tend to root better. A semi-hardwood branch is ideal – this is a branch that is not too young and soft, nor too old and woody. It should be sturdy, green, and about 4 to 6 inches long.
2. Prepare the Cutting
Once you’ve selected a healthy branch, use a sharp knife or pruning shears to cut a 4- to 6-inch section from the plant. The cutting should be just below a node (the bump on the stem where leaves emerge). Remove the lower leaves from the cutting, leaving just a few leaves at the top. This will reduce moisture loss and direct the plant’s energy towards developing roots.
3. Optional: Use Rooting Hormone
While chilli plants can root without additional help, using a rooting hormone can encourage faster and stronger root growth. Dip the cut end of the cutting into a rooting hormone powder or gel. This hormone contains natural growth stimulants that help the cutting develop roots more efficiently.
4. Prepare the Rooting Medium
You have several options for rooting your chilli cutting. You can root it in water or soil, but each method has its advantages.
Rooting in Water:
- Fill a small glass or jar with water.
- Place the cutting in the water, ensuring that the cut end is submerged, but the leaves are above the water level.
- Place the jar in a location with indirect sunlight.
- Change the water every couple of days to prevent stagnation and ensure a clean environment for root growth.
Rooting in Soil:
- Prepare a small pot with well-draining soil. You can use a mix of potting soil and perlite or sand to improve drainage.
- Make a small hole in the soil with a stick or your finger, and insert the cutting into the hole.
- Gently press the soil around the cutting to secure it.
- Water lightly to settle the soil around the cutting.
5. Maintain the Right Environment
To encourage root growth, your cutting needs a humid environment. If rooting in soil, cover the pot with a plastic bag or place it inside a mini greenhouse to create a humidity dome. This will help retain moisture and keep the cutting warm. If rooting in water, covering the jar with a plastic bag or wrap can also help increase humidity around the cutting.
Keep the cutting in a warm location, ideally between 70-85°F (21-29°C). Avoid placing it in direct sunlight, as this can cause the cutting to dry out. Instead, choose a spot with bright, indirect light.
6. Watering and Monitoring Root Development
Whether rooting in water or soil, it’s essential to keep the cutting moist but not waterlogged. Check the cutting regularly, and water it lightly when the soil feels dry or when the water level drops in the jar.
If rooting in water, you should see roots forming after 2 to 3 weeks. The roots will initially be small and delicate but will grow stronger over time. If rooting in soil, gently tug on the cutting after 3 to 4 weeks. If you feel resistance, it means the roots are developing.
7. Transplant the Rooted Cutting
Once the roots have developed and are about 2-3 inches long, your chilli cutting is ready to be transplanted into a larger pot or directly into the garden. Choose a pot that has good drainage to avoid waterlogging, as chilli plants do not like their roots sitting in water.
Prepare the new pot with well-draining soil, and carefully remove the cutting from the water or soil. Place the rooted cutting into the pot and gently fill the surrounding area with more soil, ensuring the cutting is stable. Water the plant lightly and place it in a warm spot with plenty of indirect light.
8. Care for the New Chilli Plant
Now that your chilli plant is established, it’s time to provide it with the care it needs to grow. Here are some key care tips:
- Sunlight: Chilli plants thrive in full sun, so once they are established, move them to a sunny location.
- Watering: Water the plant regularly, but make sure the soil is well-draining to prevent waterlogging. Water the plant when the top inch of soil feels dry.
- Fertilization: Use a balanced liquid fertilizer every 4-6 weeks during the growing season to promote healthy growth and fruit production.
- Pruning: Regularly prune your chilli plant to encourage bushier growth and to remove any dead or damaged branches.
Conclusion
Growing a chilli plant from a cutting is a simple and effective method to propagate your favorite chilli varieties. Whether you’re rooting the cutting in water or soil, the key to success is providing the right environment for root development and ensuring proper care once the plant is established. With these easy techniques, you’ll be enjoying fresh chillies from your own garden in no time! Happy gardening!


