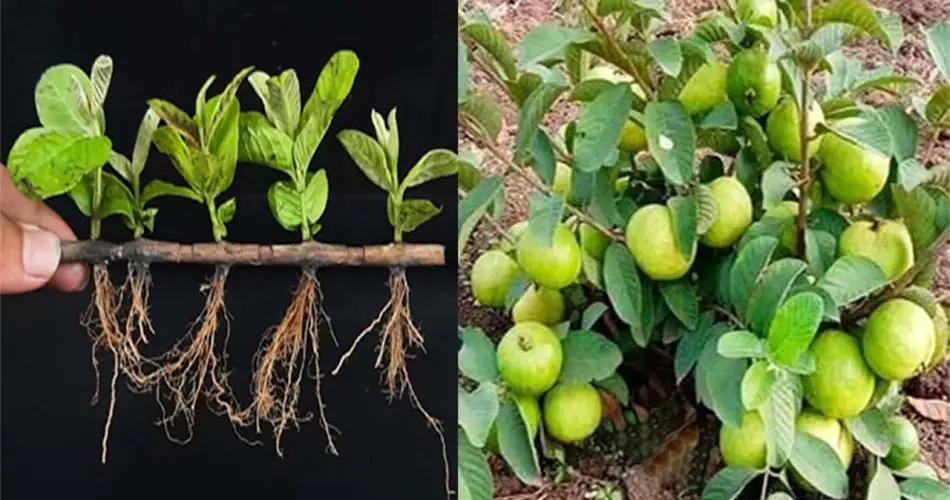
Guava trees are not only prized for their delicious fruits but also for their hardiness and ease of growth. One of the most efficient ways to propagate a guava tree is by using cuttings. If you’re eager to start growing your own guava tree from a cutting, you’re in the right place! In this article, we’ll explore some unique techniques to ensure your guava cutting thrives and eventually bears fruit.
Why Choose Cuttings to Grow a Guava Tree?
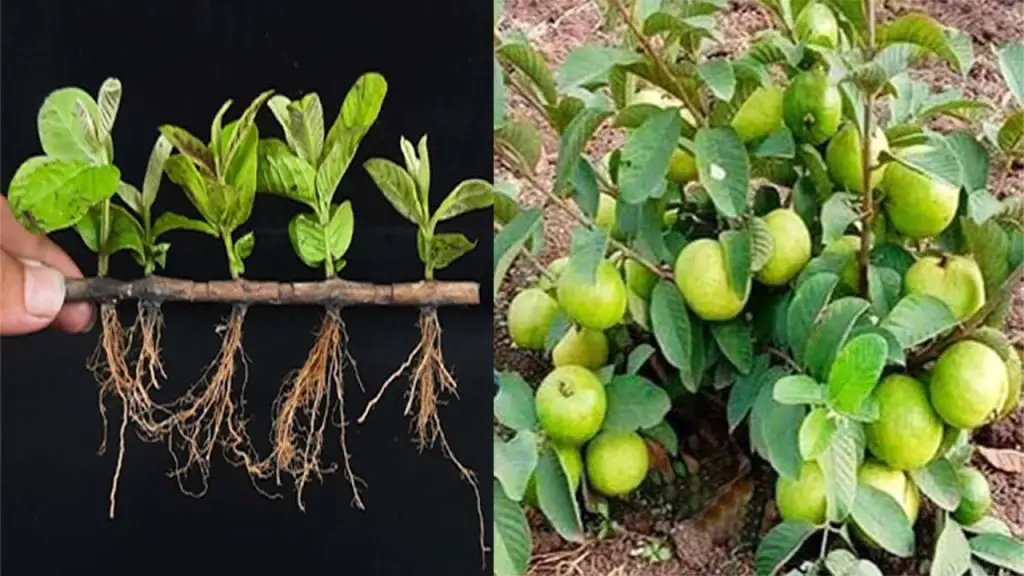
Growing a guava tree from seed can take years to yield fruit, while propagating from a cutting allows you to speed up the process. Cuttings from a healthy guava tree can establish a new tree that produces fruit faster than a tree grown from seed. Additionally, using cuttings allows you to preserve the genetic traits of the parent plant, which means your new tree will share the same desirable characteristics, such as fruit flavor and disease resistance.
What You’ll Need to Grow a Guava Tree from Cuttings
Before you begin the process of propagating guava from cuttings, gather the following materials:
- Healthy guava tree (parent tree)
- Sharp scissors or pruning shears
- Rooting hormone (optional but recommended)
- Plastic bag or plastic bottle (for humidity)
- Well-draining potting soil
- A small pot or container
- Watering can
Step-by-Step Guide: Growing a Guava Tree from Cuttings Using Unique Techniques
1. Selecting the Right Guava Cutting
- Choose a healthy branch from a mature guava tree, preferably a semi-hardwood cutting that is 4-6 inches long. Make sure the branch is free from any pests or signs of disease.
- Cut just below a node (the point where leaves grow from the stem), as this is where the roots will begin to form.
2. Prepare the Cutting for Planting
- Remove excess leaves from the cutting, leaving only 2-3 leaves at the top. This will help the cutting conserve energy while focusing on root development.
- If you’re using rooting hormone, dip the cut end of the cutting into the powder. This will encourage faster root growth and protect the cutting from infection.
3. Rooting the Guava Cutting: The Unique Method
There are a few unique techniques that can improve the success rate of rooting your guava cutting:
- Plastic Bag Method (Humidity Chamber): After preparing the cutting, place it in a small plastic bag or use a plastic bottle with the bottom cut off to create a mini greenhouse. This will help maintain high humidity around the cutting, promoting root growth.
- Warm Water Soak: For quicker results, soak the cut end of the guava cutting in warm water for a few hours before planting it in the soil. The warm water will encourage the stem to produce roots more quickly.
- Honey or Cinnamon Dip: For a natural alternative to rooting hormones, dip the cutting’s base into honey or ground cinnamon. Both of these substances have natural antifungal properties that can help prevent rot and promote root growth.
4. Plant the Cutting in Soil
- Fill a small pot with well-draining soil. A mix of perlite, sand, and peat moss is ideal for encouraging root development.
- Make a hole in the center of the soil and carefully place the guava cutting into the hole, ensuring the cut end is buried about 2 inches deep.
- Gently pack the soil around the cutting to keep it stable.
5. Maintaining Humidity and Temperature
- Place the pot in a warm, bright location with indirect sunlight. Avoid direct sunlight, as it can stress the cutting and cause it to dry out.
- Ensure the cutting stays in a humid environment. You can mist the cutting daily with water or place a plastic cover over the pot to trap moisture. This will help create the perfect conditions for rooting.
6. Watering and Care
- Keep the soil moist but not waterlogged. Too much water can cause the cutting to rot, while too little water can lead to dehydration.
- Check regularly for signs of root growth. Gently tug on the cutting after about 3-4 weeks. If it resists, then it has started to root!
7. Transplanting Your Guava Tree
- Once the cutting has developed strong roots, remove it from the plastic cover and transplant it into a larger pot with good-quality soil. At this stage, your guava tree is ready to grow and mature.
- Gradually introduce the young guava tree to direct sunlight, but make sure to protect it from intense midday sun.
Tips for Success:
- Be patient: It may take a few weeks for the cutting to form roots, so don’t rush the process.
- Keep the environment warm: Guava trees thrive in warm climates. Maintaining a temperature of about 70°F to 80°F (21°C to 27°C) will encourage faster rooting.
- Use fresh cuttings: Only use fresh cuttings from a healthy guava tree. The fresher the cutting, the higher the chances of successful rooting.
- Prune properly: Once your tree starts growing, prune it regularly to ensure it remains healthy and has enough space for air circulation.
Conclusion:
Propagating a guava tree from cuttings is a relatively simple and rewarding process. By using unique techniques such as the plastic bag method, soaking the cutting in warm water, or using natural rooting agents like honey or cinnamon, you can increase the chances of success.
Not only will you grow a new guava tree quickly, but you’ll also be able to enjoy fresh, homegrown guava fruits in no time. Happy gardening, and enjoy the process of growing your own guava tree! 🌱🍊


