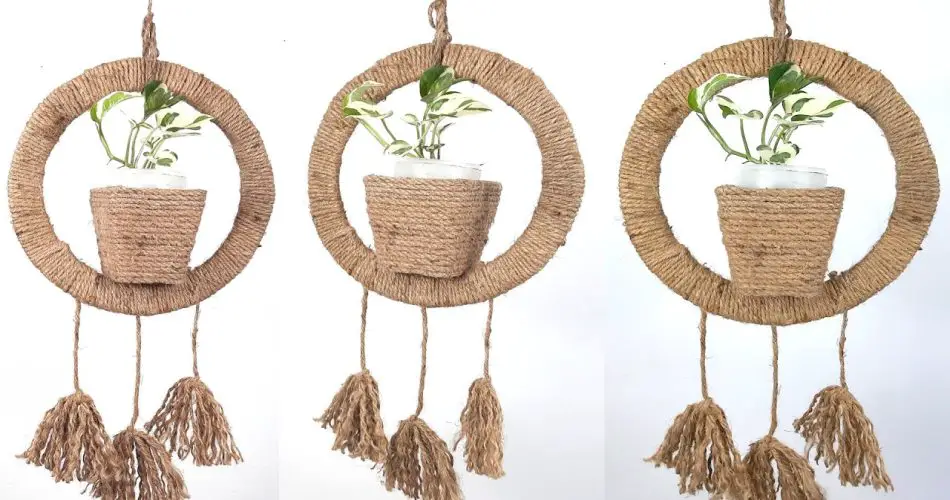
Incorporating hanging plants into your home decor is an easy and stylish way to add a touch of greenery to any space. With just a few basic materials like rope and plant hangers, you can create beautiful DIY plant displays that elevate your home’s aesthetic. Whether you’re working with small succulents or larger trailing vines, hanging plants are a perfect solution for both decor and space-saving. In this article, we’ll share simple, easy-to-follow DIY ideas for creating your own hanging plant arrangements using rope.
1. Choosing the Right Plants for Hanging
Before diving into the DIY project, it’s important to select the right plants that are suited for hanging. Trailing plants and vining plants work particularly well because they naturally grow downward, creating a cascading effect. Some popular choices include:
- Pothos
- Spider plants
- English ivy
- String of pearls
- Fern varieties
Ensure that the plant you choose suits the amount of light in your home, whether it’s bright indirect light or lower-light conditions.
2. Materials You’ll Need
To create your hanging plant displays, you’ll need a few simple materials. Here’s a list of essentials:
- Rope (preferably natural fibers like jute or hemp for a rustic look)
- Plant pots (choose pots with drainage holes)
- Hooks or ceiling anchors (to secure your hanging plants safely)
- Scissors (for cutting the rope)
- Measuring tape (for accurate lengths of rope)
You can easily find these materials at any local craft store or online.
3. Step-by-Step Guide to Creating Hanging Plants with Rope
Step 1: Measure and Cut the Rope
Start by measuring the length of rope you need to suspend your plants at the desired height. Depending on where you want to hang them, cut several lengths of rope. Typically, 4-6 feet should be sufficient for most indoor plants.
Step 2: Prepare the Plant Pot
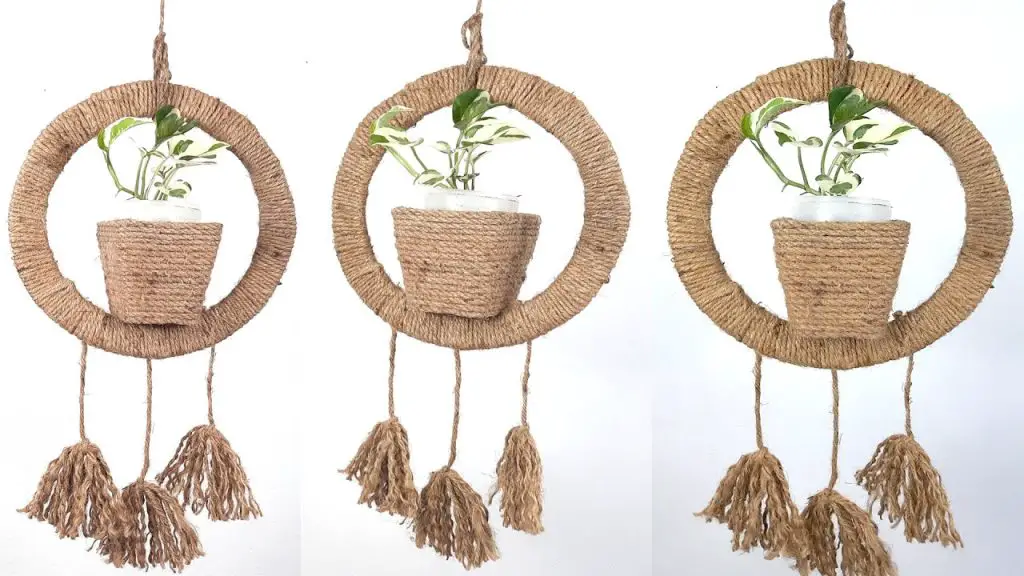
If your plant pot doesn’t have a hook, you’ll need to add one. Simply use a drill to create small holes in the rim of the pot or tie the rope directly to the pot using a knot if there are no holes available. For a more decorative touch, you can wrap the top edge of the pot with rope to create a boho-chic look.
Step 3: Create the Knotting or Macramé Design
One popular way to hang plants using rope is by creating a macramé plant hanger. This involves knotting the ropes in a decorative pattern, such as a square knot or a lark’s head knot, to secure the plant pot. If you prefer a simpler method, you can simply tie the ends of the rope securely around the pot and allow the length of the rope to hang straight down.
Step 4: Attach the Hooks to the Ceiling
For secure hanging, install hooks or ceiling anchors into a stud or use a ceiling hook for drywall. Make sure the hook can support the weight of the plant, especially if you are using larger pots. Once the hooks are in place, you can easily hang your plants by attaching the knotted rope to the hook.
Step 5: Hang and Adjust the Height
After the plant is hanging, adjust the height to fit the space and the plant’s needs. If you are hanging multiple plants, make sure they are spaced evenly and not overcrowding one another. Consider using different lengths of rope to create varying heights for a cascading, layered effect.
4. Creative Ideas for Decorating with Hanging Plants
Now that you know how to hang your plants using rope, here are some creative ideas for displaying them in your home:
- Corner Displays: Hang multiple plants in the corners of your rooms to add visual interest and a touch of greenery without taking up floor space.
- Indoor Garden: Use rope to suspend a mix of different plants, from small herbs to trailing ivy, creating a mini indoor garden.
- Bathroom Oasis: The humidity in bathrooms is perfect for many types of plants, and hanging them with rope adds a fresh, tropical vibe to the space.
- Balcony Garden: If you have a balcony, use rope to create a vertical garden of cascading plants, which will thrive in the natural light.
- Dining Room: A single large plant suspended over a dining table can act as a beautiful centerpiece, adding height and drama to the room.
5. Tips for Taking Care of Hanging Plants
While hanging plants are low-maintenance, they do require some care to ensure they thrive:
- Watering: Ensure your plants are getting enough water, but avoid overwatering. Plants in hanging pots may dry out faster, so check them regularly.
- Light: Place your hanging plants in spots where they receive the right amount of light. Most indoor plants prefer bright, indirect light.
- Cleaning: Dust the leaves and wipe the ropes occasionally to keep your hanging plants looking fresh and vibrant.
- Rotation: Rotate your hanging plants occasionally to ensure they grow evenly and don’t lean toward the light source.
6. Advantages of Hanging Plants with Rope
- Space-Saving: Hanging plants are ideal for small spaces because they don’t take up any floor space, allowing you to maximize your living area.
- Stylish Decor: Rope adds a rustic, natural touch to your home decor and can easily complement a wide range of styles from bohemian to modern farmhouse.
- Air Quality: Plants improve indoor air quality by absorbing toxins and releasing oxygen, making your home healthier and more refreshing.
Conclusion
Hanging plants are an easy and affordable way to bring life into your home while adding a stylish touch to any room. By using rope and a few basic materials, you can create beautiful DIY plant hangers that are both functional and decorative. Whether you choose to hang a single plant or a whole collection, you’ll enjoy the benefits of green decor while showcasing your DIY skills. So, grab some rope, pick your favorite plants, and start decorating!