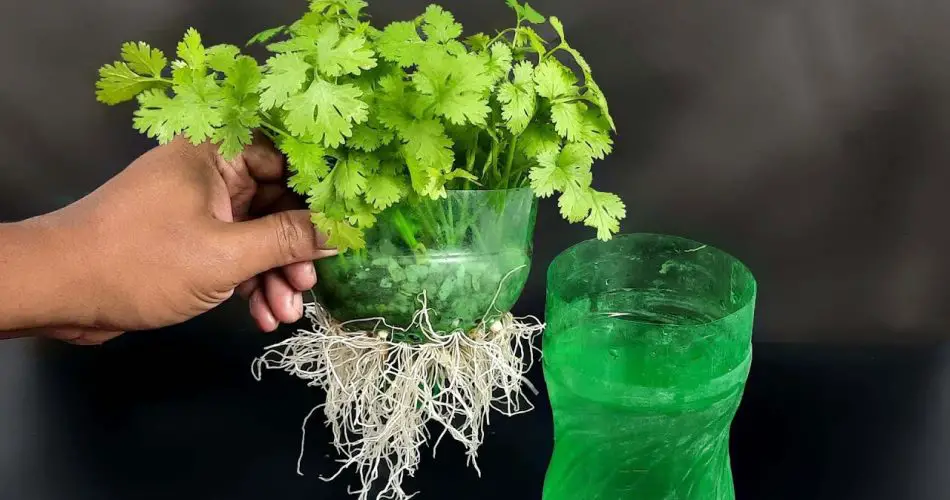
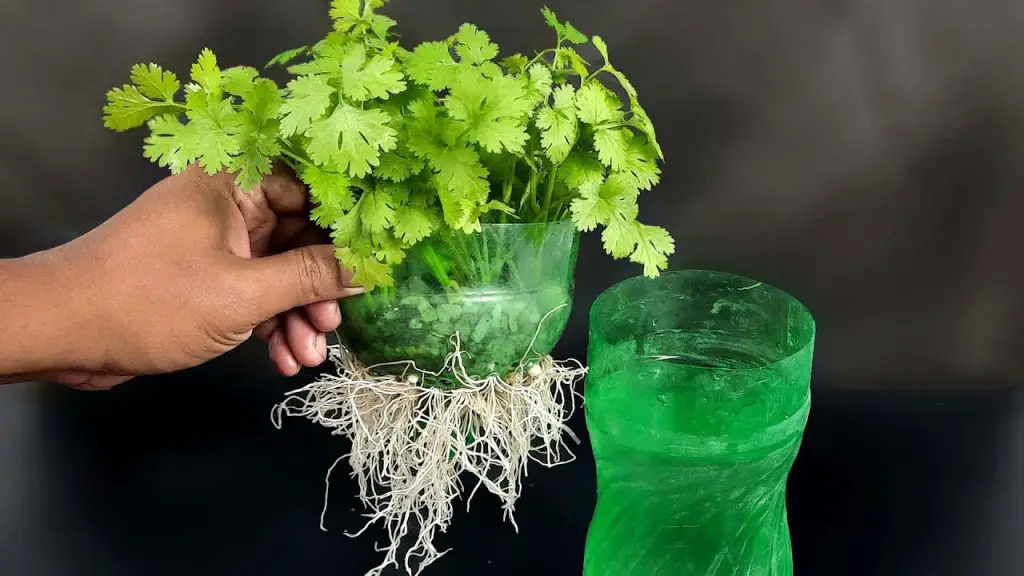
If you’re looking to grow fresh coriander at home, you’re in for a treat! Coriander, also known as cilantro, is a versatile herb commonly used in cooking for its aromatic, citrusy flavor. The best part? You can grow it quickly with a simple method that will have you harvesting fresh coriander in as little as 7 days! Whether you’re growing it on a windowsill, balcony, or in your garden, this method is easy and efficient. Let’s dive into the step-by-step process!
Why Grow Coriander at Home?
Coriander is not only delicious but also boasts a variety of health benefits:
- Rich in nutrients: Full of vitamins and antioxidants.
- Boosts digestion: Known for its digestive and anti-inflammatory properties.
- Convenient: Having fresh coriander on hand for cooking adds great flavor to dishes like salads, curries, and salsas.
Best of all, growing coriander at home is a fun, sustainable, and affordable way to enjoy this herb year-round. Let’s get started with this simple growing method to have your coriander ready in just a week!
Materials You’ll Need
Before you begin, gather the following materials:
- Coriander seeds (you can find these at your local garden store or online)
- A shallow container or seed tray
- Potting soil (well-draining soil works best)
- A spray bottle for watering
- Plastic wrap or a clear lid (to create humidity)
- A sunny spot for your container
Step-by-Step Guide: How to Grow Coriander in 7 Days
1. Prepare the Soil
Start by choosing a shallow container or seed tray that has good drainage. Fill the container with potting soil, ensuring the soil is evenly distributed. Lightly press down the soil to create a firm base, but avoid compacting it too much. Coriander doesn’t like overly dense soil, so a light touch is key!
2. Soak the Coriander Seeds
Coriander seeds have a tough outer shell, so it’s important to soak them in water for a few hours before planting. This helps to soften the seeds and promote better germination. You can soak the seeds overnight for the best results.
3. Plant the Seeds
After soaking, scatter the coriander seeds evenly across the soil surface. You don’t need to bury them deep—just press them lightly into the soil with your fingers. Coriander seeds need light to germinate, so don’t cover them with too much soil.
4. Create a Humid Environment
To encourage fast germination, cover the container with plastic wrap or a clear lid. This will help keep the seeds moist and create a mini greenhouse effect. Alternatively, you can use a clear plastic bag to cover the container. Make sure there are small holes for ventilation to prevent mold growth.
5. Water Regularly
Keep the soil moist, but not soggy. The best way to water coriander is by using a spray bottle, which allows you to water gently without disturbing the seeds. Water the seeds every day, but make sure the soil isn’t too wet. You want it moist enough to support germination without causing the seeds to rot.
6. Place in a Sunny Spot
Coriander thrives in sunny locations, so place your container in a spot that gets at least 4-6 hours of direct sunlight each day. If you’re growing indoors, a south-facing windowsill is an ideal place. If you’re growing outside, choose a spot that gets plenty of sunlight but not too much direct heat, as coriander can get stressed in extreme heat.
7. Watch for Sprouts in 2-3 Days
Within about 2-3 days, you should start to see little green sprouts poking through the soil. This means the seeds are germinating! Keep the soil moist and continue to provide ample sunlight for the growing seedlings.
8. Harvest in 7 Days
After about 7 days, your coriander should have developed enough leaves to start harvesting. Snip off the outer leaves first, and leave the inner ones to continue growing. This method allows the plant to keep producing fresh leaves throughout its growth cycle.
If you want to ensure a steady supply of coriander, you can plant seeds every week for continuous harvests. As the plants mature, they will begin to flower and go to seed. You can collect the seeds for future planting if desired.
Tips for Growing Coriander Successfully
- Don’t overwater: Coriander doesn’t like soggy soil, so be sure to let the soil dry out a bit between waterings.
- Thin out seedlings: If your plants are growing too close together, gently thin them out to allow space for each plant to grow.
- Fertilize sparingly: Coriander doesn’t require much fertilizer, but you can use a balanced, liquid fertilizer if you want to encourage faster growth.
- Avoid extreme temperatures: Coriander prefers cooler weather, so if it’s too hot, the plants may bolt (flower and go to seed), which reduces the flavor and quality of the leaves.
Why This Method Works So Well
This quick-growing method works because it focuses on creating the ideal conditions for coriander to thrive: moisture, light, and warmth. By soaking the seeds, you jumpstart the germination process, and the plastic wrap creates a warm, humid environment that speeds things up. Within just 7 days, you’ll have fresh, flavorful coriander ready for use in your cooking!
Conclusion: Fresh Coriander in Just One Week!
Growing coriander at home is a rewarding experience, and with this simple method, you can have fresh coriander on your kitchen counter in just 7 days! Whether you use it for cooking or for garnishing dishes, this herb is sure to add a burst of flavor to your meals. Plus, growing it yourself ensures that you always have a steady supply of fresh herbs, right at your fingertips.
So, why wait? Try this method today and enjoy your very own homegrown coriander in no time! 🌱


