
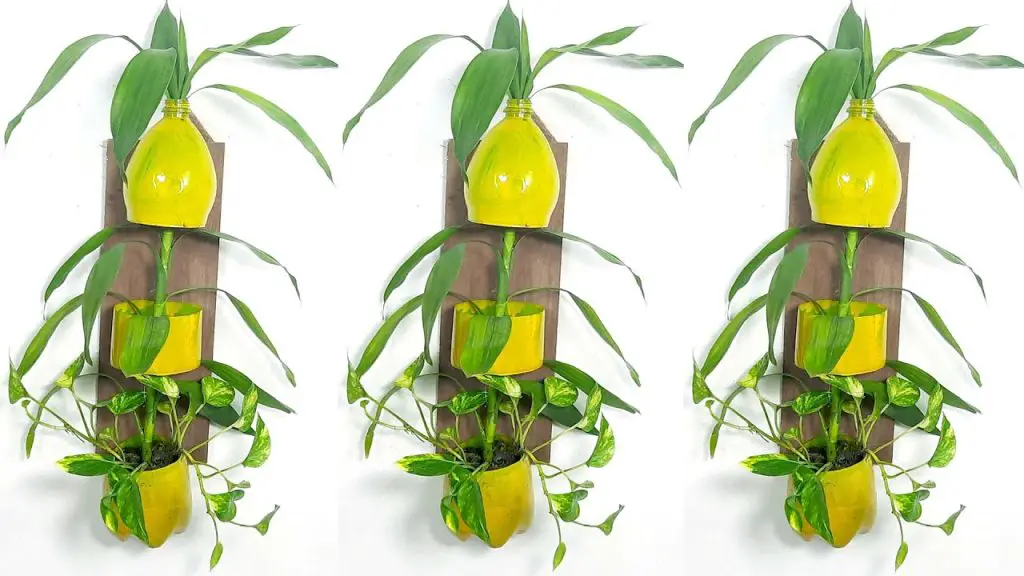
Looking for a creative and stylish way to decorate your space with hanging plants? Whether you have a small apartment or a spacious home, hanging plants are an excellent way to add a touch of nature while saving floor space. This DIY project is simple, easy, and budget-friendly, making it the perfect way to bring greenery into your home in a unique and beautiful way. Let’s dive into this easy idea to decorate with hanging plants!
Why Choose Hanging Plants for Home Decor?
Hanging plants offer several advantages, especially when it comes to decorating your home:
- Space-saving: Perfect for smaller spaces, hanging plants don’t take up valuable floor area.
- Air-purifying: Plants like spider plants, pothos, and peace lilies help clean the air by removing toxins.
- Aesthetic appeal: Hanging planters can add texture, color, and charm to any room.
- Versatility: You can hang plants in various ways—on a wall, from the ceiling, or on a hook by a window.
Now, let’s explore a simple and easy DIY project to create your own hanging plant decorations!
Materials Needed for Your DIY Hanging Plants Project
Before you start, gather the following materials:
- Plant pots or containers (choose small to medium-sized ones)
- Macrame cord or sturdy string
- Scissors
- Small plants (such as succulents, herbs, or trailing vines)
- Hooks or ceiling hangers (if you want to hang from the ceiling)
- Screws or nails (for securing the hooks)
Step-by-Step Guide to Creating Simple Hanging Plants
1. Choose Your Plant Pots
The first step in your DIY project is to select the right plant pots. You can use anything from small terracotta pots to repurposed containers like mason jars or tin cans. The key is to choose a container that suits the plant’s size and style.
If you’re going for a more rustic or boho look, consider woven baskets or macrame planters to add texture and style to your plants. Just make sure the pot has a drainage hole to allow water to escape, preventing root rot.
2. Prepare the Macrame Cord or String
Next, cut your macrame cord or string into four equal lengths, depending on how long you want the plant to hang. A good starting point is about 1 meter (3 feet) for each strand. If you want the pot to hang lower, feel free to adjust the length of the strings accordingly.
3. Create the Knotting Pattern
Now comes the fun part—creating the hanging pattern! For a simple hanging design, you can make basic macrame knots. Here’s a basic way to do it:
- Lay the four strings side by side.
- Fold the strings in half and tie a knot at the top, leaving a loop to hang the planter from.
- Take the outer two strings and tie them together with a square knot (this is just tying two strings in a basic knot, alternating the sides).
- Repeat this process with the next two sets of strings, working your way down until you reach your desired height.
4. Attach the Planter to the Macrame Cord
Once your knots are in place, it’s time to hang your plant. Place your plant pot in the center of the macrame net that you’ve created. The pot should rest comfortably within the loops of the cord, with the knots securing it in place. You can adjust the tightness of the knots to make sure the pot hangs straight and stable.
5. Secure the Hanging Planter
For extra stability, if you’re hanging from the ceiling, use hooks or nails to attach the hanging planter to the ceiling or wall. Make sure the hooks are securely fastened and can hold the weight of the plant. If you’re using a hook, you can simply hang the loop at the top of the cord onto it.
If you’re hanging the plants from a rod or curtain rail, you can simply tie the knots around the rod to secure them.
6. Place Your Plants
Now that the hanging system is in place, it’s time to insert your plants! Choose plants that will thrive in a hanging position, like succulents, spider plants, pothos, or air plants. You can even hang herbs like basil or mint in the kitchen for easy access to fresh greenery.
7. Final Touches
For a finishing touch, you can decorate your hanging planters with ribbons, beads, or even painted designs on the plant pots. Personalize your hanging plants to match your home decor style, whether you prefer a boho look, modern minimalist, or a rustic farmhouse vibe.
Tips for Successful Hanging Plant Decor
- Consider the light: Be sure to hang your plants in areas where they will receive the proper amount of light. For example, succulents need more sunlight, while ferns prefer lower light levels.
- Water carefully: Watering hanging plants can be tricky—make sure to check the moisture level in the soil before watering, and avoid over-watering.
- Rotation: Rotate your hanging plants every few weeks to ensure all sides get equal light and growth.
- Use sturdy hooks: Make sure your ceiling hooks or nails can handle the weight of your plants, especially if you choose larger planters.
- Mix plant varieties: Create an interesting visual by mixing different plants with varying leaf shapes, colors, and sizes.
Conclusion: Bring Nature to Your Home with DIY Hanging Plants
This DIY hanging plants decorating idea is a simple yet impactful way to bring the beauty of nature into your home. With just a few basic materials and a little creativity, you can create a stunning hanging plant display that adds greenery, texture, and life to any room.
Whether you’re a seasoned DIY enthusiast or just looking for a fun weekend project, hanging plants offer a charming, low-maintenance solution for transforming your home decor. So grab your materials and start hanging plants today! Happy crafting! 🌿


