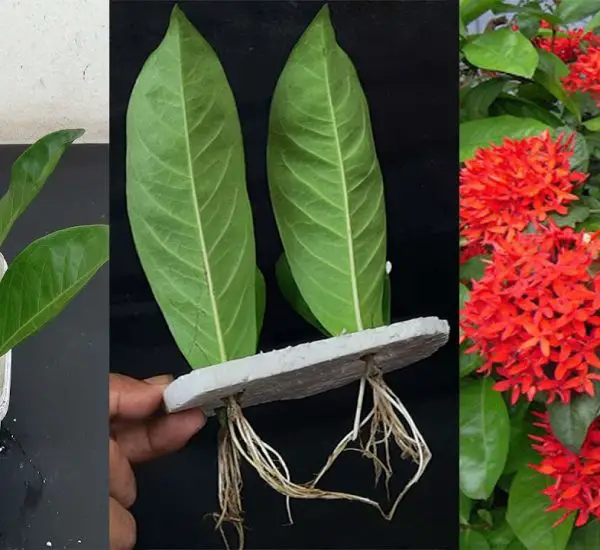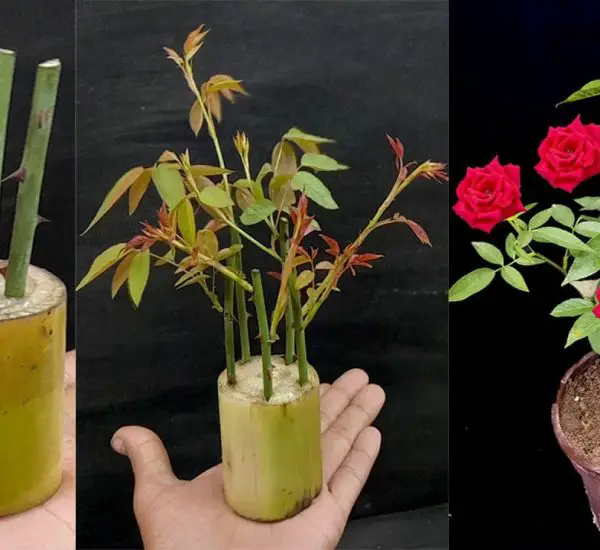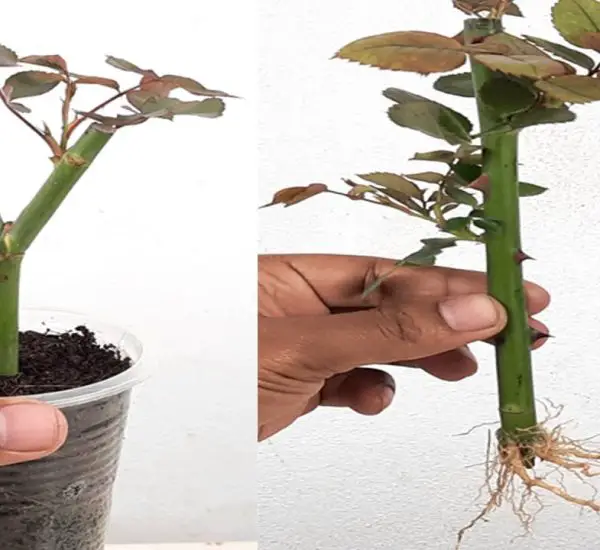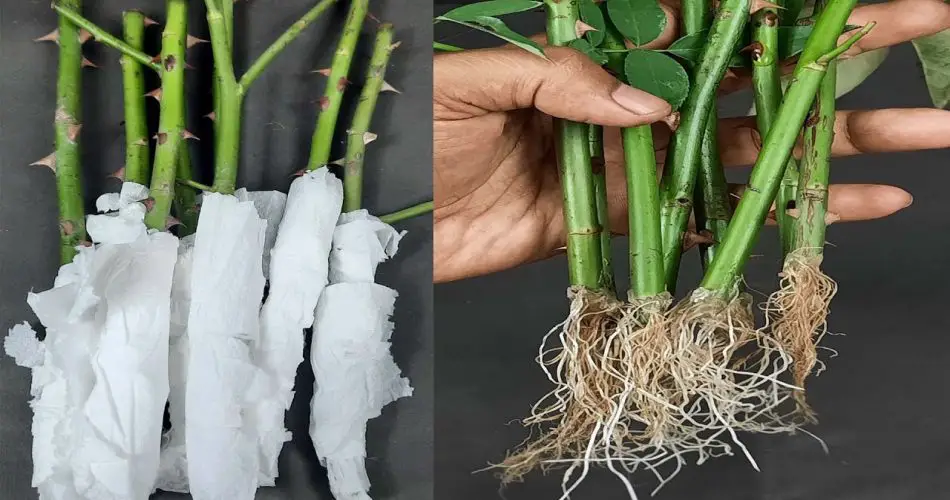
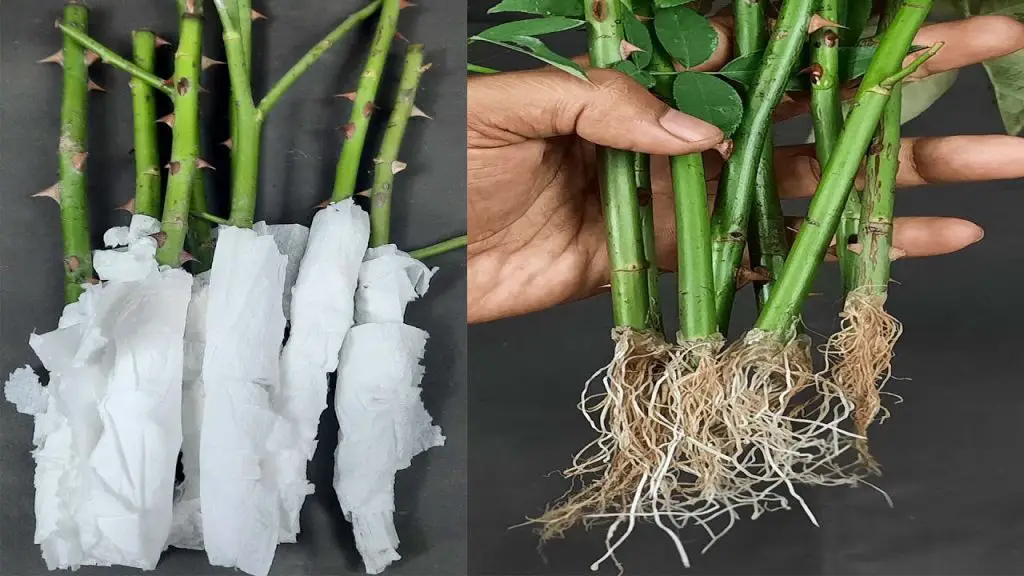
Growing roses from cuttings is one of the easiest and most rewarding ways to propagate your favorite roses without the need for seeds or grafting. With the right technique, you can have rooted rose cuttings ready for transplanting in as little as 18 days! This method requires minimal materials and is perfect for beginners. Here’s a simple step-by-step guide to help you achieve 100% success in growing roses from cuttings in just 18 days.
Why Grow Roses from Cuttings?
Growing roses from cuttings offers several benefits:
- Cost-Effective: You don’t have to buy new rose plants. Simply take cuttings from your existing roses and propagate them.
- Same Variety: A cutting from a healthy rose plant will produce a genetically identical plant, so you’ll get the same beautiful flowers and characteristics.
- Fast and Easy: When done correctly, you can have rooted rose cuttings in 18 days, which is much quicker than other methods like growing from seed.
Materials Needed to Grow Roses from Cuttings
To propagate roses successfully, you’ll need the following materials:
- Healthy Rose Bush: Choose a healthy, mature rose plant with no signs of disease or pests.
- Sharp Pruning Shears or Scissors: To take the cuttings cleanly without damaging the plant.
- Rooting Hormone: This helps stimulate root growth and increases your chances of success.
- Clean, Sterilized Containers: Small pots or containers filled with a well-draining potting mix or perlite.
- Plastic Bag or Plastic Dome: To create a humid environment around the cutting.
- Water: For soaking the cuttings and keeping the soil moist.
Step-by-Step Guide to Growing Roses from Cuttings in 18 Days
Step 1: Select and Prepare the Cutting
- Choose a Healthy Stem: The best time to take rose cuttings is during the active growing season in late spring to early summer. Choose a healthy, mature rose stem that’s about 6-8 inches long. Avoid selecting stems with flowers or buds, as they will not root as easily.
- Cut the Stem: Using your sharp pruning shears, cut a 6-8 inch long stem just below a leaf node (the point where leaves attach to the stem). Make sure your cutting is a semi-hardwood stem, which is not too young and soft but not completely woody either.
- Remove Lower Leaves: Strip off the bottom 2-3 leaves of the cutting, leaving a couple of leaves at the top to help with photosynthesis.
- Cut the Top: Trim the top of the cutting to just above the uppermost leaf node. This will help direct the plant’s energy toward rooting.
Step 2: Apply Rooting Hormone
- Dip the Cutting in Rooting Hormone: While optional, using rooting hormone can significantly increase your success rate. Dip the cut end of the stem into the rooting hormone powder or gel, covering the exposed tissue. Shake off any excess.
- Why Use Rooting Hormone? Rooting hormone contains auxins, which are natural plant hormones that encourage root growth. This step boosts the cutting’s chances of forming roots.
Step 3: Prepare the Pot and Soil
- Choose a Container: Select a small pot or container that has drainage holes to prevent waterlogging. A plastic cup or small plastic pot works great for this purpose.
- Prepare the Soil: Fill the container with a well-draining potting mix or a mix of perlite and cactus soil. Avoid heavy garden soil, as it may not drain well and can lead to root rot.
- Water the Soil: Before inserting the cutting, thoroughly water the soil so it’s damp but not soaked. This ensures that the cutting has access to moisture right from the start.
Step 4: Plant the Cutting
- Insert the Cutting: Make a hole in the soil with a pencil or stick, then gently insert the cut end of the stem into the soil about 2-3 inches deep. Firm the soil around the cutting to ensure it stands upright.
- Water Again: Lightly water the cutting after planting it to settle the soil around the base of the stem.
Step 5: Create a Humid Environment
- Cover the Cutting: To create a humid environment that encourages root growth, cover the cutting with a clear plastic bag or plastic dome. This will help retain moisture and maintain high humidity around the cutting, similar to a greenhouse environment.
- Make Sure the Bag Doesn’t Touch: Ensure the plastic does not touch the cutting. You can use small sticks or skewers to prop the plastic up above the cutting. This prevents the cutting from becoming too damp and encourages healthy air circulation.
- Place in Indirect Light: Place the cutting in a bright, indirect light location. Avoid direct sunlight, as it can overheat the cutting and cause it to dry out too quickly.
Step 6: Maintain Moisture and Temperature
- Monitor Moisture: Keep the soil moist but not soggy. Mist the cutting lightly with water if you notice the soil drying out, but be careful not to soak it.
- Temperature: Keep the temperature around the cutting between 70°F-75°F (21°C-24°C). This is the optimal temperature for root growth.
- Ventilation: While humidity is essential, it’s also important to provide air circulation. To avoid mold or mildew, open the plastic cover occasionally to allow the cutting to breathe. If you’re using a plastic dome, ensure there are small air holes for ventilation.
Step 7: Check for Root Growth
- Check for Roots: After about 14-18 days, gently tug on the cutting to check for resistance. If there is some resistance, this means the roots are forming. You can also check the bottom of the pot to see if roots are emerging through the drainage holes.
- Monitor Growth: During the rooting process, the cutting may begin to develop new leaves. This is a good sign that the cutting is healthy and establishing itself.
Step 8: Transplant the Rooted Cutting
- Remove the Plastic Cover: Once the cutting has developed roots (usually within 18 days), remove the plastic bag or dome. Gradually acclimate the cutting to normal conditions by removing the cover for longer periods each day.
- Transplant into a Larger Pot: After a few weeks of strong root development, you can transplant the cutting into a larger pot with regular potting soil. Be sure to handle the young plant gently, as the roots are still delicate.
- Water and Fertilize: Water the newly transplanted rose cutting well, and start fertilizing with a balanced liquid fertilizer every 3-4 weeks. Keep it in a bright, sunny spot to continue its growth.
Tips for Success When Growing Roses from Cuttings
- Choose the Right Time: The best time to take rose cuttings is in late spring to early summer when the plant is actively growing.
- Use a Sharp Tool: Always use sharp, clean pruning shears or scissors to take your cutting. This prevents the spread of diseases and ensures a clean, healthy cut.
- Humidity is Key: Maintaining a high humidity level around the cutting is crucial for root development. A plastic bag or dome works wonders.
- Patience Pays Off: While you may see some roots within 14-18 days, keep in mind that the process can vary based on the type of rose and environmental conditions.
Conclusion
With this easy and simple method, you can grow rose cuttings successfully in just 18 days! By following these steps and providing the right care, you’ll be able to create beautiful new rose plants that are genetically identical to the original. Whether you want to propagate your favorite rose variety or share them with friends and family, growing roses from cuttings is a fun and rewarding process.
So, grab your pruning shears, get some rose cuttings, and enjoy watching your new rose bush bloom in the near future! 🌹✨