If you love guava trees and want to grow your own at home, propagating from cuttings is one of the easiest and most effective methods. Instead of growing from seeds, which can take years to bear fruit, cuttings allow you to grow a healthy guava tree much faster. This method is perfect for beginners and requires minimal materials.
In this guide, we’ll walk you through the step-by-step process of propagating a guava tree from cuttings, ensuring fast rooting and healthy growth.
Why Grow Guava from Cuttings?
Propagating guava trees from cuttings has several advantages:
✔ Faster Growth – Unlike seeds, which take time to germinate, cuttings grow into mature trees more quickly.
✔ True to Parent Plant – Cuttings produce trees that are identical to the original plant, ensuring the same fruit quality and characteristics.
✔ Simple and Cost-Effective – You don’t need to buy new plants; you can propagate from an existing tree.
✔ Stronger Plants – Trees grown from cuttings tend to be hardier and more resistant to diseases.
What You Need:
Before you start, gather these materials:
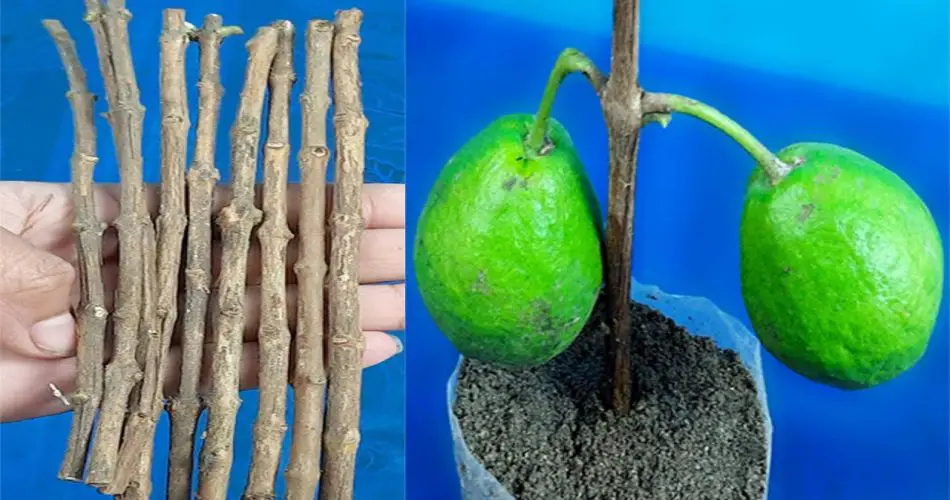
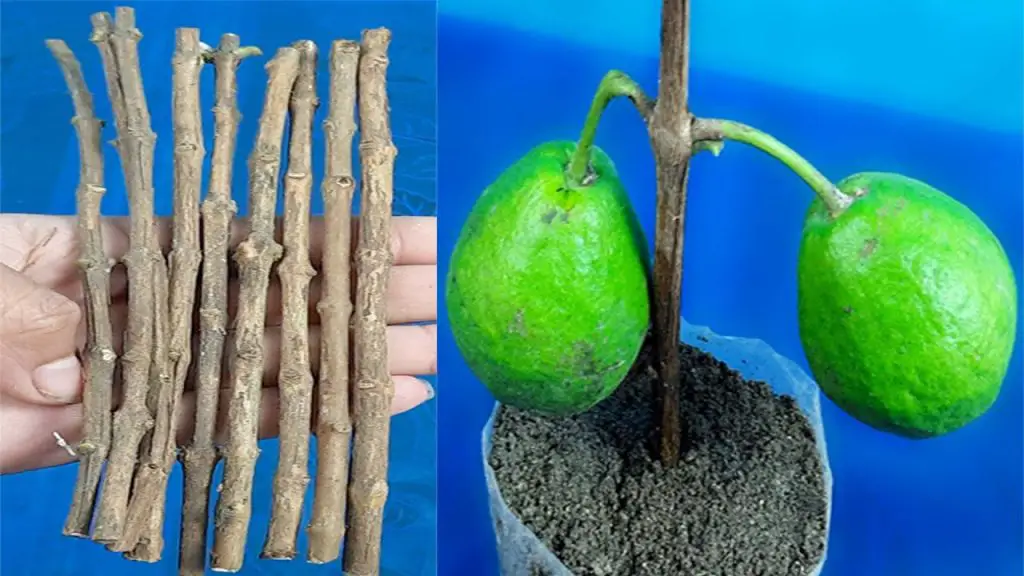
✅ Healthy guava cutting (6-8 inches long, taken from a mature tree)
✅ Sharp pruning shears (for clean cuts)
✅ Rooting hormone (optional but helps speed up root growth)
✅ Well-draining potting mix (or a mixture of cocopeat and sand)
✅ Small pot or container (for planting)
✅ Plastic bag or clear cover (to maintain humidity)
✅ Water spray bottle (for keeping the soil moist)
Step-by-Step Guide to Propagating Guava Tree from Cuttings
Step 1: Select a Healthy Cutting
Choose a strong, disease-free branch from a mature guava tree. The ideal cutting should be semi-hardwood (not too young or too old), about 6-8 inches long, and have at least 3-4 nodes (small bumps where leaves grow).
Step 2: Prepare the Cutting
- Use sharp pruning shears to make a clean cut at a 45-degree angle just below a node.
- Remove all lower leaves, leaving only 2-3 leaves at the top to reduce moisture loss.
- Dip the cut end into rooting hormone to encourage faster root development (optional).
Step 3: Plant the Cutting
- Fill a small pot with a well-draining mix (cocopeat, sand, or a combination of both).
- Make a small hole in the soil and insert the cutting about 2-3 inches deep.
- Gently press the soil around the stem to hold it in place.
Step 4: Create a Humid Environment
- Lightly water the cutting to keep the soil moist but not soggy.
- Cover the pot with a clear plastic bag or a plastic bottle cut in half to create a mini greenhouse effect, which helps retain moisture.
- Place the pot in a warm, shaded area with indirect sunlight.
Step 5: Care and Root Development
- Keep the soil moist but not waterlogged. Use a spray bottle to mist the cutting when needed.
- Ensure the temperature stays between 70-85°F (21-29°C) for optimal growth.
- Check for root growth after 4-6 weeks by gently tugging the cutting. If you feel resistance, roots have formed!
Transplanting the Rooted Cutting
Once the cutting has strong roots (about 2-3 inches long), it’s time to transplant it into a bigger pot or directly into the ground.
- Choose a spot with good sunlight (at least 6 hours per day).
- Use nutrient-rich, well-draining soil to ensure healthy growth.
- Water regularly and protect the young plant from harsh weather until it becomes established.
Final Tips for Successful Guava Propagation
🌱 Use Semi-Hardwood Cuttings – Young green stems rot easily, while very hard wood takes longer to root.
💧 Keep Moisture Balanced – Avoid overwatering; too much moisture can cause fungal infections.
☀ Provide Indirect Sunlight – Too much direct sun can dry out the cutting before it develops roots.
🔄 Be Patient – Some cuttings may take 6-8 weeks to fully establish roots, so give them time.
Conclusion
Growing a guava tree from cuttings is a simple, effective, and rewarding way to expand your garden. By following this step-by-step guide, you can easily propagate guava at home without spending money on new plants. With a little care and patience, your cutting will grow into a strong and productive guava tree that will reward you with delicious fruit in no time!
🌿 Try this method today and enjoy fresh guavas from your own garden! 🍈


