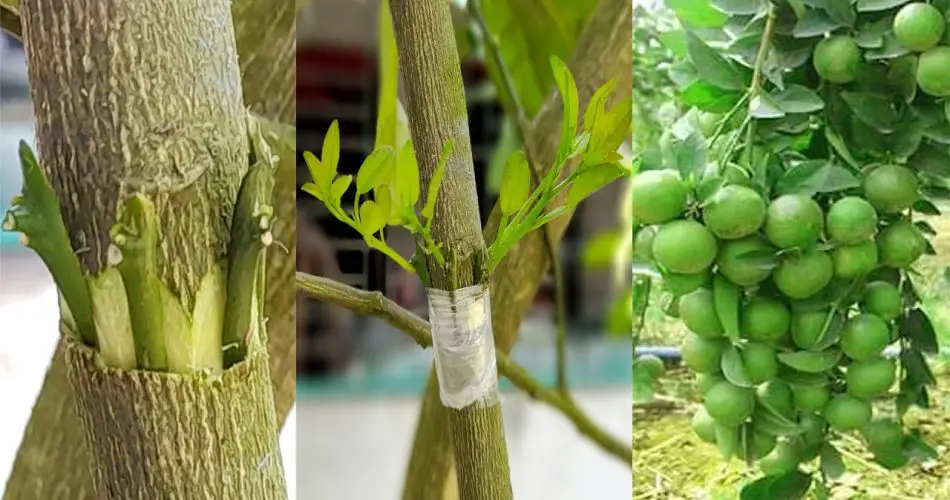
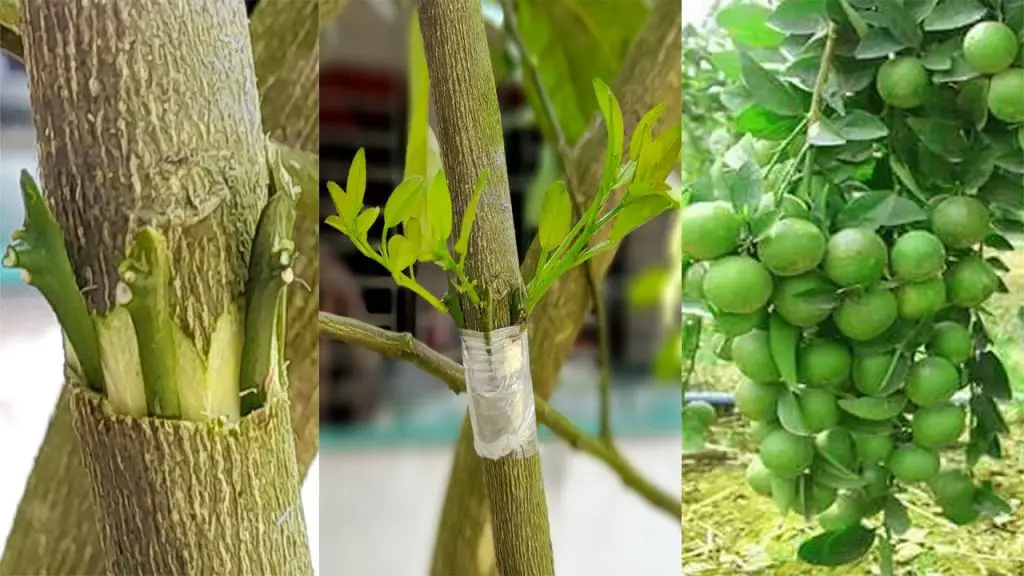
Grafting is one of the most effective and reliable ways to propagate lemon trees. Whether you’re a seasoned gardener or a beginner, mastering the art of grafting can lead to healthier, more productive lemon trees that thrive and bear fruit faster. In this article, we will explore the most successful lemon grafting techniques and provide a step-by-step guide to ensure 100% success in grafting your lemon tree.
Why Graft a Lemon Tree?
Grafting offers several advantages when growing lemon trees:
- Faster Fruit Production: Grafted lemon trees tend to bear fruit earlier than those grown from seeds. This can save you years of waiting before your tree starts producing.
- Stronger Rootstock: By grafting a lemon scion onto a hardy rootstock, you can improve the overall health and disease resistance of your tree. Rootstocks are often chosen for their resilience in different soil types and environmental conditions.
- Preserving Desired Varieties: If you have a lemon tree that produces exceptional fruit, grafting allows you to propagate that same variety without the risk of cross-pollination or genetic variation.
- Drought Resistance: Certain rootstocks can be more resistant to drought, ensuring that your lemon tree remains strong even during dry spells.
Best Lemon Grafting Techniques
There are several grafting methods that work well for lemon trees, each with its unique benefits. Below are the most common and successful grafting techniques to ensure your lemon tree thrives.
1. Cleft Grafting
Cleft grafting is one of the easiest and most widely used techniques for grafting lemon trees, especially for larger rootstocks. Here’s how you do it:
- Step 1: Select a healthy rootstock for your lemon tree. The rootstock should be compatible with the scion (the lemon variety you want to propagate).
- Step 2: Using a sharp grafting knife, make a vertical slit in the center of the rootstock, about 2-3 inches deep. The cut should be straight and even.
- Step 3: Prepare the scion (the part of the tree that will produce fruit) by cutting a small piece of healthy, disease-free wood. The scion should be about 6-8 inches long, with at least 2-3 buds.
- Step 4: Shape the bottom of the scion into a wedge that will fit into the slit of the rootstock. Make sure the cambium layers (the thin, green layer under the bark) of both the rootstock and scion align perfectly.
- Step 5: Insert the scion into the slit, ensuring the cambium layers of both parts are in contact. Secure the graft with grafting tape or parafilm to hold it in place.
- Step 6: After grafting, cover the union with a plastic bag to maintain humidity and protect the graft from drying out. Water the tree regularly, but avoid over-watering.
2. Side-Veneer Grafting
Side-veneer grafting is ideal for young, smaller rootstocks or when grafting multiple scions onto a single rootstock. It’s particularly useful for lemon trees as it produces strong, vigorous growth. Here’s the process:
- Step 1: Select a young rootstock with a smooth bark surface. Make a diagonal cut about 1-2 inches long on the side of the rootstock. The cut should be clean and straight.
- Step 2: Prepare your scion by cutting it into a slanted shape that will fit snugly against the rootstock’s cut surface. The scion should be of similar diameter to the rootstock.
- Step 3: Place the scion so that its cambium layer aligns with the cambium layer of the rootstock. Ensure both parts are in firm contact.
- Step 4: Use grafting tape or parafilm to secure the graft. Make sure the grafted area is well-bound, but not too tight.
- Step 5: Wrap the entire grafting site in a plastic bag or cling film to keep it humid and sheltered from the elements. Keep the grafted lemon tree in a warm, shaded place.
3. Approach Grafting
Approach grafting is a good technique for trees that are already established. It’s a bit more involved but works well when both rootstock and scion are of similar size and health.
- Step 1: Place two trees (one rootstock and one scion) side by side. Make a small vertical cut on the bark of both trees, just below the surface, where the cambium layer is exposed.
- Step 2: Make a matching diagonal cut on the base of the scion that will align with the cut on the rootstock. Carefully place the scion against the rootstock, ensuring the cambium layers touch.
- Step 3: Tie the two pieces together securely using grafting tape or parafilm, ensuring the union is tight and stable.
- Step 4: Once the graft has taken, cut off the top part of the rootstock and the bottom part of the scion. Leave only the grafted area to continue growing.
- Step 5: Protect the graft with a plastic bag or cling film to maintain humidity and prevent it from drying out.
4. Bark Grafting
Bark grafting is a method used when the rootstock is larger than the scion. This technique is often used for larger lemon trees.
- Step 1: Select a rootstock with smooth bark and a diameter of at least 1 inch. Make a vertical cut through the bark, down to the cambium layer, on the side of the rootstock.
- Step 2: Cut a matching-sized wedge in the scion that will fit under the bark flap of the rootstock.
- Step 3: Lift the bark flap on the rootstock and insert the wedge-shaped scion underneath the bark. The cambium layers must align.
- Step 4: Secure the graft with grafting tape or parafilm and cover with a plastic bag to retain moisture.
- Step 5: Once the graft has healed, remove the tape, and you should have a new, healthy lemon tree that will bear fruit faster than from seed-grown trees.
Essential Tips for Successful Lemon Grafting
To ensure 100% success when grafting lemon trees, keep these additional tips in mind:
- Use clean tools: Sterilize your grafting knife and scissors to prevent infection and ensure the cuts are clean and smooth.
- Choose healthy rootstocks and scions: Always select disease-free rootstocks and scions for grafting. The health of both parts is essential for the success of the graft.
- Timing: The best time to graft lemon trees is in spring when both the rootstock and scion are actively growing. Avoid grafting in the winter when trees are dormant.
- Maintain humidity: After grafting, keep the grafted area in a humid environment to encourage healing and prevent drying out. A plastic bag or cling film works well for this.
- Patience: Grafting can take time. Be patient and don’t disturb the graft during the healing process. The graft should start growing in about 2-3 weeks.
Conclusion
Grafting is a rewarding and efficient way to propagate lemon trees, enabling faster growth, better disease resistance, and more fruit production. By mastering these grafting techniques, such as cleft grafting, side-veneer grafting, approach grafting, and bark grafting, you can achieve 100% success and enjoy a healthy, productive lemon tree in your garden. With the right technique, your grafted lemon tree will soon be producing fresh, juicy lemons for you to enjoy!


