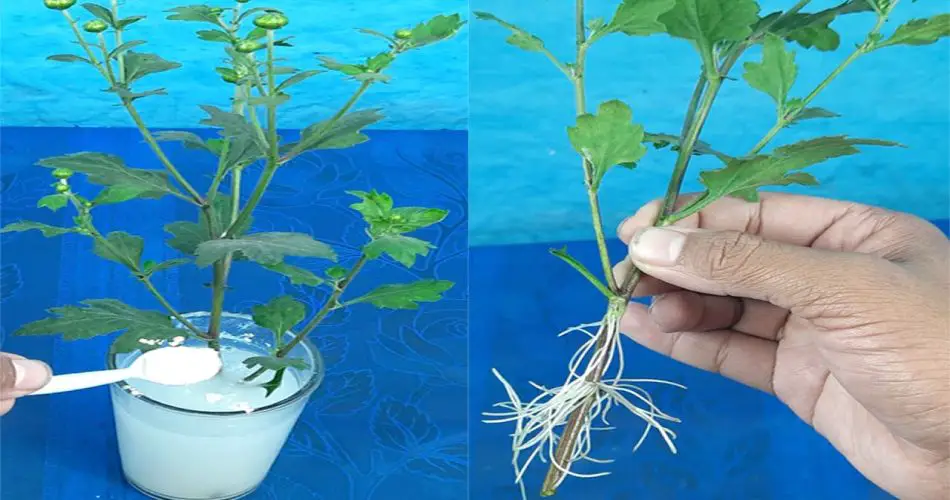
Chrysanthemums, commonly known as mums, are popular flowering plants that bring vibrant colors to gardens in the fall. One of the best ways to expand your chrysanthemum collection without spending money on new plants is by propagating chrysanthemums from cuttings. This method is easy, effective, and allows you to maintain the unique characteristics of the parent plant.
Here’s a step-by-step guide on how to propagate chrysanthemums from cuttings.
Why Propagate Chrysanthemums from Cuttings?
- Cost-Effective: Propagating chrysanthemums from cuttings is an affordable way to grow new plants.
- Maintain Characteristics: Cuttings produce plants that are genetically identical to the parent plant, ensuring the same flower color, size, and form.
- Easy to Do: The process is simple and requires minimal tools, making it perfect for both beginners and experienced gardeners.
Materials You’ll Need:
- Healthy Chrysanthemum Plant (parent plant)
- Sharp, Clean Scissors or Pruning Shears
- Rooting Hormone (optional)
- Well-Draining Potting Mix (e.g., peat-based mix or a mix with perlite)
- Small Pots or Containers
- Plastic Bag or Dome (to create humidity)
- Water
- Tray or Saucer (for holding the pots)
Step-by-Step Guide to Propagate Chrysanthemums from Cuttings
Step 1: Select a Healthy Parent Plant
- Choose a healthy, non-flowering chrysanthemum that is free from disease or pests. The ideal time to take cuttings is during the spring or early summer when the plant is actively growing.
- Avoid taking cuttings from plants that have already bloomed, as they are less likely to root successfully.
Step 2: Take the Cuttings
- Use sharp scissors or pruning shears to snip a 4 to 6-inch cutting from a healthy, non-flowering stem. Make the cut just below a leaf node (the small bump where leaves emerge).
- Remove any lower leaves from the cutting, leaving only a few sets of leaves at the top. This will help the cutting focus its energy on growing roots rather than supporting extra foliage.
- Optionally, dip the cut end of the cutting into rooting hormone. While not necessary, rooting hormone can help encourage faster and stronger root development.
Step 3: Prepare the Potting Mix
- Fill a small pot with well-draining potting mix, such as a peat-based mix or a combination of peat and perlite.
- Water the mix lightly to moisten it. The soil should be damp, not soggy, as excessive moisture can cause the cutting to rot.
Step 4: Plant the Cutting
- Make a small hole in the center of the potting mix using a stick, pencil, or your finger.
- Insert the cutting into the hole so that at least one leaf node is buried in the soil. Gently press the soil around the cutting to hold it in place.
- If you’re rooting multiple cuttings, space them a few inches apart to allow for healthy root development.
Step 5: Create a Humid Environment
- To encourage rooting, create a humid environment around the cutting by covering the pot with a plastic bag or using a humidity dome. This will help retain moisture and provide the cutting with the right conditions to grow roots.
- Make sure the plastic does not touch the cutting directly. You can use sticks or small stakes to hold the plastic away from the cutting.
Step 6: Place the Cutting in a Bright, Warm Spot
- Place the pot in a warm location with indirect sunlight. The temperature should be around 65–75°F (18–24°C). Avoid placing the pot in direct sunlight, as it may dry out the cutting or cause it to overheat.
- Keep the soil consistently moist, but not waterlogged. Check the cutting regularly for signs of rooting.
Step 7: Monitor the Cutting’s Progress
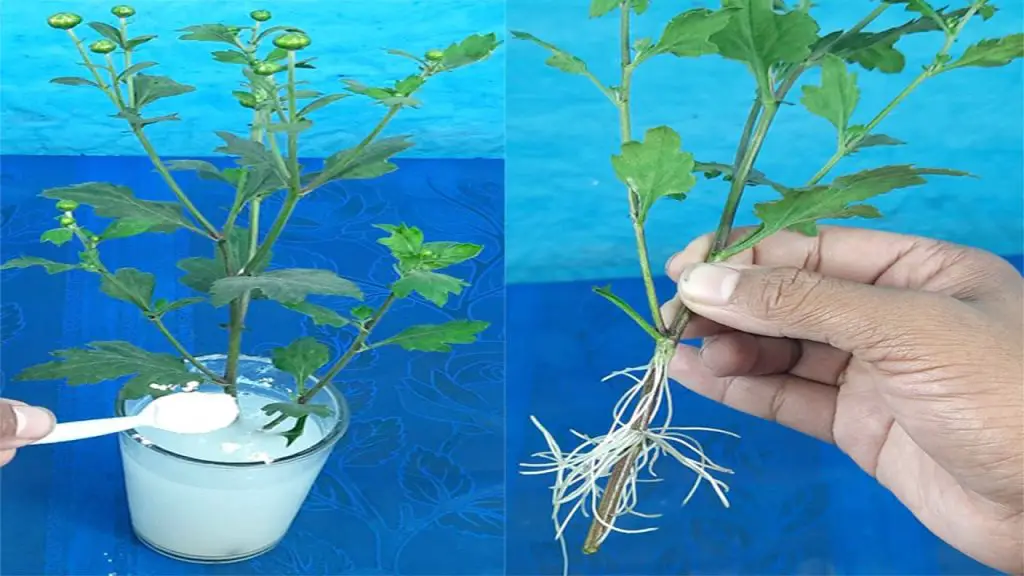
- After about 2 to 4 weeks, gently tug on the cutting to see if it has developed roots. If there is resistance, the cutting has rooted successfully.
- If you’re unsure, you can also check by carefully removing the cutting from the soil to inspect the roots, but be gentle to avoid damaging the young roots.
Step 8: Transplant the New Mums
- Once the cutting has rooted, it can be transplanted into a larger pot or directly into the garden. When planting outdoors, ensure the ground is well-draining and the weather is mild.
- If the cutting is still in a pot, allow the plant to grow in its new container until it is established. Continue to provide it with adequate sunlight, water, and nutrients for healthy growth.
Tips for Success
- Avoid taking cuttings from plants with diseases or pests to ensure healthy propagation.
- Water the cuttings regularly, but avoid letting them sit in water, as this can lead to rot.
- Use a clean, sharp knife or scissors to take the cutting to reduce the risk of infection.
- Once the roots are established, harden off the plant (gradually acclimate it to outdoor conditions) before transplanting it into the garden.
- If you want to propagate multiple plants, you can take several cuttings at once, but make sure not to overcrowd them.
Conclusion
Propagating chrysanthemums from cuttings is a simple and effective way to expand your collection of these beautiful plants. By following these steps and providing your cuttings with the right care, you can enjoy a new batch of chrysanthemums that will brighten your garden year after year. Happy gardening! 🌸


