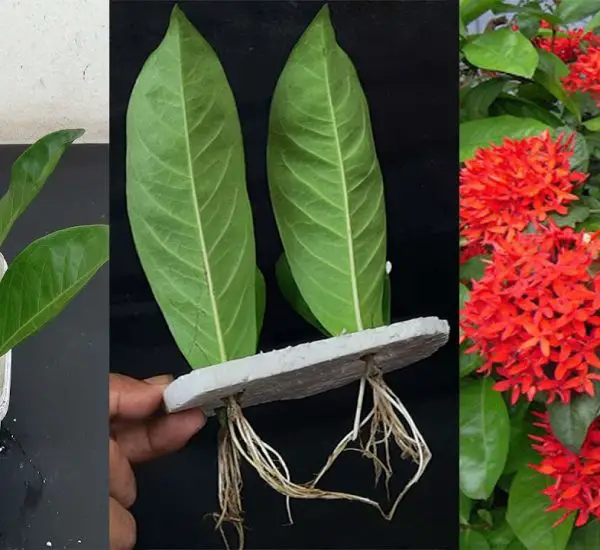
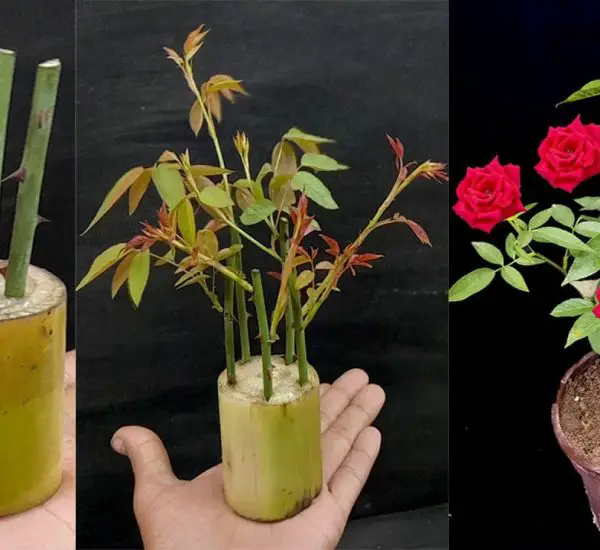
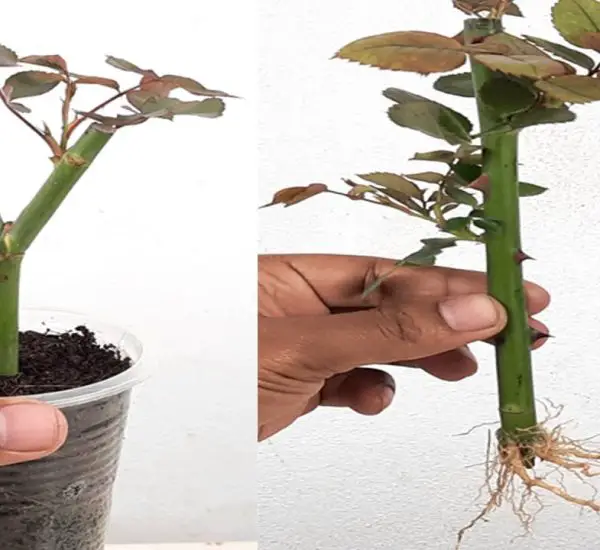
Growing roses from seeds may seem like a challenging task, but with the right technique and a bit of patience, it’s possible to cultivate beautiful roses in your own garden. In this step-by-step guide, we’ll walk you through the process of starting roses from seeds, ensuring that your efforts result in healthy, vibrant rose plants.
Why Grow Roses from Seeds?

- Unique Varieties: Growing roses from seeds allows you to discover unique varieties that may not be available in stores.
- Affordable: Instead of purchasing mature plants, rose seeds are cost-effective and accessible.
- Personal Satisfaction: There’s something incredibly rewarding about watching your rose seeds grow into mature, blooming flowers.
Step-by-Step Guide to Growing Roses from Seeds
Materials You Will Need:
- Fresh rose hips (from a variety of roses)
- A sharp knife or scissors
- A small container or pot
- Potting soil
- A plastic bag or cling film
- A shallow tray (optional)
- Water
Step 1: Harvesting Rose Seeds
- The first step in growing roses from seeds is harvesting the rose hips. Rose hips are the seed pods that form after the roses have bloomed and the petals fall off.
- Wait until the rose hips are fully ripe—this usually occurs about 4 to 6 weeks after the flowers have faded. You’ll know they’re ready when they change color, typically from green to a reddish or orange hue.
- Cut open the rose hips with a sharp knife or scissors to remove the seeds. Inside, you will find the small black seeds that you’ll need for the next steps.
Step 2: Preparing the Seeds
- After extracting the seeds, clean them by gently rinsing them under water to remove any pulp or debris.
- Soak the seeds in warm water for 24 to 48 hours to soften their hard outer shells. This helps promote germination.
- After soaking, dry the seeds on a paper towel before proceeding.
Step 3: Cold Stratification (Chilling the Seeds)
- Cold stratification is a necessary process to break the seed’s dormancy and prepare it for sprouting. To do this:
- Place the seeds in a damp paper towel or sand inside a plastic bag.
- Store the bag in the refrigerator for about 6 weeks. This mimics winter conditions, which helps trigger the seed’s germination process.
- Make sure the seeds are kept moist, but not soaking wet, during this period.
Step 4: Planting the Seeds
- After the cold stratification period, it’s time to plant the seeds. Prepare small pots or containers filled with well-draining potting soil.
- Create small holes in the soil about ¼ inch deep. Place one seed in each hole and cover lightly with soil.
- Water the soil gently to ensure it’s moist but not soggy.
- Cover the pots with a plastic bag or cling film to create a humid environment, helping the seeds germinate.
Step 5: Germination
- Place the pots in a warm area with indirect sunlight. A temperature of around 70-75°F (21-24°C) is ideal for germination.
- Be patient, as germination can take anywhere from 2 to 6 weeks. Keep the soil moist, but avoid overwatering.
- Once the seeds have sprouted and the first true leaves (not just seed leaves) appear, you can remove the plastic covering.
Step 6: Transplanting the Seedlings
- Once the seedlings are large enough to handle, typically after 3 to 4 months, it’s time to transplant them into larger pots.
- Use a high-quality potting mix and ensure the pots have adequate drainage.
- Transplant the seedlings gently, being careful not to disturb the roots too much. Water them well after planting.
Step 7: Caring for Your Rose Plants
- As your rose seedlings grow, continue to care for them by providing bright, indirect sunlight. While roses love sunlight, avoid direct exposure during the hottest parts of the day.
- Water regularly, ensuring that the soil remains consistently moist. Be careful not to overwater, as roses do not like sitting in soggy soil.
- If you live in a colder climate, consider growing your rose plants in pots so you can bring them inside during the winter months.
Step 8: Transplanting Roses Outdoors
- After your roses have developed into sturdy plants, you can move them into your garden or plant them in larger pots. It’s best to do this when the danger of frost has passed.
- Choose a sunny spot in your garden with well-draining soil. Roses thrive in full sunlight and need space to grow.
- Ensure you provide the plants with adequate space for air circulation and proper growth.
Unique Tips for Growing Roses from Seeds
- Patience is Key: Growing roses from seeds takes time. Don’t expect blooms right away; it may take a few years for your seedlings to mature and produce flowers.
- Fertilize: After your roses have been planted in their final location, fertilize them with a balanced rose fertilizer to encourage healthy growth and abundant blooms.
- Prune Regularly: Regular pruning helps shape the plant and encourages new growth. Trim dead or damaged stems to promote strong, healthy plants.
Conclusion
Growing roses from seeds can be a rewarding and fulfilling experience. While it requires patience and attention to detail, it offers the unique opportunity to grow a variety of roses in your own garden. By following this step-by-step guide, you’ll be well on your way to successfully cultivating your very own roses from seed. With time, you’ll be able to enjoy the stunning beauty and fragrance of homegrown roses!
Show Comments