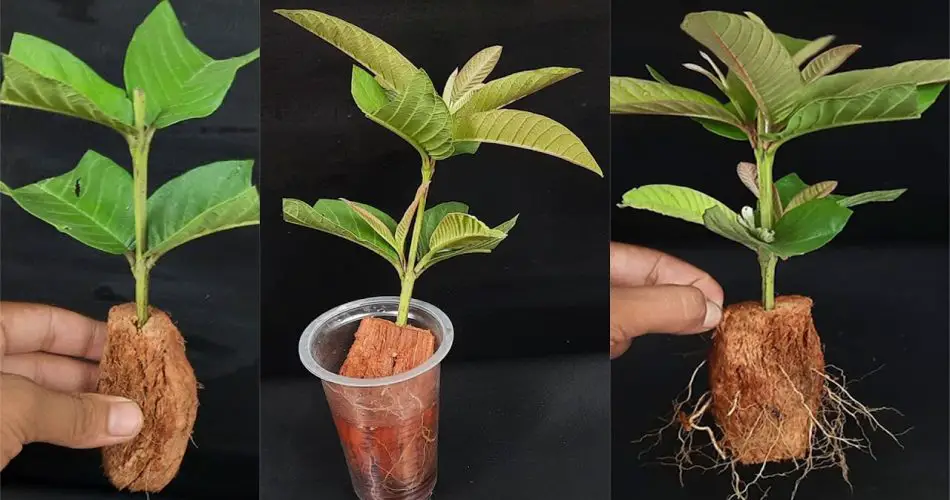
Growing a Guava plant from cuttings is a rewarding experience, and you can do it effectively by using a coconut shell as a natural container with water. This method is not only eco-friendly but also provides an optimal environment for your guava cutting to develop healthy roots and thrive. In this article, we’ll walk you through the process of growing a Guava tree from cutting using a coconut shell, ensuring effective rooting and healthy plant growth.
Why Use a Coconut Shell for Growing Guava Cuttings?
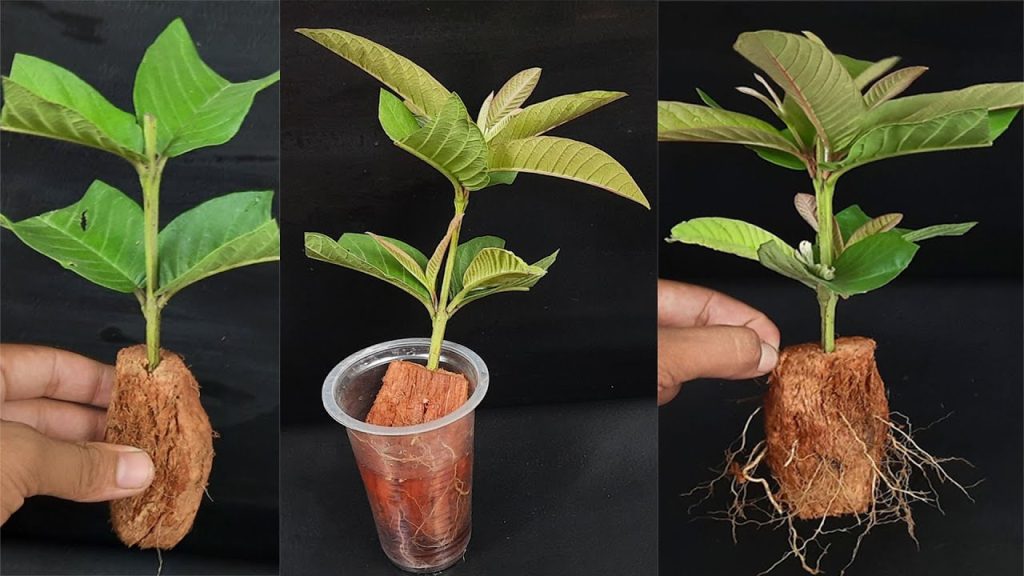
A coconut shell provides a perfect natural container for propagating Guava cuttings. It offers multiple benefits:
- Retention of Moisture: The shell helps retain moisture, which is crucial for root development, especially in the early stages of growth.
- Eco-friendly: Coconut shells are a sustainable alternative to plastic pots, reducing waste and helping the environment.
- Natural Insulation: The shell’s tough exterior protects the cutting, creating a stable, insulated environment for optimal growth.
What You Need to Grow Guava from Cutting in a Coconut Shell
- Healthy Guava cutting: A 4-6 inch stem with at least one node (where leaves or roots can develop).
- Coconut shell: A natural shell, preferably with the top cut off to create a container.
- Water: Clean, room-temperature water to keep the cutting hydrated.
- Rooting hormone (optional): A plant growth hormone that can promote quicker root development.
- Sharp scissors or pruning shears: For making clean cuts.
- Plastic wrap or bag: To cover the cutting and keep humidity levels high.
Step-by-Step Guide: Growing Guava Plant from Cutting in a Coconut Shell
Step 1: Prepare the Guava Cutting
- Select a healthy stem from an established Guava tree. The cutting should be free of diseases and pests.
- Trim the cutting to about 4-6 inches in length, ensuring it has at least one node.
- Remove excess leaves from the cutting to prevent rotting and allow the plant to focus on root development.
Step 2: Prepare the Coconut Shell
- Choose a mature coconut shell with a clean opening. If needed, cut off the top part of the coconut to create a container with an opening wide enough to fit the cutting.
- Clean the shell thoroughly to remove any dirt or residue, as this can affect the plant’s growth.
Step 3: Prepare the Cutting for Planting
- Dip the cutting in rooting hormone (optional) to promote faster root growth.
- Place the cutting into the coconut shell with the bottom node submerged in water. The water should cover the node but not submerge the entire cutting.
- Ensure the cutting is positioned vertically in the coconut shell, so the water level stays consistent.
Step 4: Maintain Proper Conditions for Rooting
- Cover the cutting loosely with plastic wrap or place it inside a plastic bag to increase humidity and keep the cutting moist.
- Place the coconut shell in a warm location with indirect sunlight. Avoid direct sunlight, as it can overheat and dry out the cutting.
- Keep the water level consistent, topping it off as needed to ensure the cutting remains submerged at the node.
Step 5: Wait for Roots to Develop
- Wait patiently for 2-4 weeks as the cutting develops roots. You may notice small roots starting to form around the submerged node.
- During this period, monitor the cutting for any signs of rot or disease. If the water becomes cloudy, replace it with fresh water to keep the cutting healthy.
Step 6: Transplanting the Guava Cutting
- Once the cutting has developed a strong root system, it’s time to transplant it into a larger container or directly into the soil.
- Prepare a well-draining potting mix for transplanting the rooted cutting into a pot or a garden bed.
- Carefully transplant the cutting, ensuring the roots are not damaged. Water the plant lightly and continue to keep it in a bright, indirect light spot.
Tips for Success
- Choose a healthy cutting: Ensure that the cutting you select is disease-free and taken from a mature Guava tree.
- Use fresh water: Regularly change the water in the coconut shell to prevent stagnation and potential rot.
- Patience is key: Rooting can take several weeks, so be patient and give the cutting the best possible environment for growth.
- Maintain humidity: Covering the cutting with plastic will help maintain high humidity, which is essential for root development.
Conclusion: Growing Guava from Cutting in a Coconut Shell
Growing a Guava plant from a cutting in a coconut shell with water is an effective and natural method that supports healthy root development. By providing the cutting with the right conditions and ensuring it gets enough moisture and warmth, you can successfully grow a new Guava tree. Not only does this method offer a sustainable alternative to plastic containers, but it also helps you grow a beautiful and productive Guava plant in a simple, cost-effective way. Try this technique today and watch your Guava tree thrive!


